Nail trimming is an essential, yet often dreaded, part of dog care. For many pet parents, it's a battle of wills that ends with a stressed dog and frazzled nerves. But it doesn't have to be this way! Understanding why your dog resists and mastering the art of safe, quick-aware trimming can transform this chore into a calm, bonding experience. This comprehensive guide will equip you with everything you need to know, from decoding your dog's fear to identifying the elusive quick and executing a perfect trim. With patience and the right techniques, you can ensure your dog's health and comfort.
🐕 Why Do Dogs Hate Nail Trims? Understanding the Resistance
Before solving the problem, understand its root. Dogs resist dog nail trimming for concrete reasons, often stemming from instinct and past experience.
- Discomfort and Pain: If the quick (the sensitive, blood-filled part) has been cut before, it's a painful memory. A single nick can cause lasting aversion.
- Fear of the Tool: The sight, sound, and sensation of clippers or grinders are unfamiliar. The high-pitched whirr of a grinder can be particularly unsettling for sound-sensitive breeds.
- Negative Associations: A bad experience, even at a groomer's, can create lasting anxiety. Rough handling or a rushed job compounds this.
- Instinctual Vulnerability: Restraining paws goes against their instinct for mobility and escape, triggering stress.
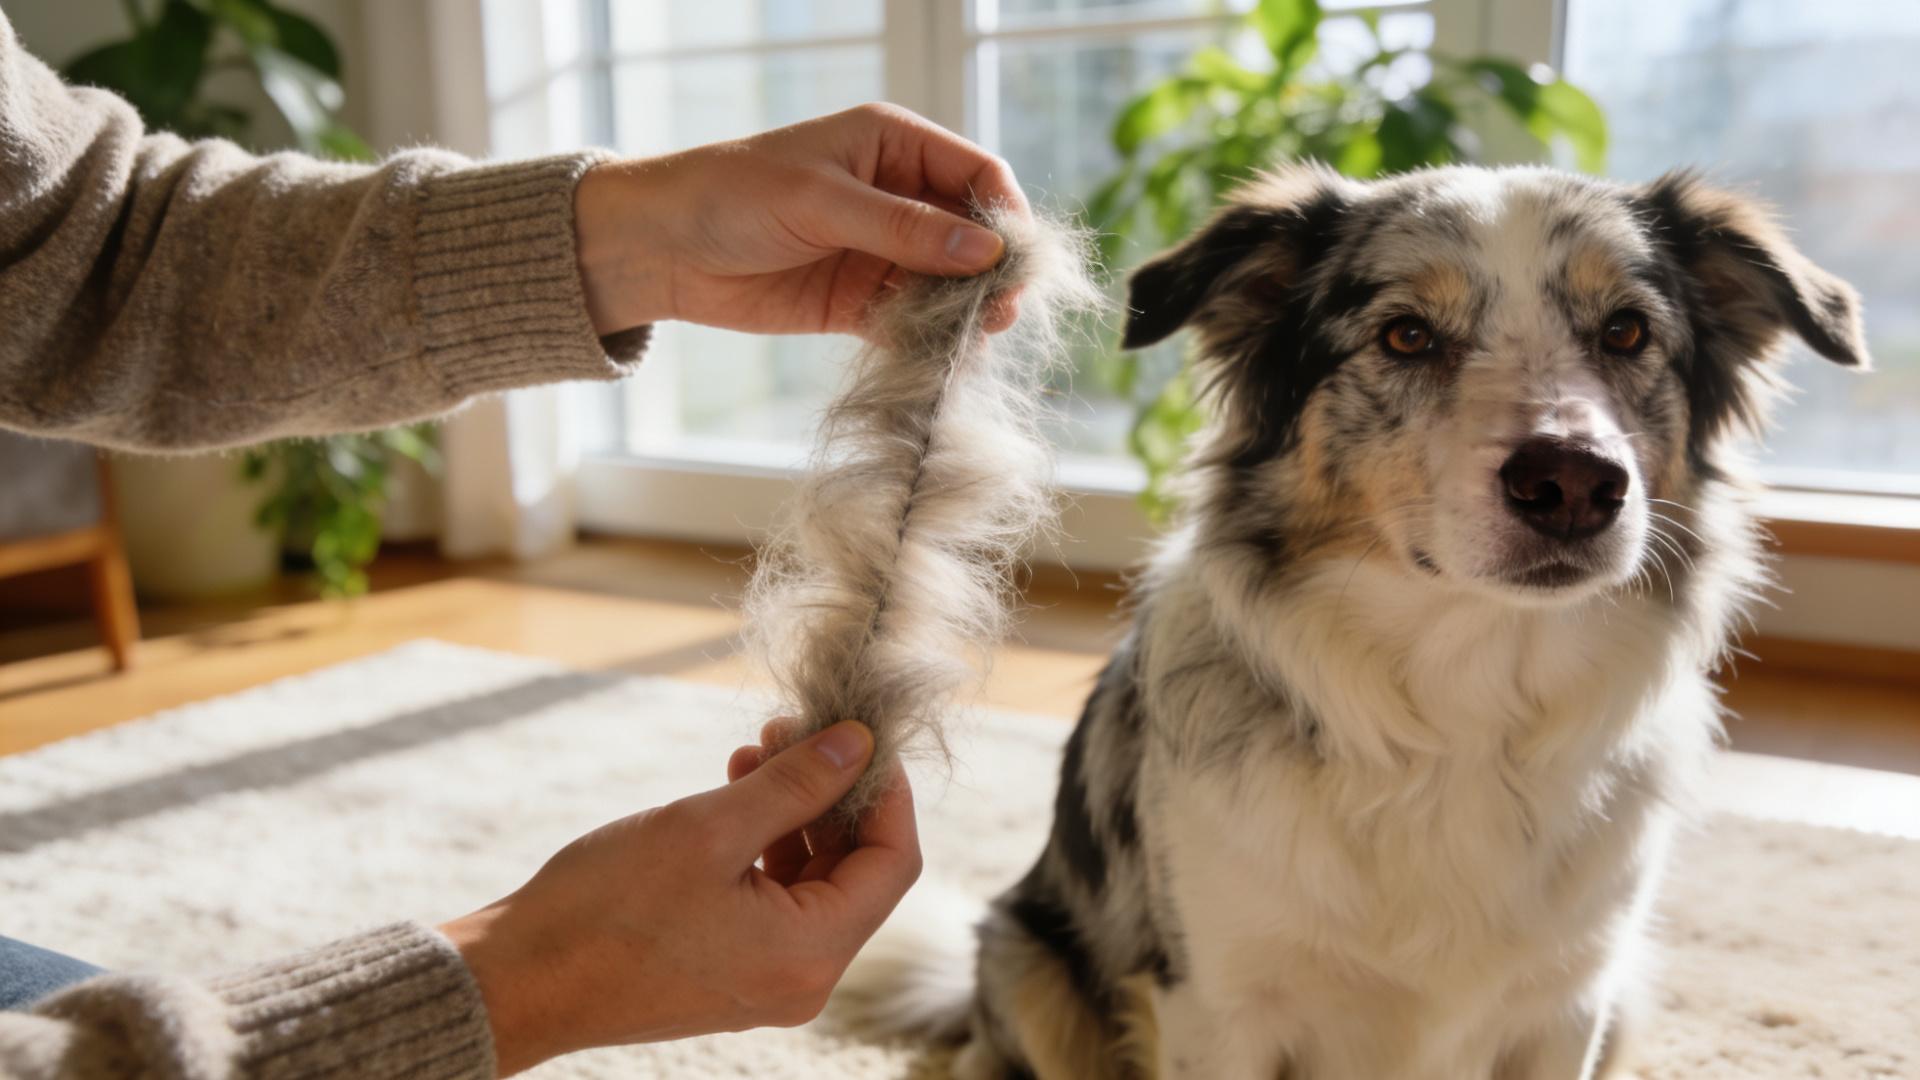
- Owner Anxiety: Dogs are empathic; if you're nervous, they will be too. A study in Applied Animal Behaviour Science found that owner stress levels directly impact dog compliance during grooming tasks.
Data from a 2020 survey in the Journal of Veterinary Behavior indicated that over 65% of dog owners reported significant difficulty with at-home nail care, primarily due to canine anxiety. Recognizing these triggers is the first step toward a solution.
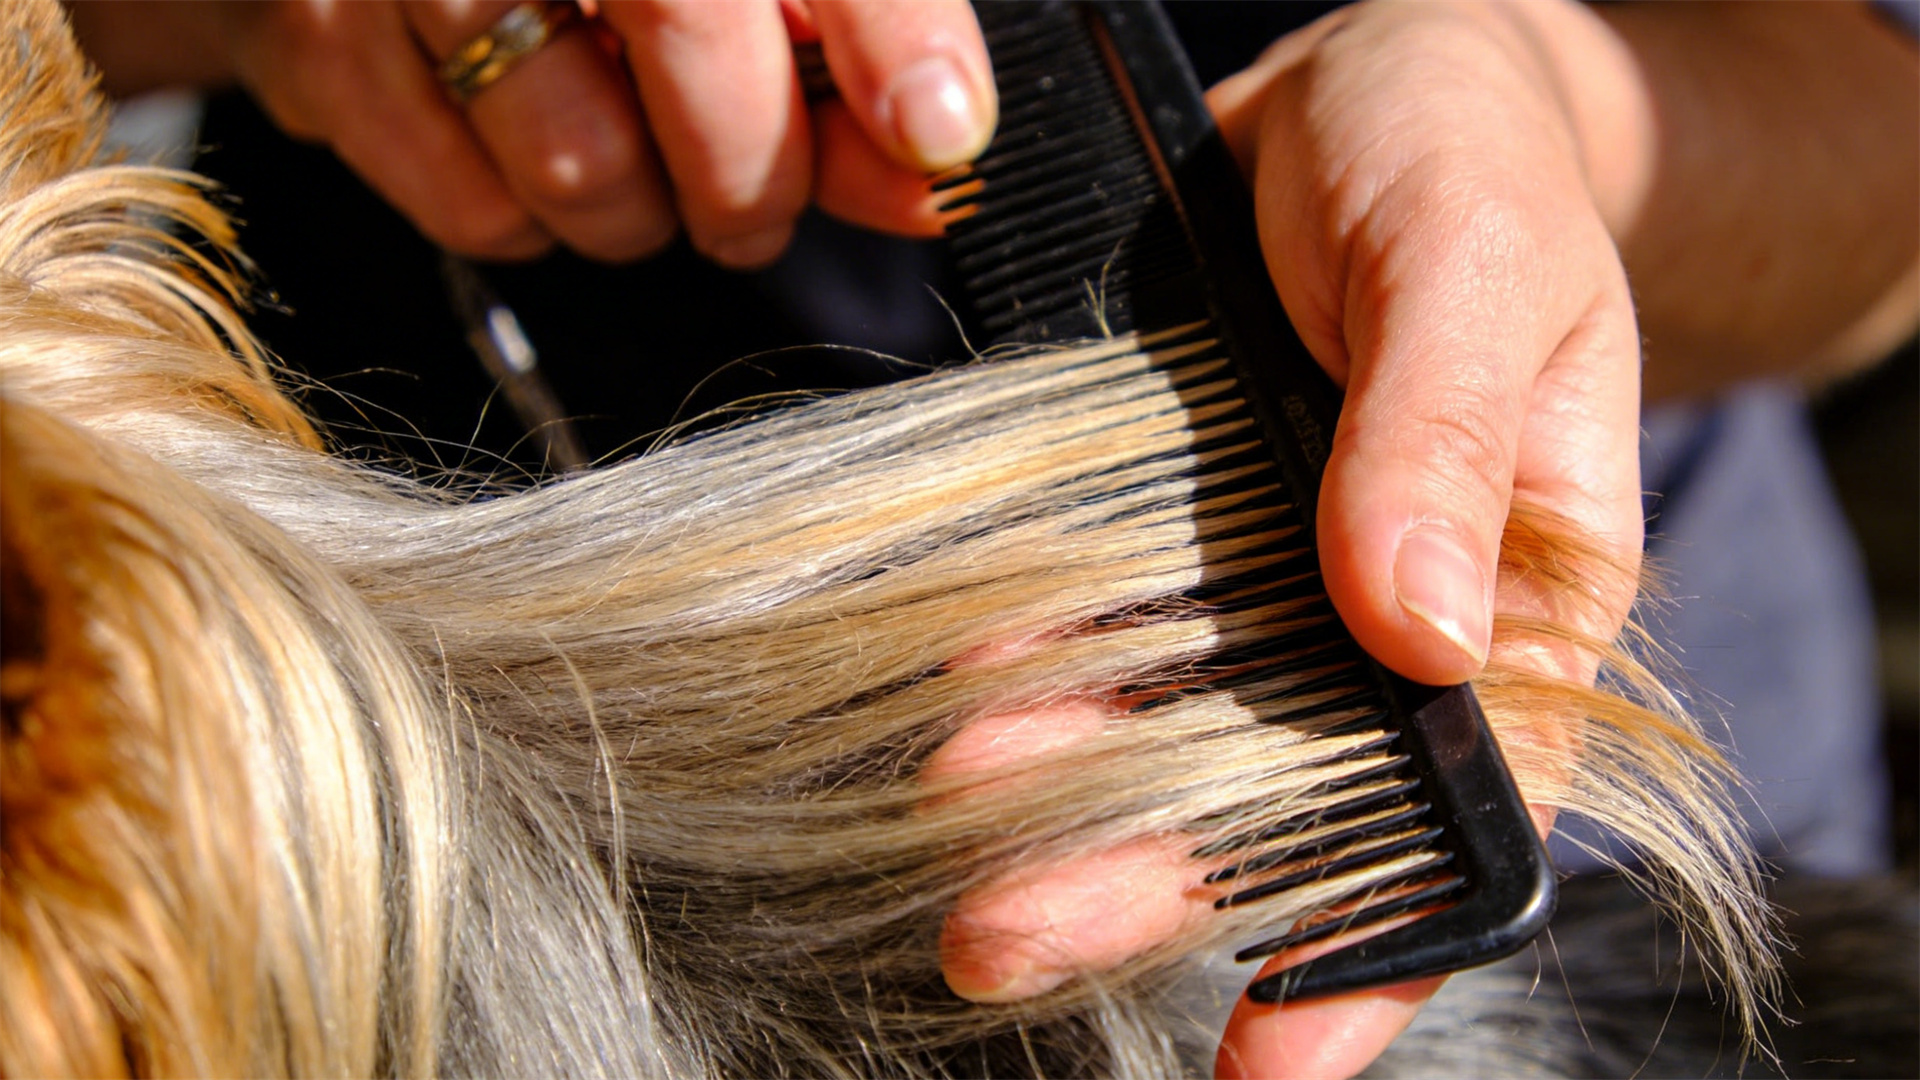
🔍 Anatomy 101: The Dog Nail and the Crucial Quick
To trim safely, you must understand what you're cutting. A dog's nail consists of a hard outer keratin shell and the inner quick—a living tissue packed with nerves and blood vessels. Cutting into it causes pain and bleeding, which is why quick identification is paramount.
👉 Finding the Quick on Light-Colored Nails
On white or clear nails, this is straightforward. The quick appears as a pinkish or reddish oval inside the nail. Always trim the white, translucent tip well before this pink area. A good rule is to leave a 2-3 millimeter margin.
🖤 The Ultimate Challenge: Finding the Quick on Black or Dark Nails
This is where most accidents happen. Since you can't see through the pigment, you need detective skills:
- The Transillumination (Light) Test: Shine a bright, focused flashlight (like a penlight) directly behind the nail in a darkened room. The quick may appear as a dark shadow within the nail. This works best on thinner nails and can reveal a subtle outline.
- The Chalky Ring Method: As you trim tiny slices off the tip, examine the fresh cross-section. The outer shell is hard and dark. The inner, chalky-white or grayish area is safe to cut. The quick is in the center and will appear as a dark, moist dot or a small grayish-pink circle. Stop immediately if you see any change in texture or a potential pinkish center.
- The "Quick Stop" Guide: For most dogs, the quick ends before the nail starts to curve downward. Trim only the hook-like tip where the nail just begins to curve. On average, for a medium-sized dog, removing 1-2 mm per session is safe.
Special Reminder: On black nails, always err on the side of caution. Frequent, small trims (every 2-3 weeks) encourage the quick to recede, giving you more safe nail to work with over time. This is a key strategy in preventing dog nail bleeding.
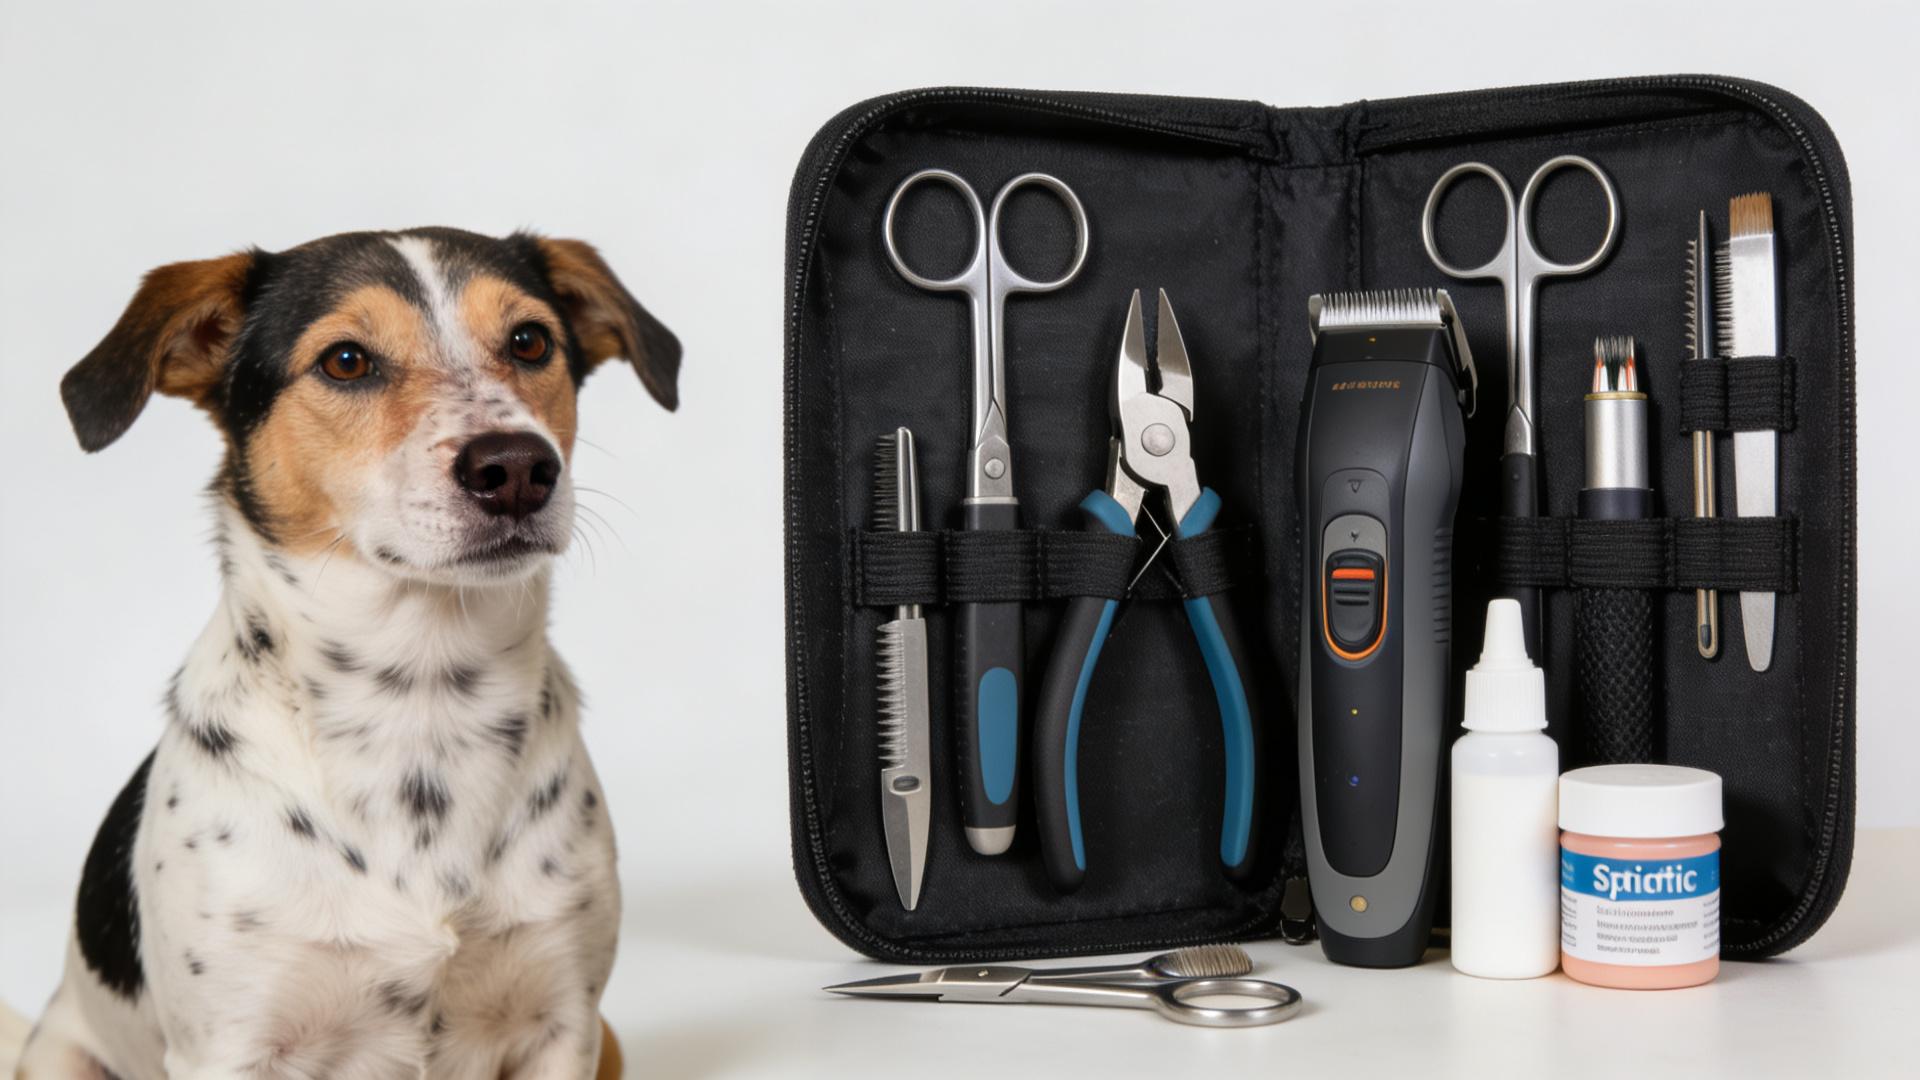
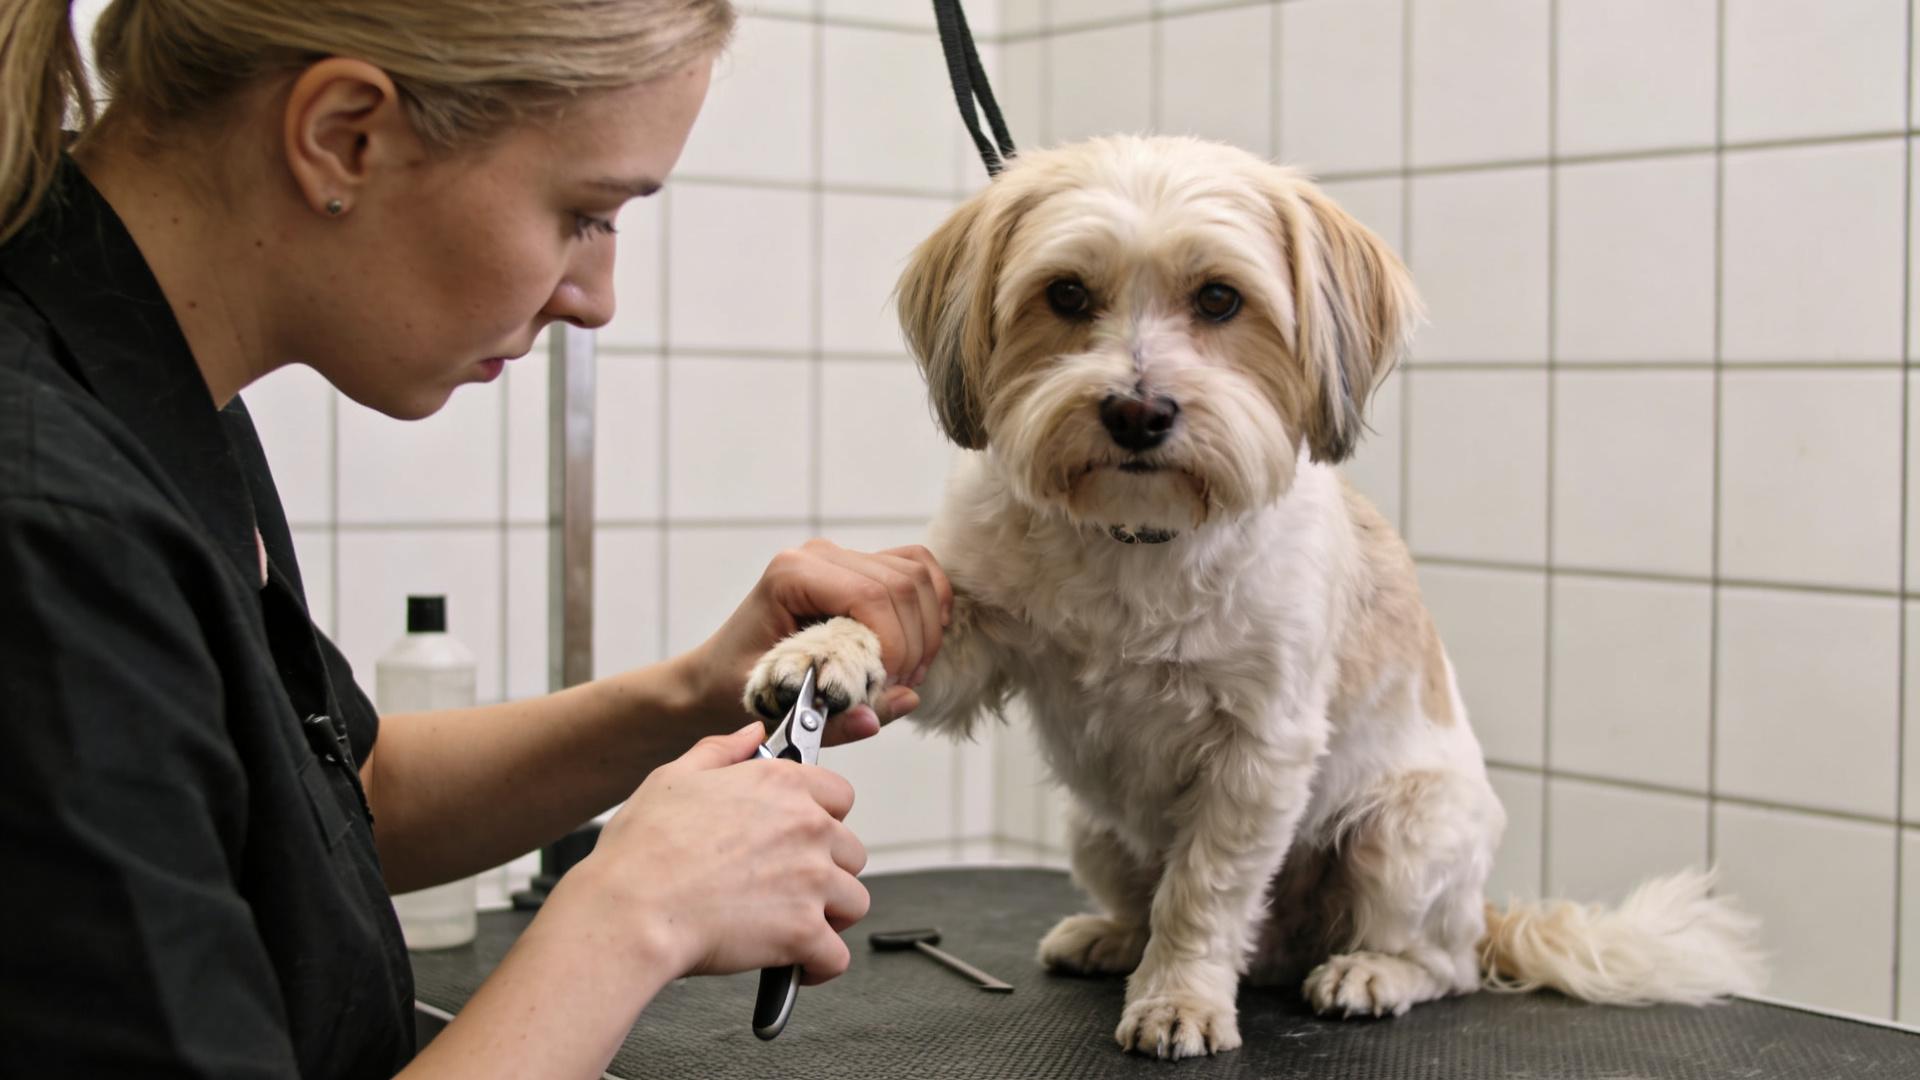
🛠️ Gearing Up: Choosing the Right Dog Nail Trimming Tools
Using proper, well-maintained tools is half the battle. Dull clippers can crush the nail, causing pain even if you miss the quick. Here’s a breakdown of your options:
1. Guillotine-Style Clippers
These have a hole where you insert the nail and a blade that slices across. Ideal for precise cuts on small to medium-sized dogs (e.g., Chihuahuas, Beagles).
- Pro Tip: Ensure the blade is razor-sharp and replaced regularly. Dull blades require more force, increasing risk. The brand Miller's Forge is a groomer favorite for durability.
2. Scissor-Style or Plier Clippers
These work like scissors and offer good leverage for thicker nails on larger breeds (e.g., Labs, German Shepherds). Look for models with a safety guard or limiting bar to prevent over-cutting.
3. Rotary Grinders/Dremels
These tools file the nail down via a rotating sandpaper head, eliminating the sharp "snap" of clippers. Perfect for anxious dogs or for smoothing edges post-trim. They require acclimation to noise and vibration.
- Data Point: An American Kennel Club survey found 42% of owners who switched to grinders reported less stress for their dog. However, avoid overheating the nail—touch for only 2-3 seconds at a time.
4. The Essential First-Aid Kit: Styptic Powder
Always have styptic powder (e.g., Kwik Stop) or a styptic pencil on hand. If you nick the quick, applying this powder immediately contracts blood vessels and stops bleeding in seconds. Cornstarch or flour can work in a pinch but are less effective.
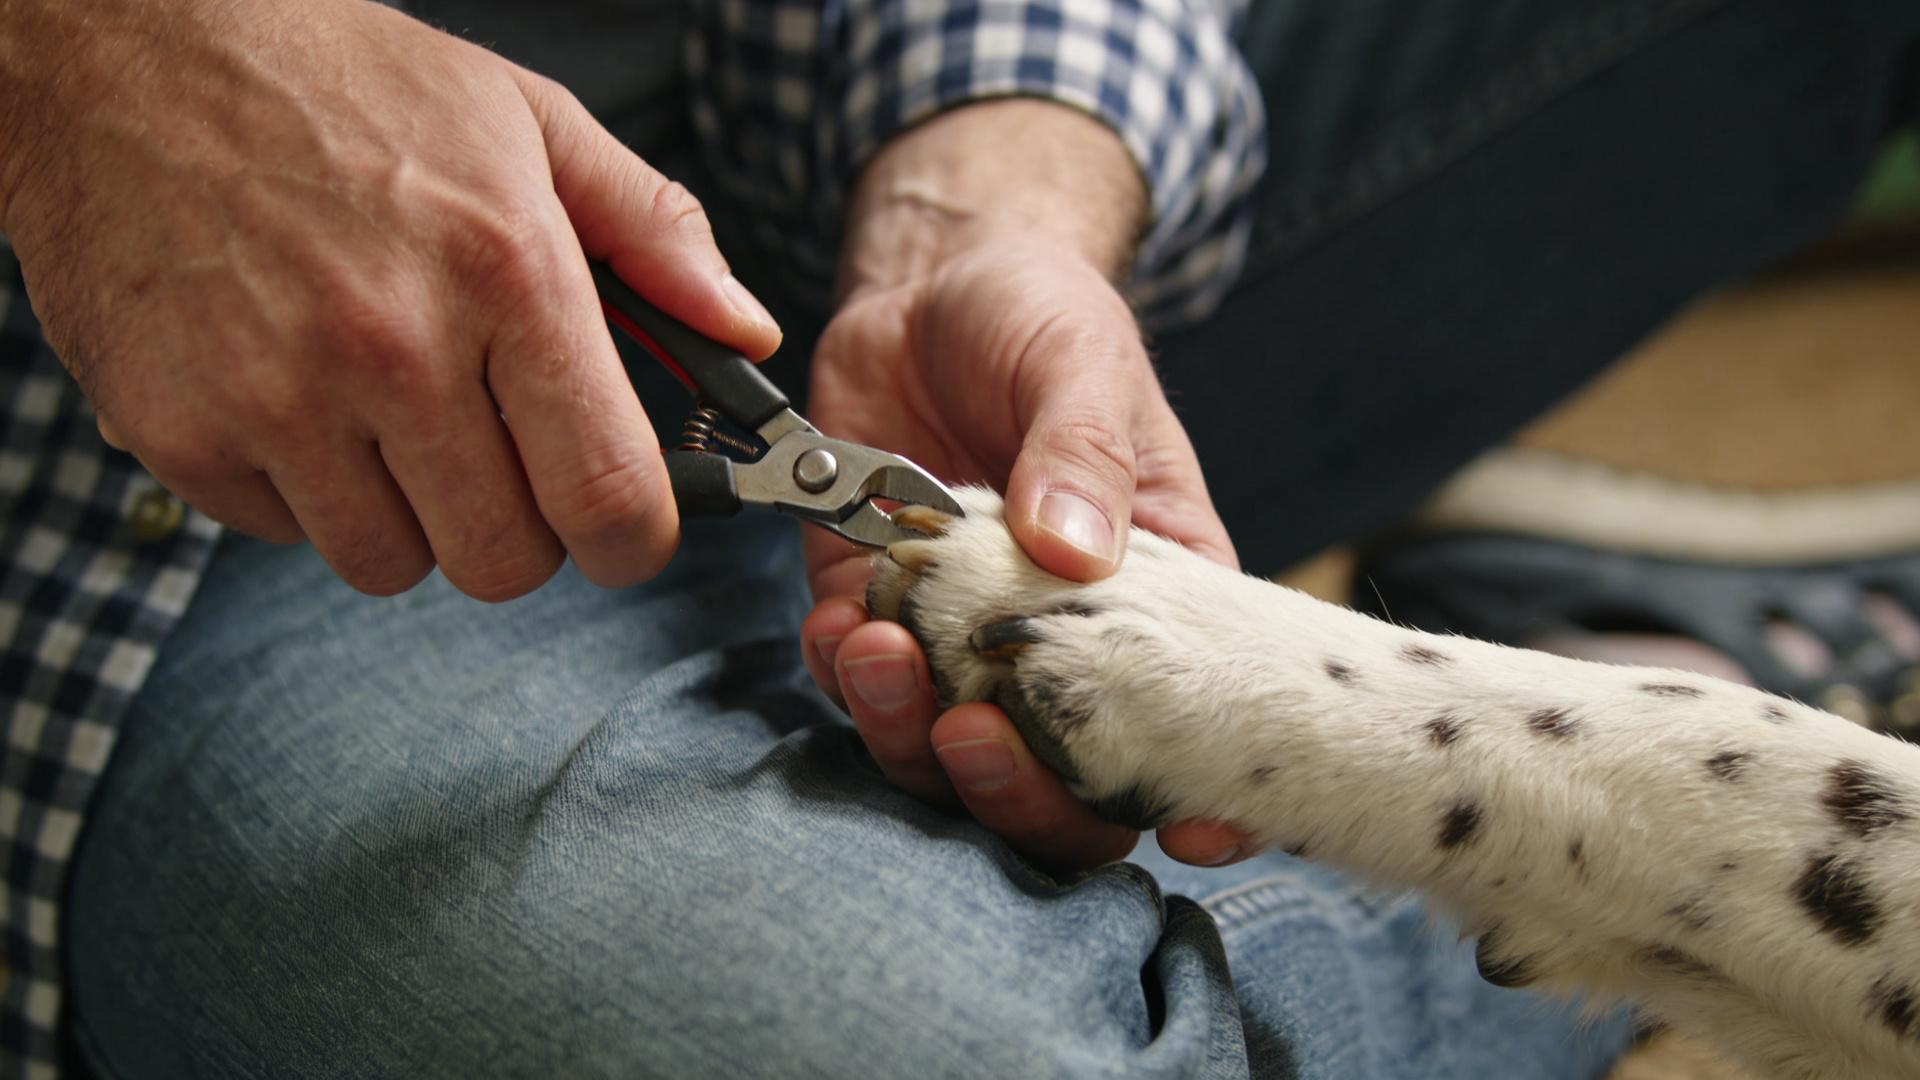
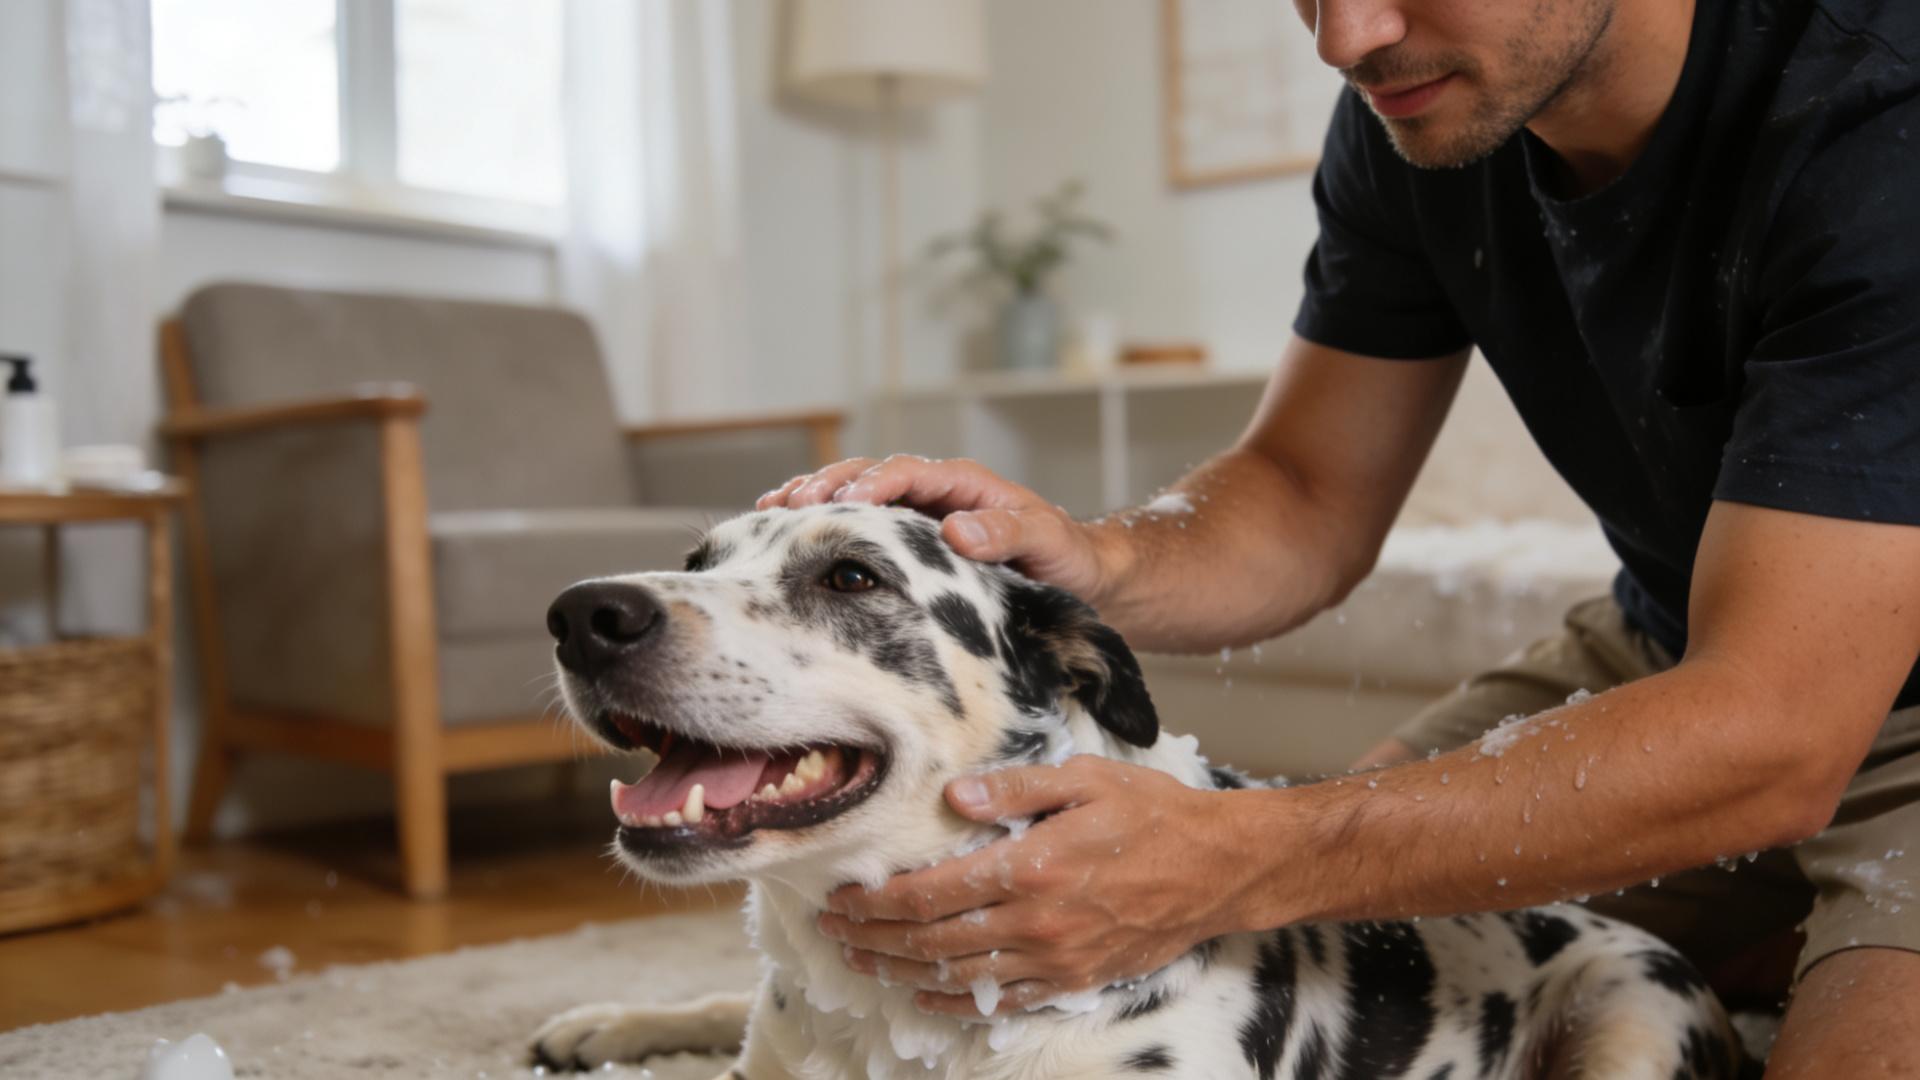
✂️ Your Step-by-Step Dog Nail Trimming Guide
Follow this methodical process for a safe, controlled trim. This step-by-step dog nail trimming guide prioritizes safety and minimizes stress.
Step 1: Set the Scene
Choose a quiet, well-lit area with non-slip flooring. Have all tools—clippers/grinder, styptic powder, and high-value treats (like cheese or chicken)—within reach. Trim after exercise when your dog is naturally calmer and tired.
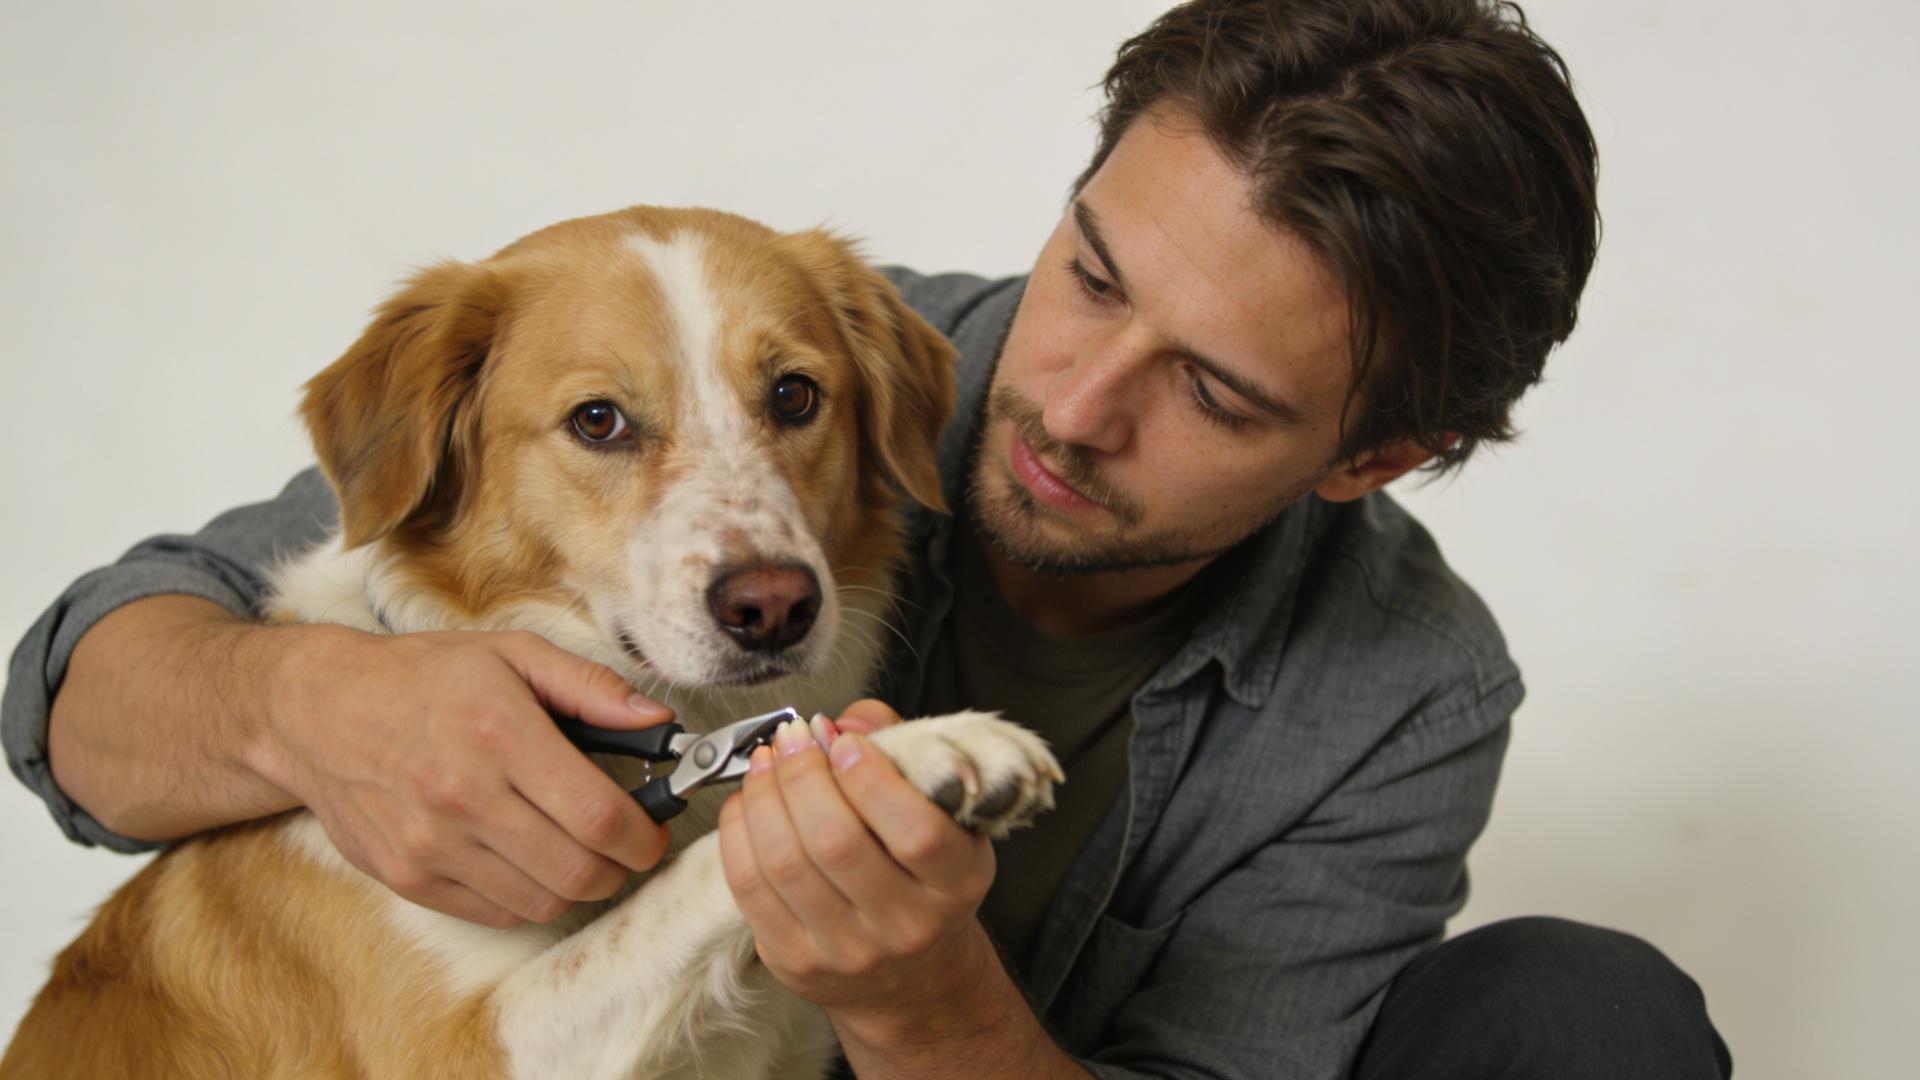
Step 2: Secure and Examine the Paw
Hold your dog's paw firmly but gently, applying consistent, calm pressure. Spread the toes to isolate each nail. Do not squeeze the paw or toes. Take a moment to visually assess where the quick likely ends on each nail.
Step 3: The Trim Itself
For clippers: Position the blade at a 45-degree angle to the nail, with the cutting edge facing the tip. This angle follows the natural contour of the nail pad and prevents splintering.
Golden Rule: Trim small amounts—think "slice of bread" thickness (about 1 mm)—frequently, rather than one big chop. After each tiny cut, check the nail's cross-section for the chalky ring. Stop before you see any dark or pinkish center. For dewclaws, be extra cautious as they are often shorter and have a quicker quick.
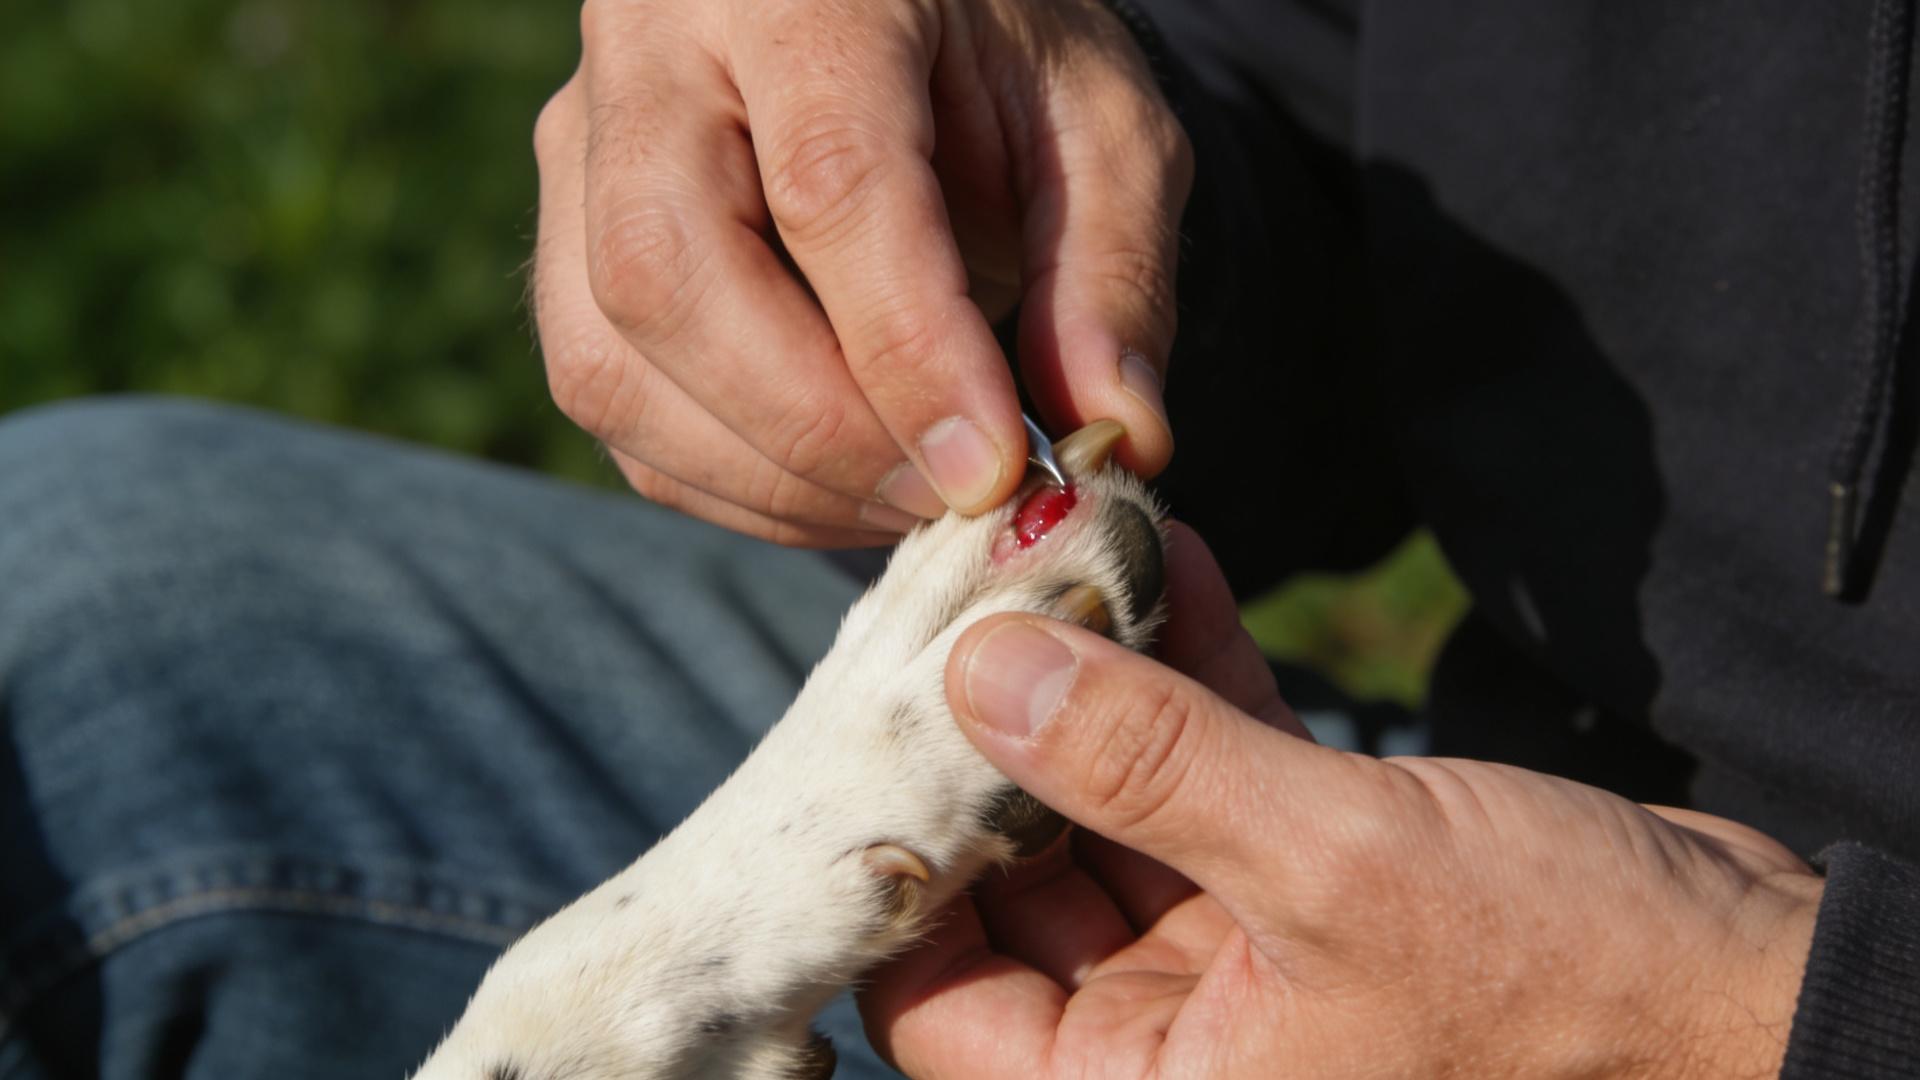
Step 4: Handling Accidents Gracefully
If you see a drop of blood, don't panic. Your dog will mirror your energy. Calmly apply styptic powder with direct pressure for 15-30 seconds. Praise your dog and offer a treat. Most minor nicks stop bleeding quickly and heal within a day.
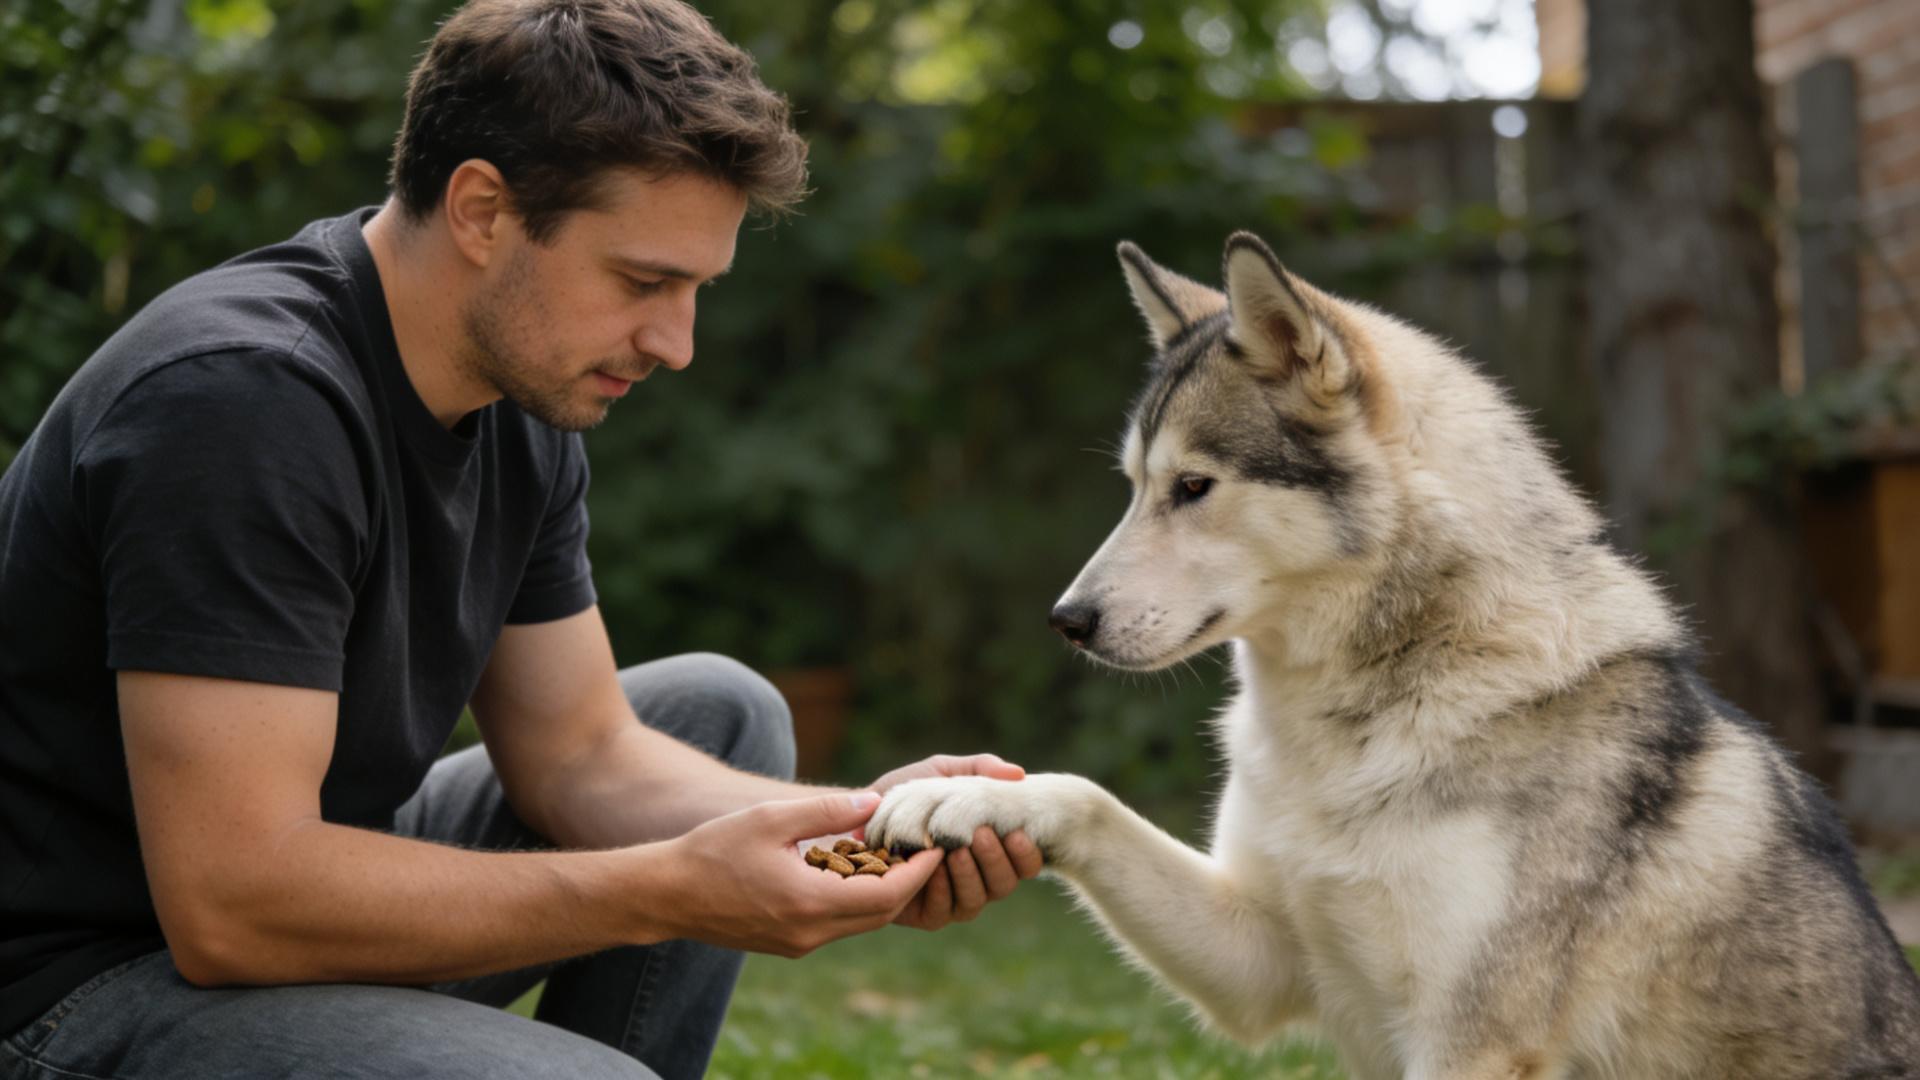
😌 Transforming Trauma into Trust: Calming Your Dog for Nail Trims
Training and desensitization are long-term solutions. The goal is to build positive associations, turning fear into tolerance.
1. Systematic Paw Desensitization
For two weeks, without any tools, handle your dog's paws daily. Gently touch, hold, and massage them while feeding high-value treats. Progress to pressing lightly on each nail. This builds a foundation of trust.
2. Tool Desensitization and Counter-Conditioning
Let your dog sniff the clippers or grinder (turned off). Click and treat for any calm interaction. For grinders, progress in stages: turn it on at a distance, then closer, then briefly touch it to a nail without filing, all while feeding treats. This process may take several sessions.
3. The "Quick Session" Protocol
Keep sessions short and positive. Aim for one paw per day, or even just one nail, followed by a jackpot reward. End on a good note, even if you only trimmed two nails. Consistency over time is key.
4. Employ Calming Aids and Distractions
For extremely anxious dogs, consult your vet about calming supplements (e.g., those with L-theanine or Adaptil pheromone sprays). Using a lick mat smeared with peanut butter during the trim can provide powerful distraction.
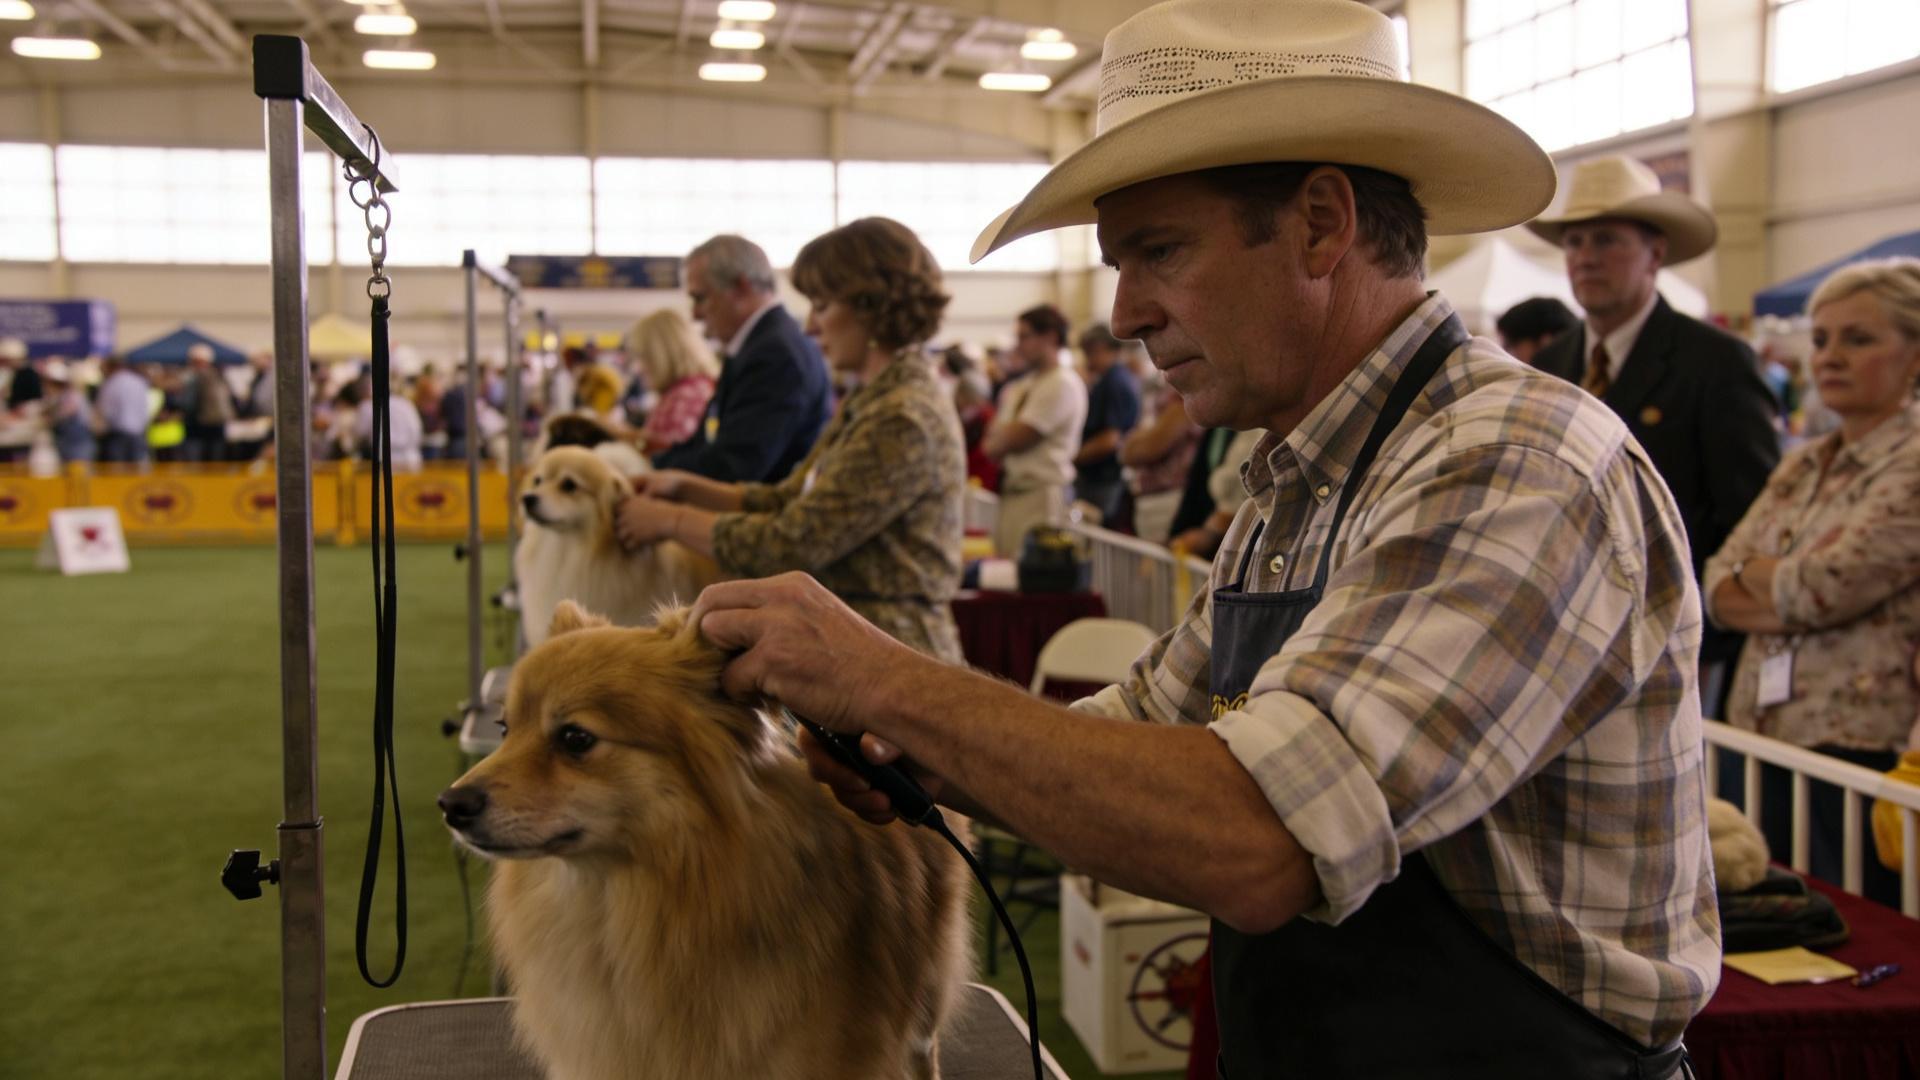
👩⚕️ When to Call in the Pros: Seeking Professional Help
There's no shame in asking for help. If your dog's anxiety is severe—showing signs of aggression, trembling, or extreme panic—a professional is the safest option for everyone's health and well-being.
- Professional Groomers: They have experience handling difficult dogs and can often complete a trim quickly. Many use techniques like "happy hoodies" and have assistants for calming. Some even offer mobile services for less stress.
- Your Veterinarian: If grooming is impossible due to stress, your vet can perform the trim, sometimes with mild sedation or anti-anxiety medication for the dog's welfare. This is a valid and responsible choice, especially for dogs with history of trauma or extremely overgrown nails where the quick is extended.
Signs you need pro help include: growling/snapping, hiding, uncontrollable shaking, or previously causing injury to themselves or a handler during attempts.
🎯 Conclusion: The Path to Stress-Free Pawdicures
Dog nail trimming is a skill that improves with patience, knowledge, and consistency. By understanding your dog's fears, mastering quick identification, using the right tools, and employing positive reinforcement, you can turn a stressful ordeal into a routine act of care. Remember, the goal is progress, not perfection. Prioritize your dog's safety and comfort above all else. With this complete guide, you're now equipped to handle dog not cooperating with nail trimming challenges confidently. Here's to happy, healthy paws! 🐶💅