Imagine a dog bath that doesn’t end with a soaked bathroom, an aching back, and a stressed-out pup. That dream can be your reality. This guide will show you how to convert your ordinary bathroom into a fully functional, efficient, and professional pet grooming room, empowering you to achieve salon-quality results independently.
😫 The Home Bathing Struggle: Why DIY Grooming Feels Like a Battle
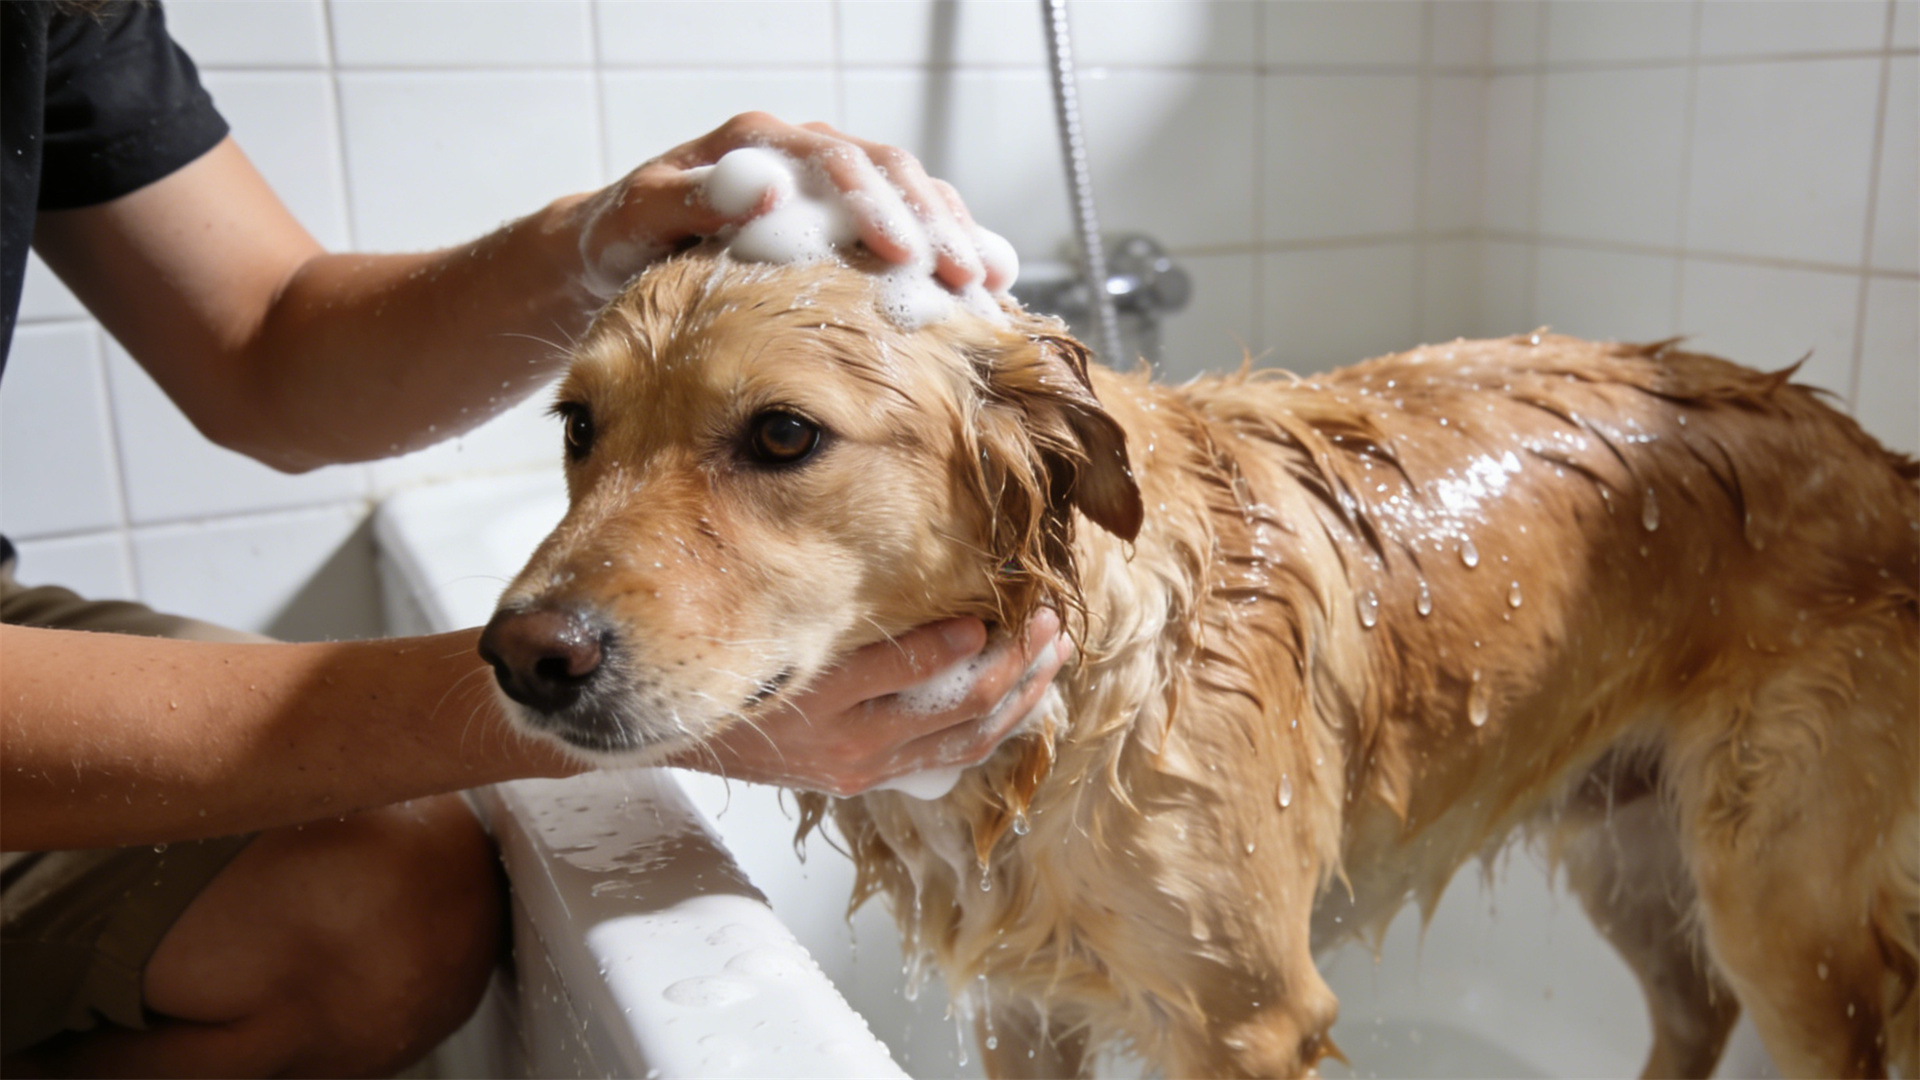
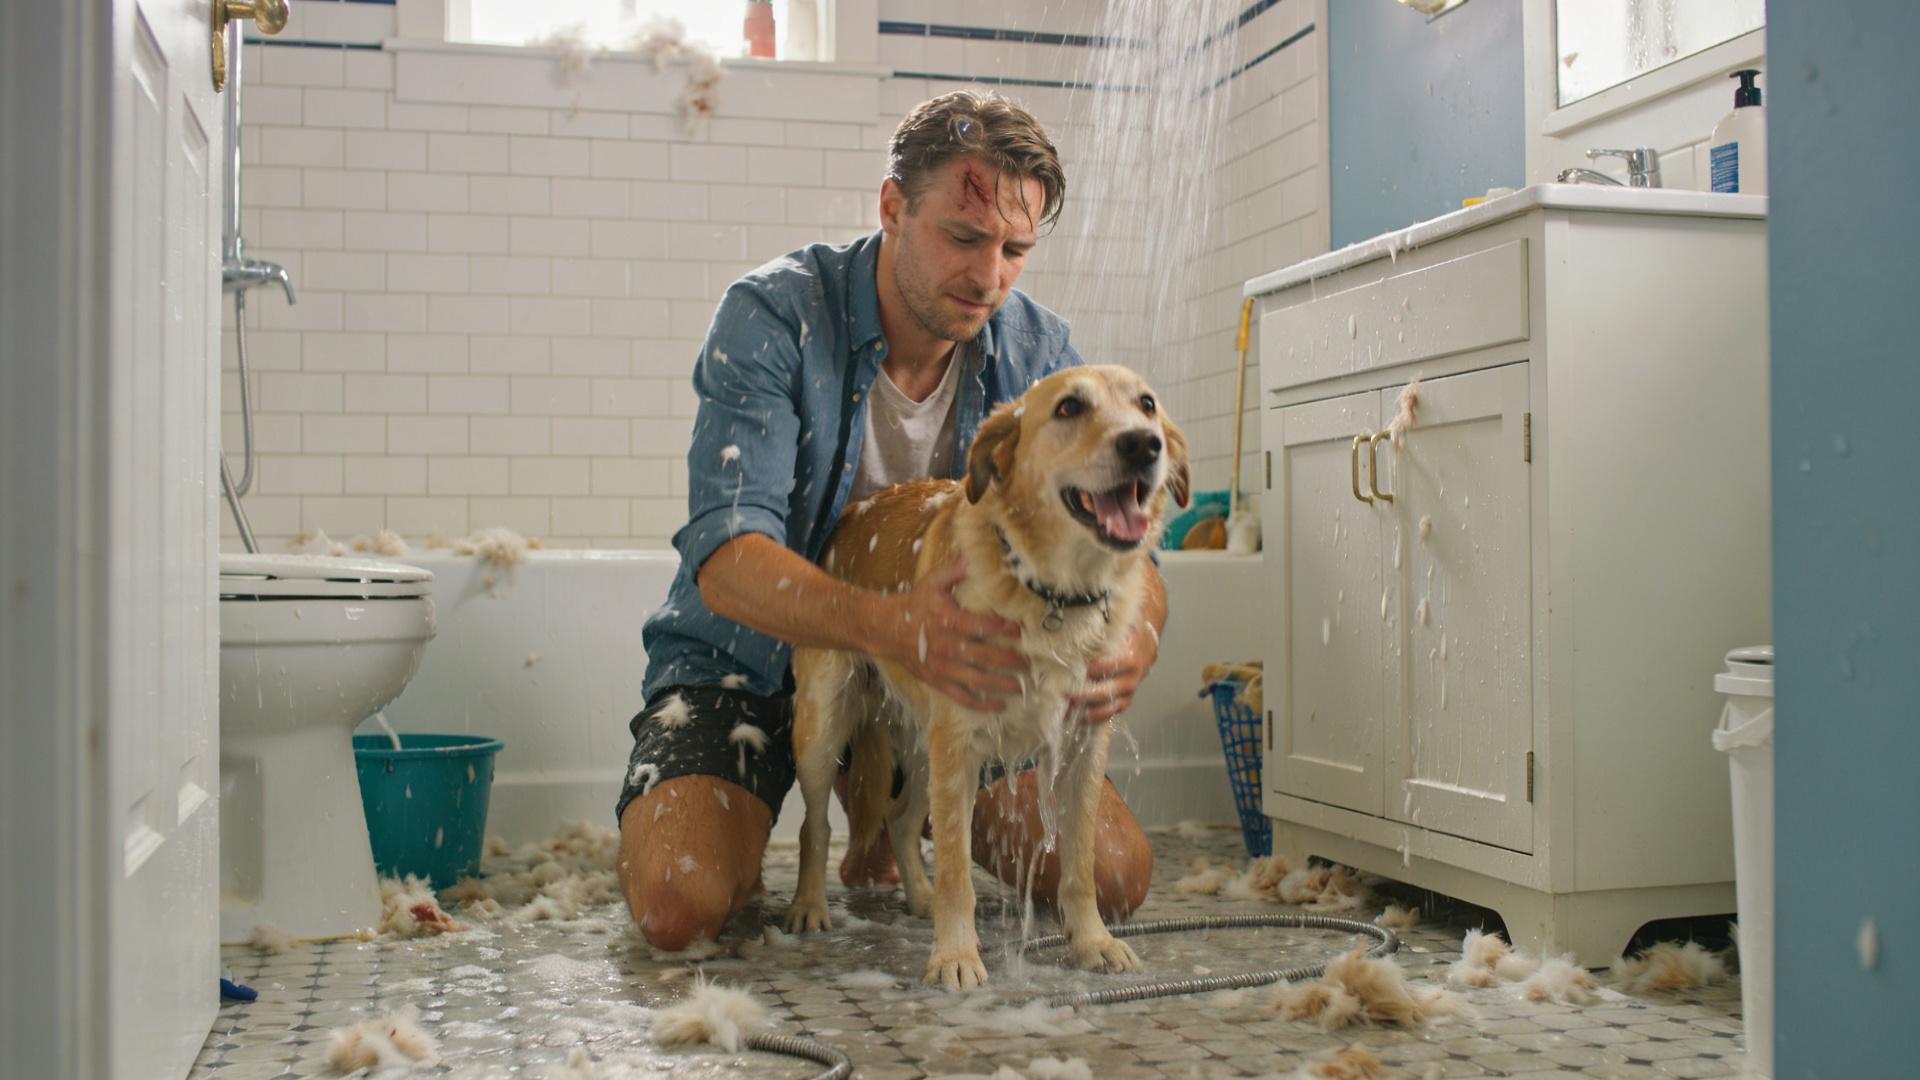
Let's be honest: home dog bathing is often a chaotic, messy ordeal. You're contorting yourself over a tub, struggling to contain a slippery, anxious dog while water and fur coat every surface. The result? A half-clean pet, a massive cleanup job, and the sinking feeling that it's just easier to pay someone else.
This frustration stems from a simple mismatch: you're using a human-centric space for a specialized animal task. Without the right setup, you're set up for stress. But what if your bathroom could work for you, not against you?
🌟 The Vision: Your Personal, Professional Pet Grooming Sanctuary
Envision a dedicated pet bathing station where everything has its place. A secured, comfortable dog stands patiently at the perfect height. Warm, controlled water flows from a flexible hose. Powerful suction keeps the floor dry, and all your tools are within arm's reach.
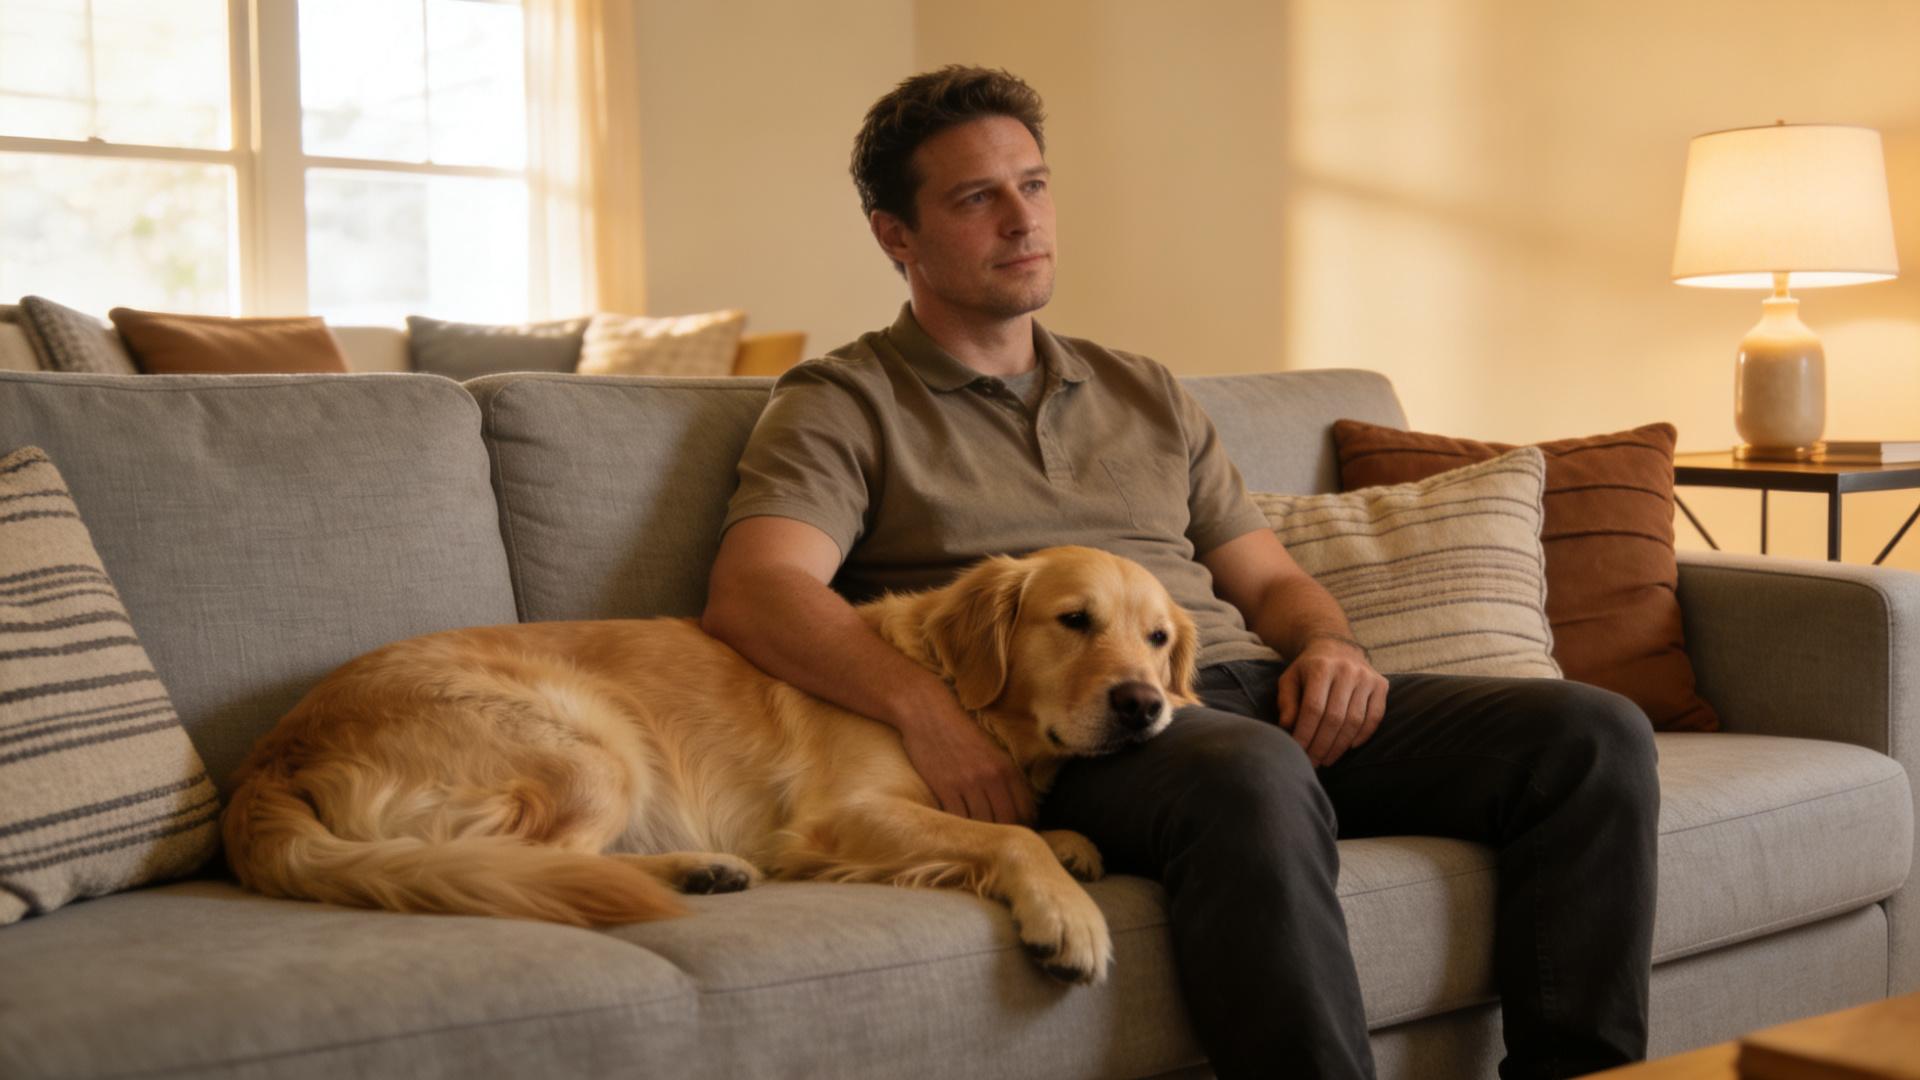
The benefits are profound: significant long-term cost savings, the ultimate convenience of grooming on your schedule, the pride of mastering professional grooming techniques at home, and the deepened bond that comes from caring for your pet in a calm, controlled environment.
🛠️ Step-by-Step: Your Bathroom to Grooming Room Conversion Blueprint
This transformation doesn't require a full remodel. It's about strategic upgrades that turn your existing bathroom into a highly efficient dog grooming bathroom.
Phase 1: The Foundation – Safety and Containment
Pain Point: A wet, scrambling dog is a safety hazard. Slipping in the tub or bolting mid-bath causes injury and chaos.
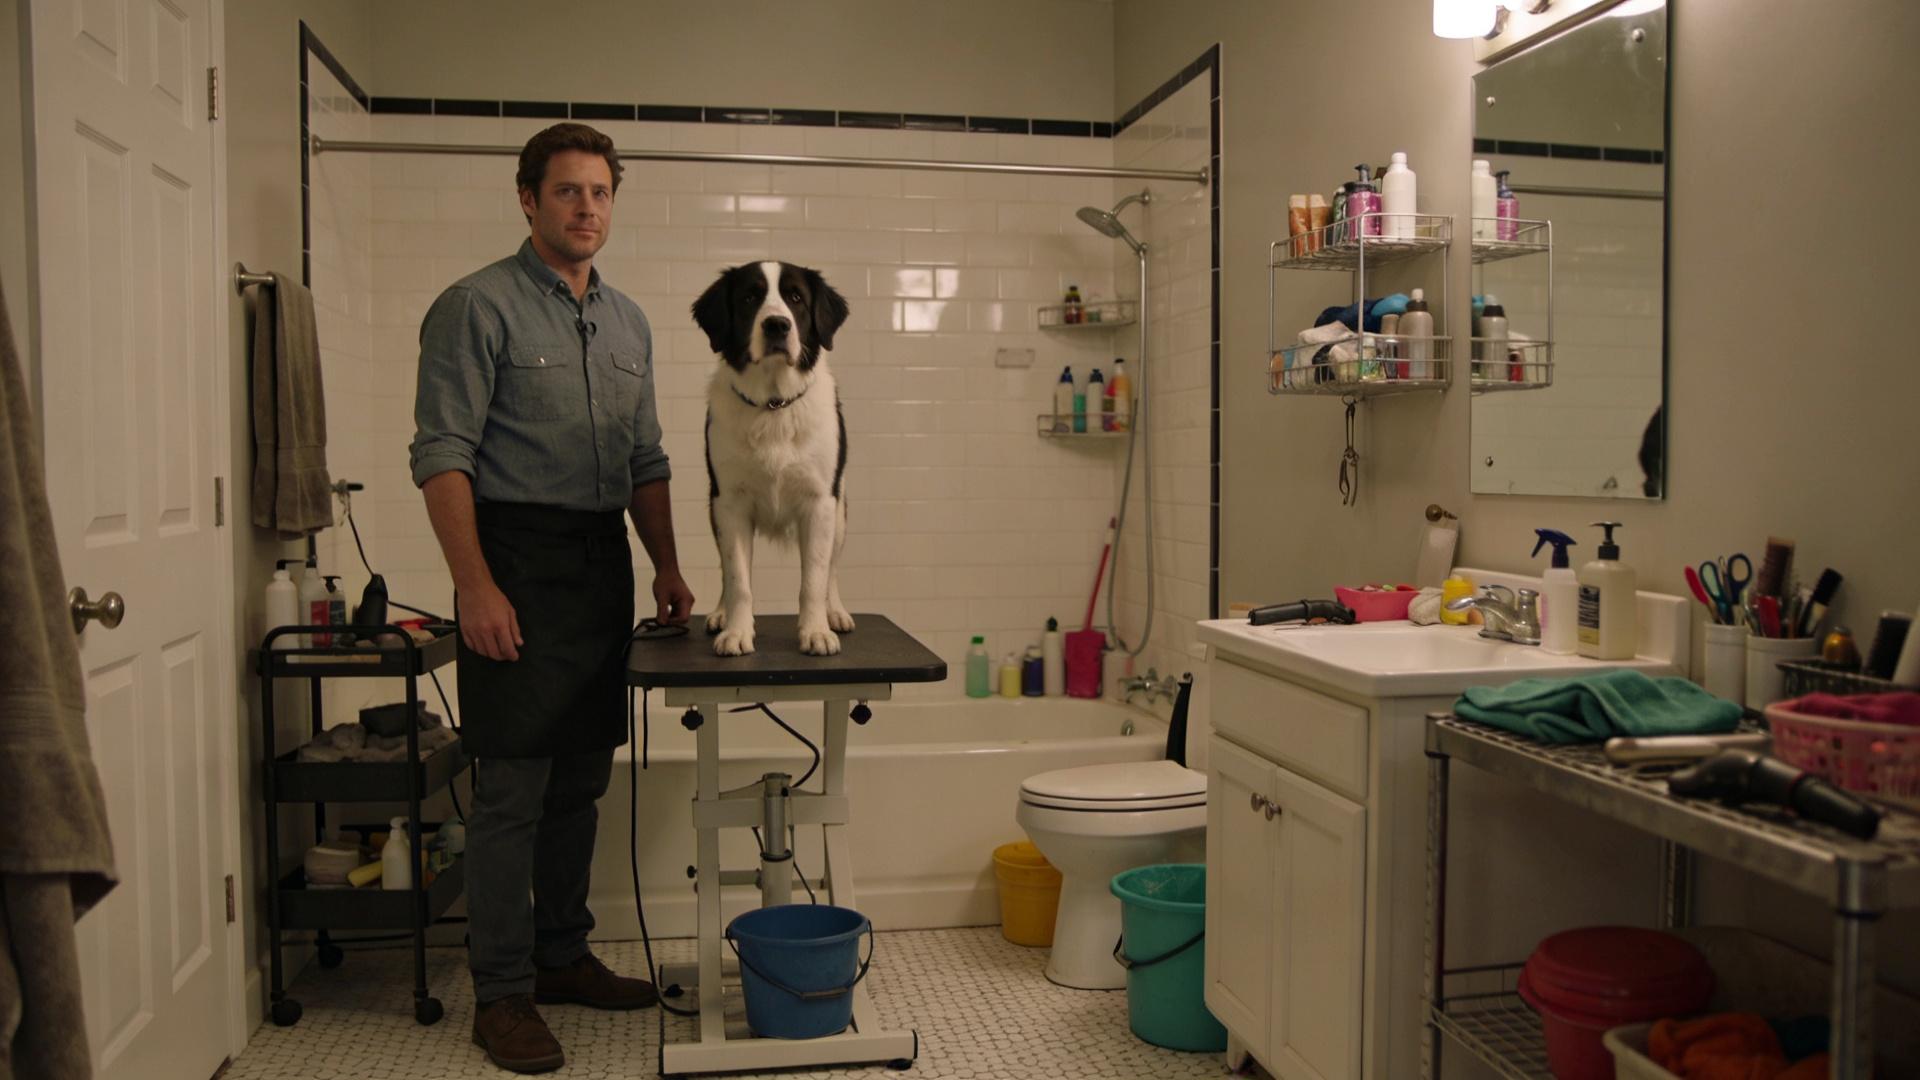
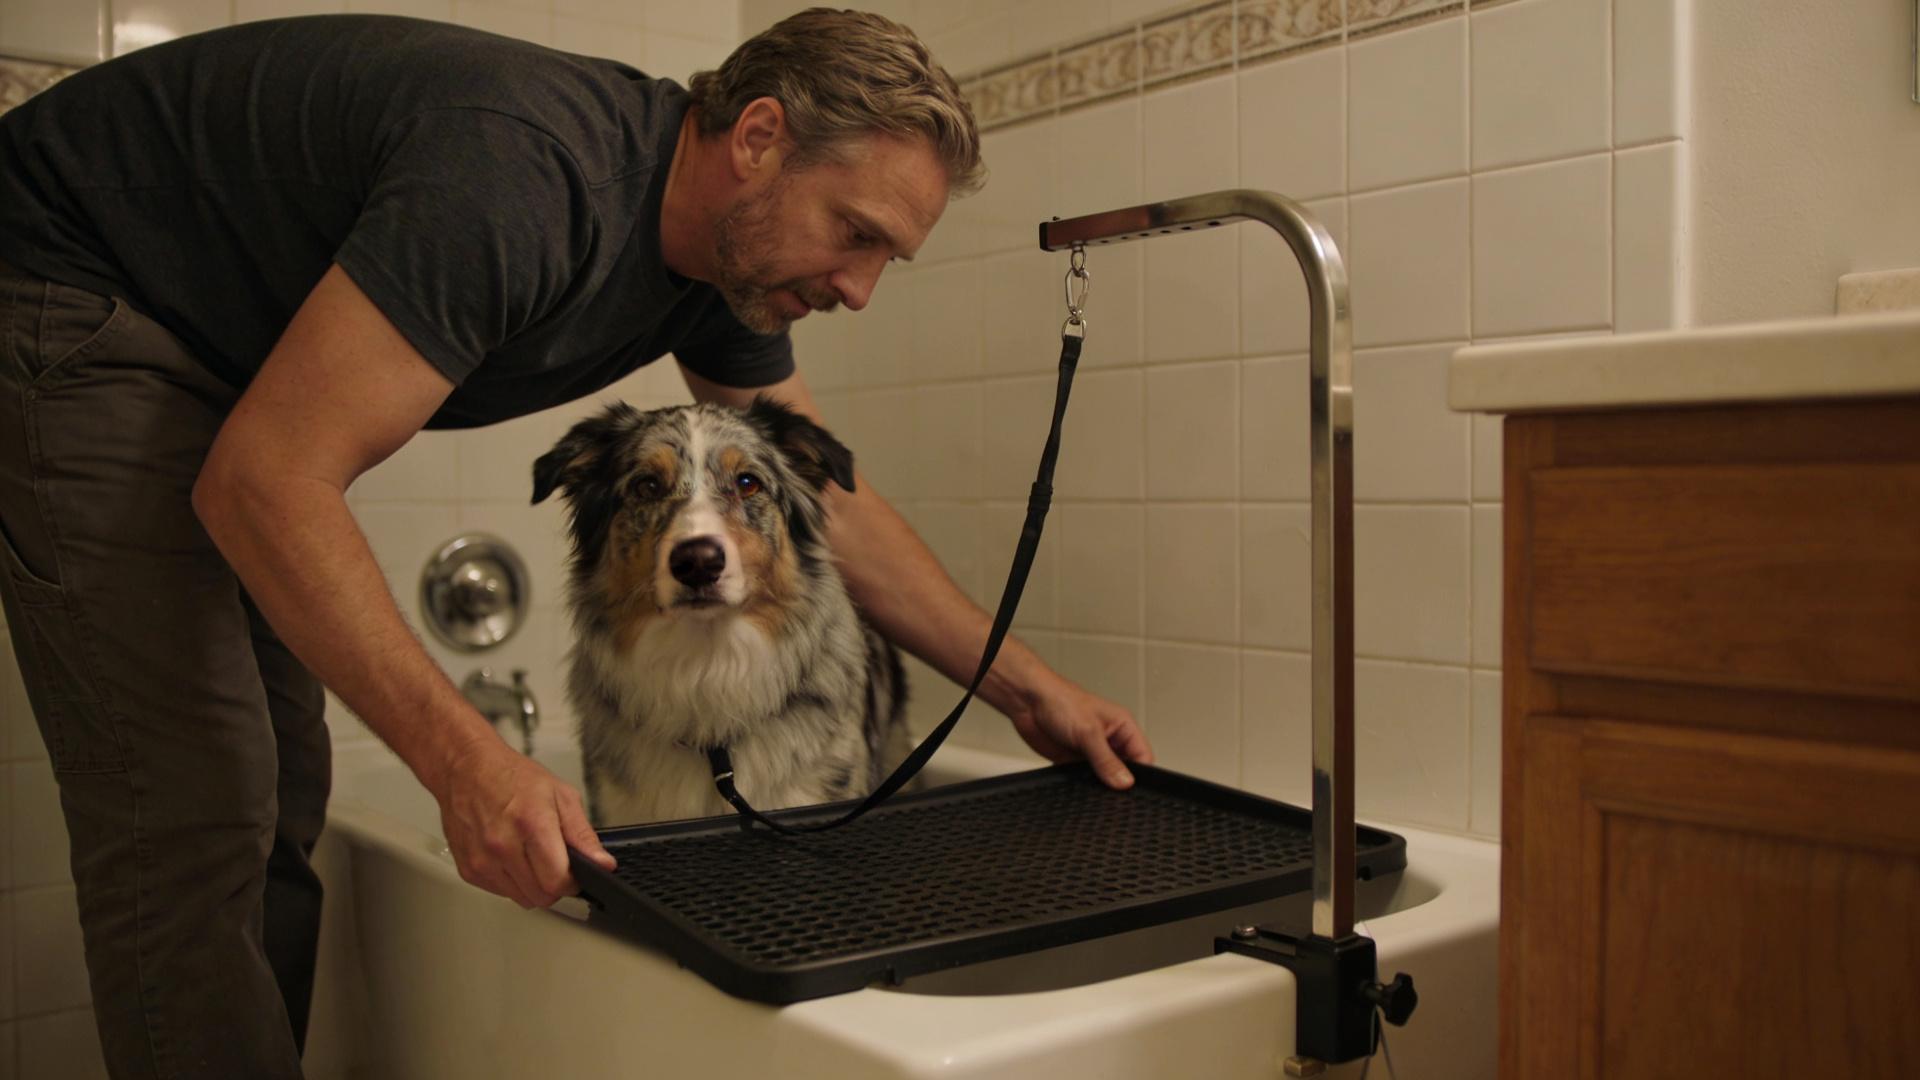
Solution: Establish a secure foundation. The single most important investment is a non-slip bath mat or tub tray. For ultimate security and ergonomics, install a wall-mounted or freestanding grooming arm with a noose. This gently restrains your dog at chest level, preventing jumps and giving you two free hands. It’s the cornerstone of any professional pet grooming room setup.
Phase 2: Hydrodynamics – Mastering Water and Mess
Pain Point: A rigid showerhead forces you to lift and maneuver a heavy, wet dog, leading to back strain and uneven rinsing.
Solution: Upgrade your water delivery. A handheld showerhead with a long hose (6+ feet) and multiple spray settings is essential. The "shower" or "massage" setting is ideal for wetting and rinsing, while a softer mist can help calm anxious pets. Pair this with a quick-connect water shutoff valve to pause water flow instantly without adjusting temperature knobs.
To combat the dreaded wet floor, use a high-absorbency, machine-washable bath mat outside the tub. For a next-level solution, a portable wet-dry vacuum can instantly suck up puddles and stray hair post-groom.
Phase 3: Organization – Your Tool Command Center
Pain Point: Fumbling for shampoo under the sink while your shivering dog waits leads to a disjointed, rushed process.
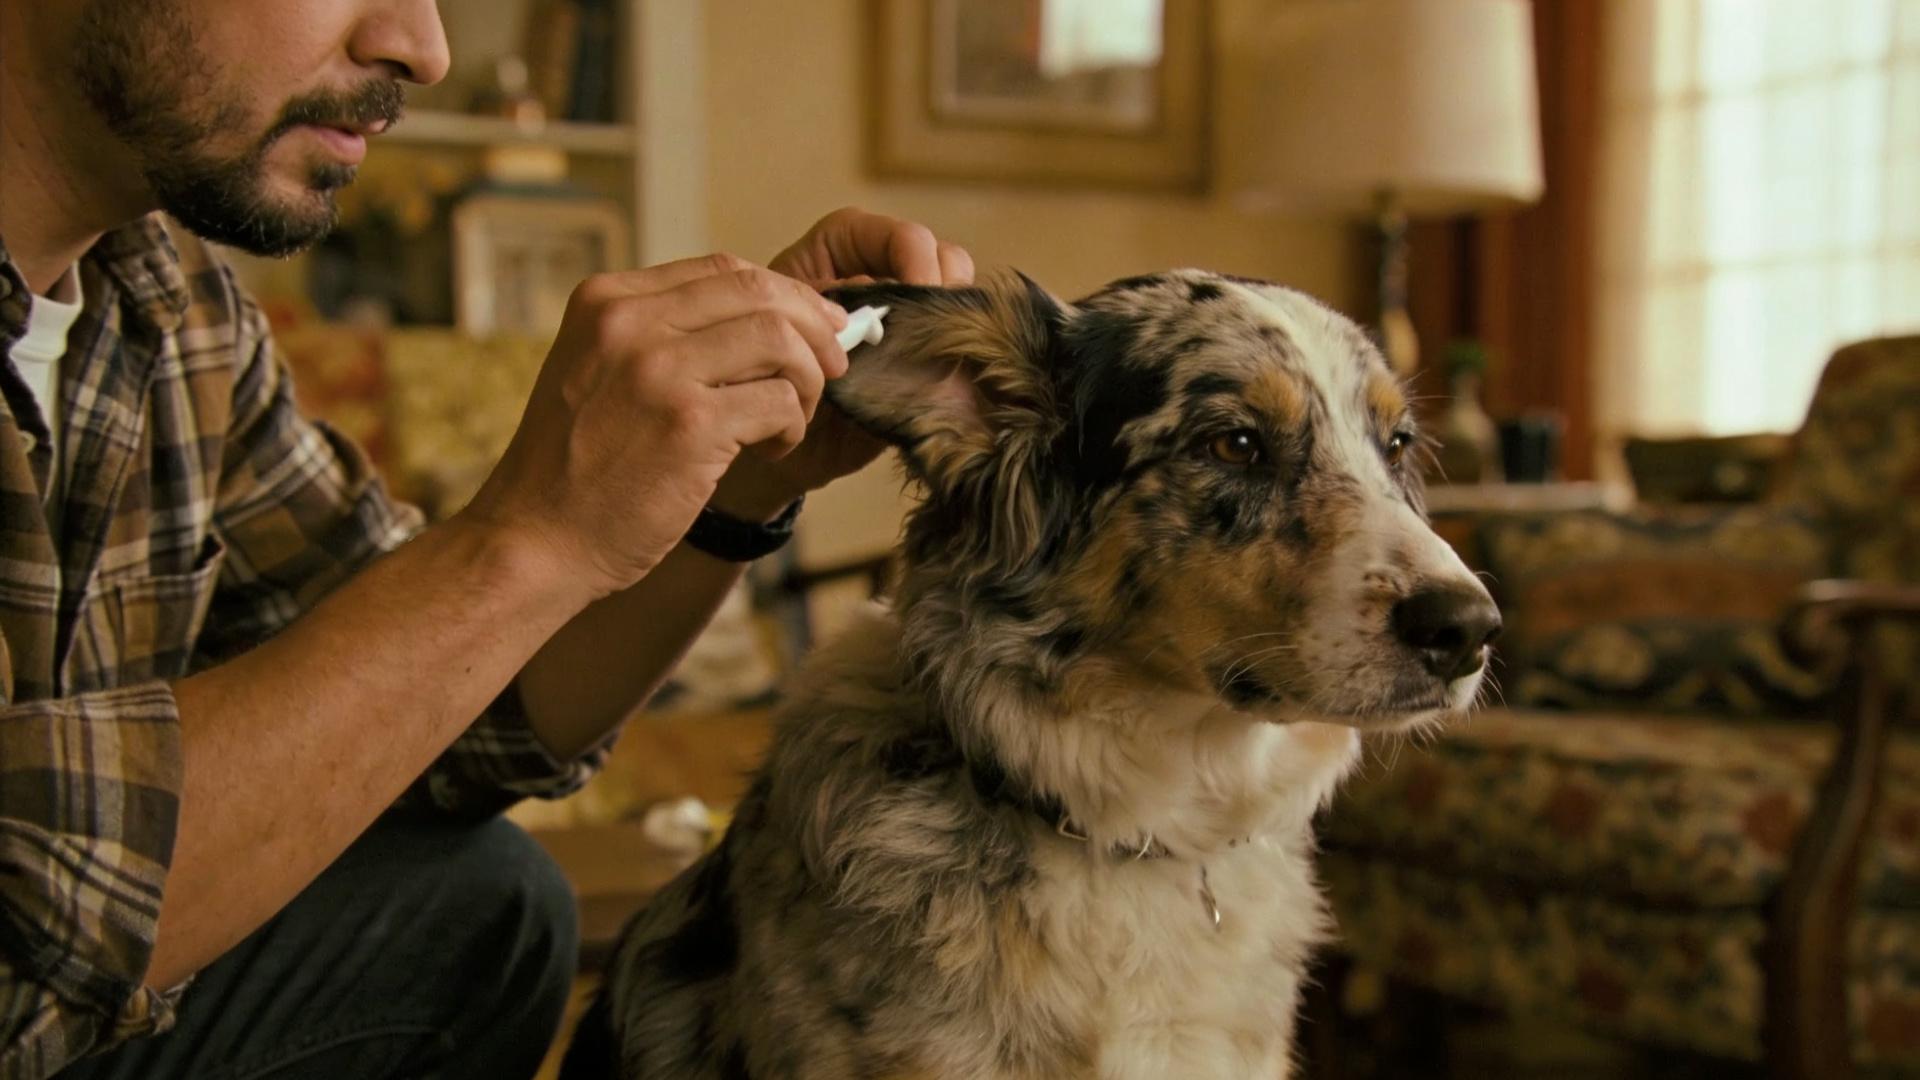
Solution: Create a dedicated storage system. Use a caddy, wall-mounted shelves, or over-the-tub organizer. Store products in order of use: pre-bath supplies (brushes, cotton balls for ears), bathing supplies (shampoo, conditioner, sprayer), and drying/finishing tools (towels, dryer, clippers). This turns your home grooming for dogs into a smooth, professional workflow.
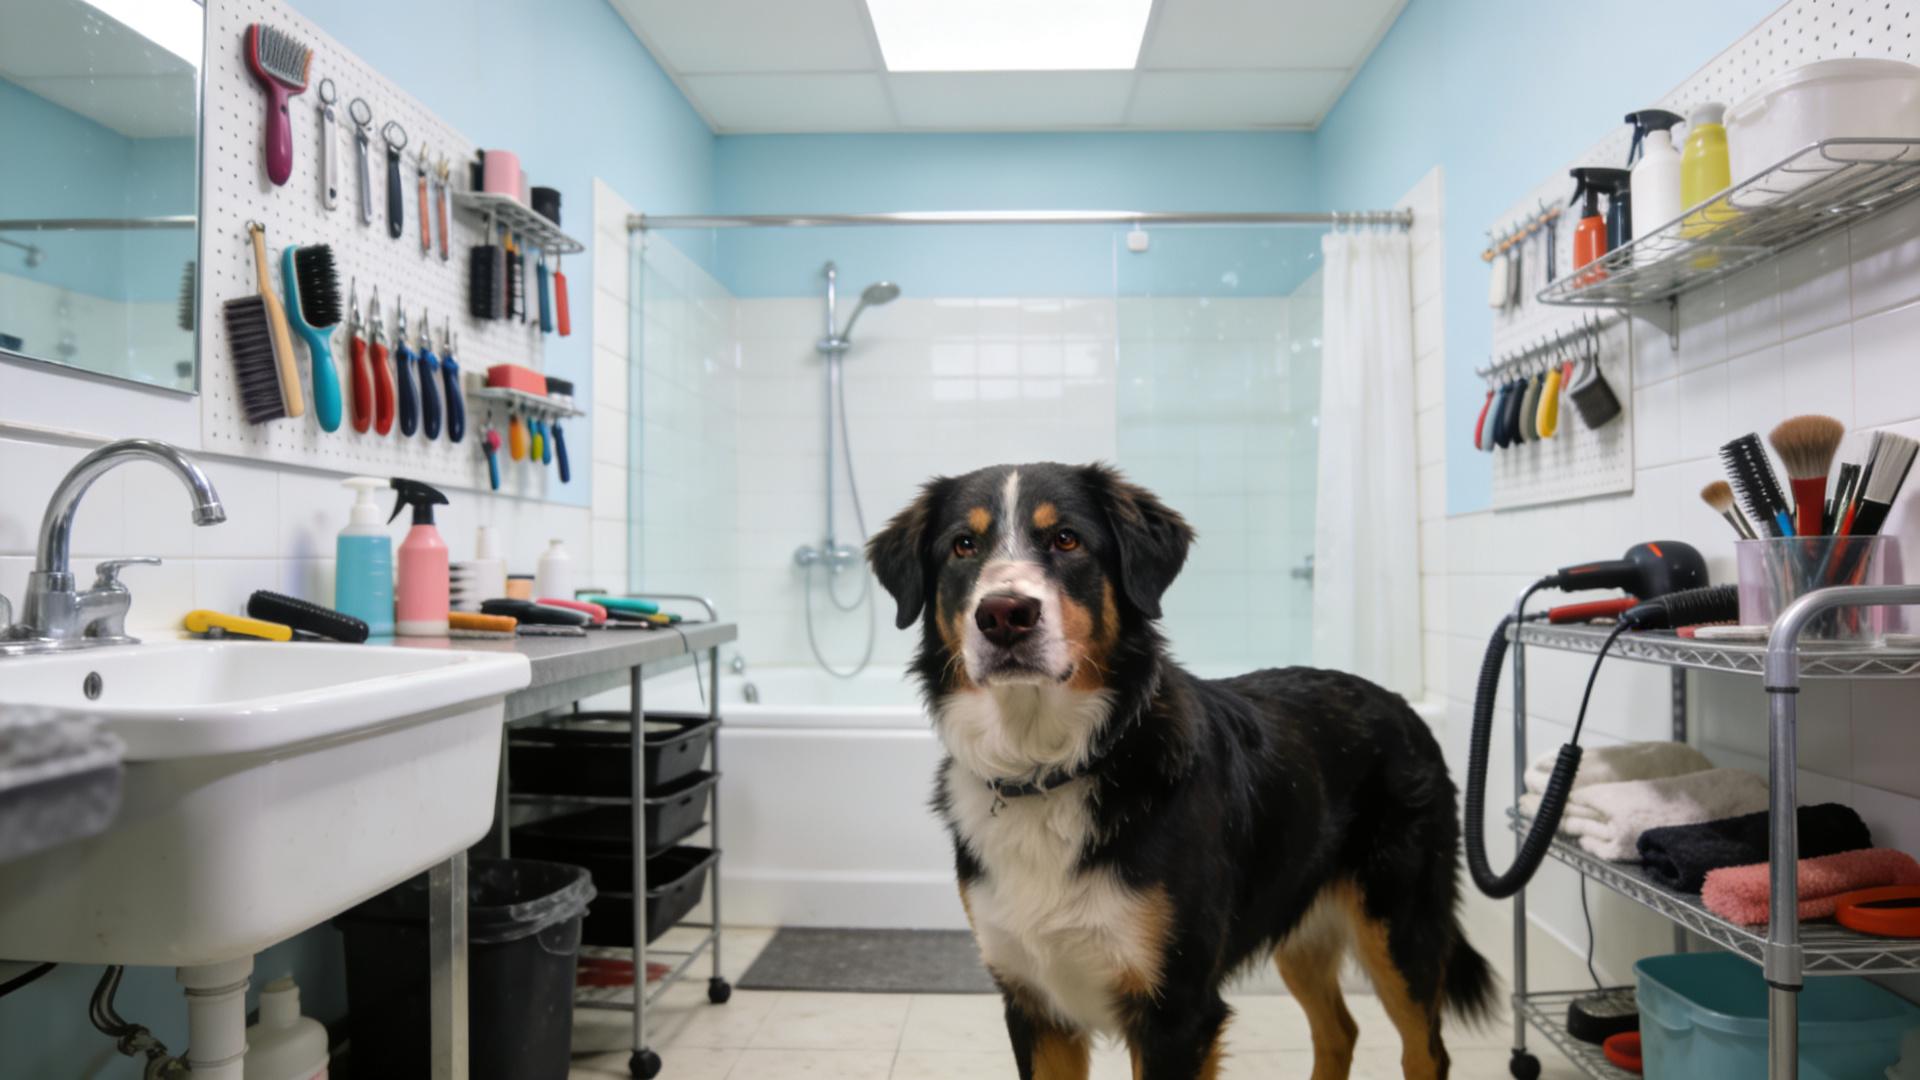
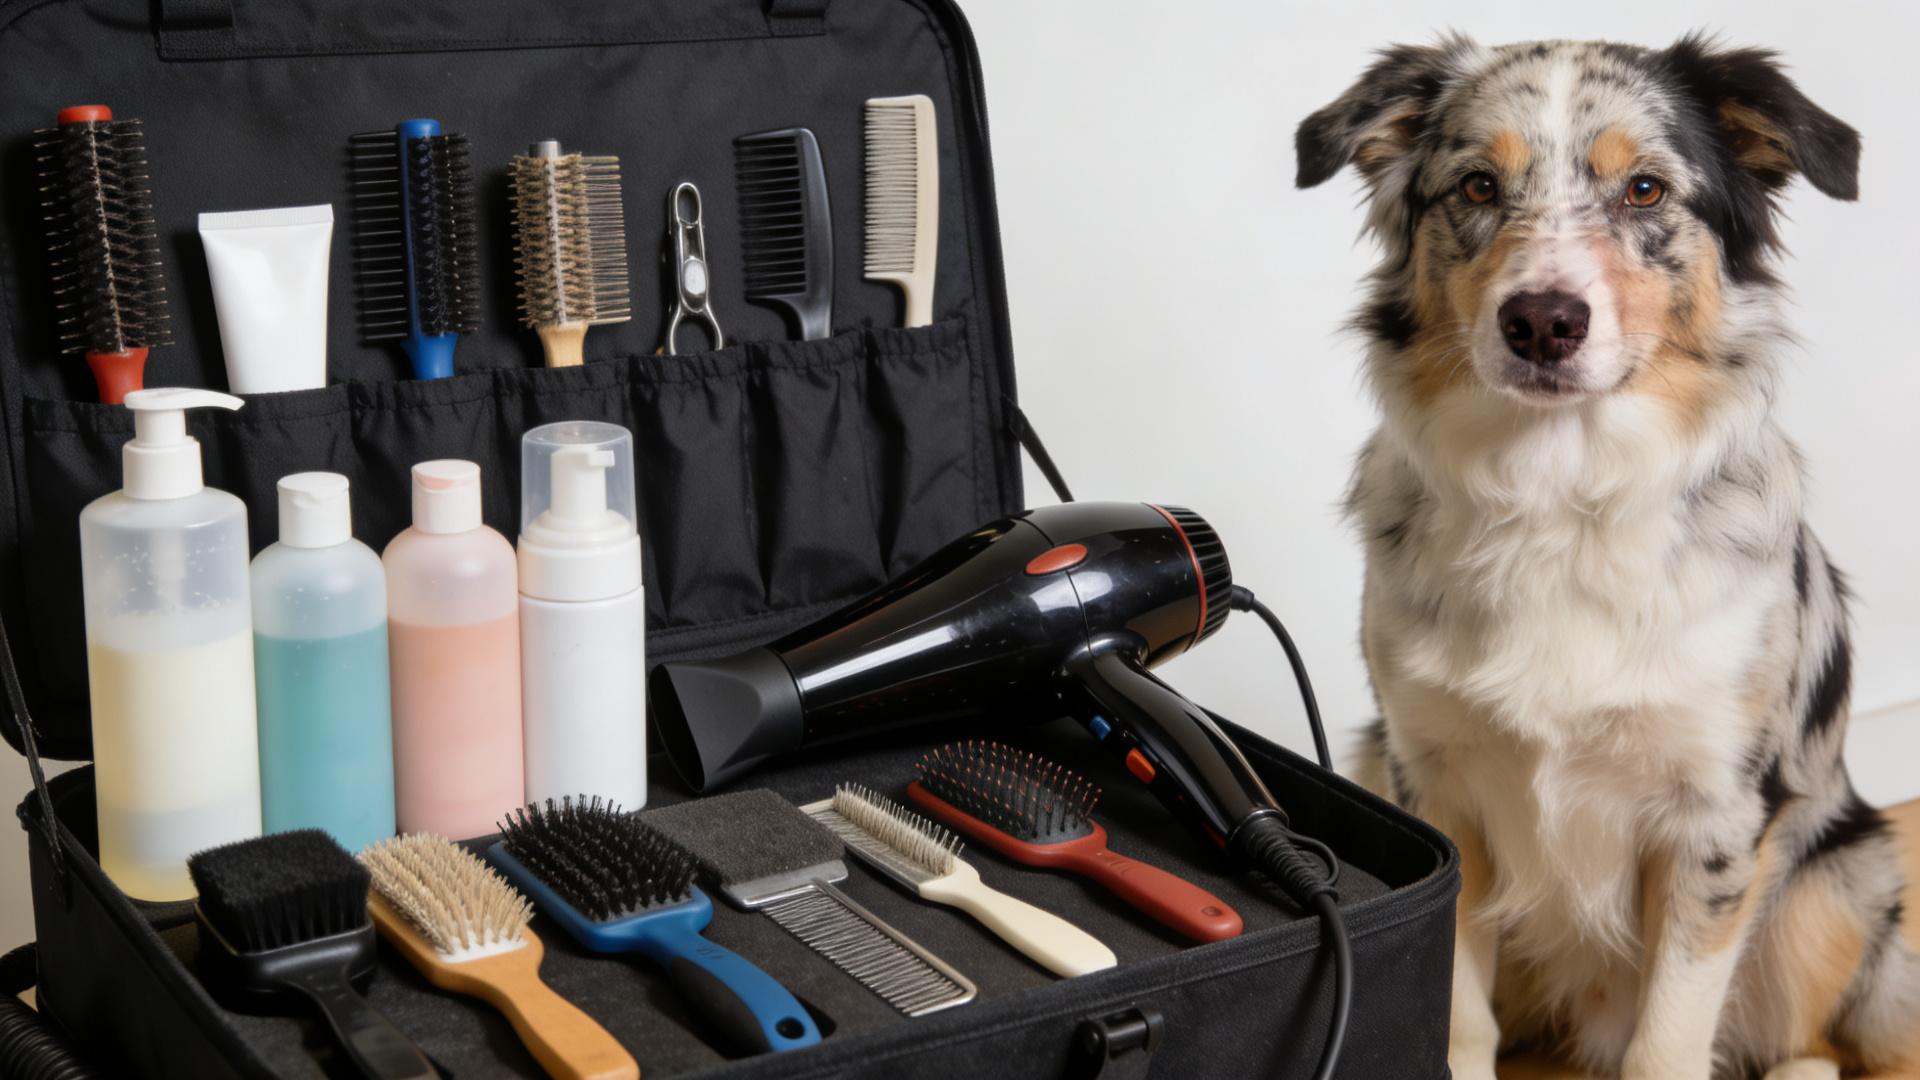
🧰 Essential Arsenal: Professional-Grade Tools for At-Home Pet Grooming
Using the right tools isn't a luxury; it's what separates a mediocre bath from a professional-grade groom. Here’s what to invest in and why.
Bathing & Rinsing: Beyond the sprayer, use a "grooming" or "deshedding" shampoo formulated for dogs' pH levels. A key pro tip: a "lickable" tearless face shampoo makes washing the head stress-free. The Special Reminder: always dilute shampoos as directed; concentrated formulas can irritate skin and are harder to rinse.
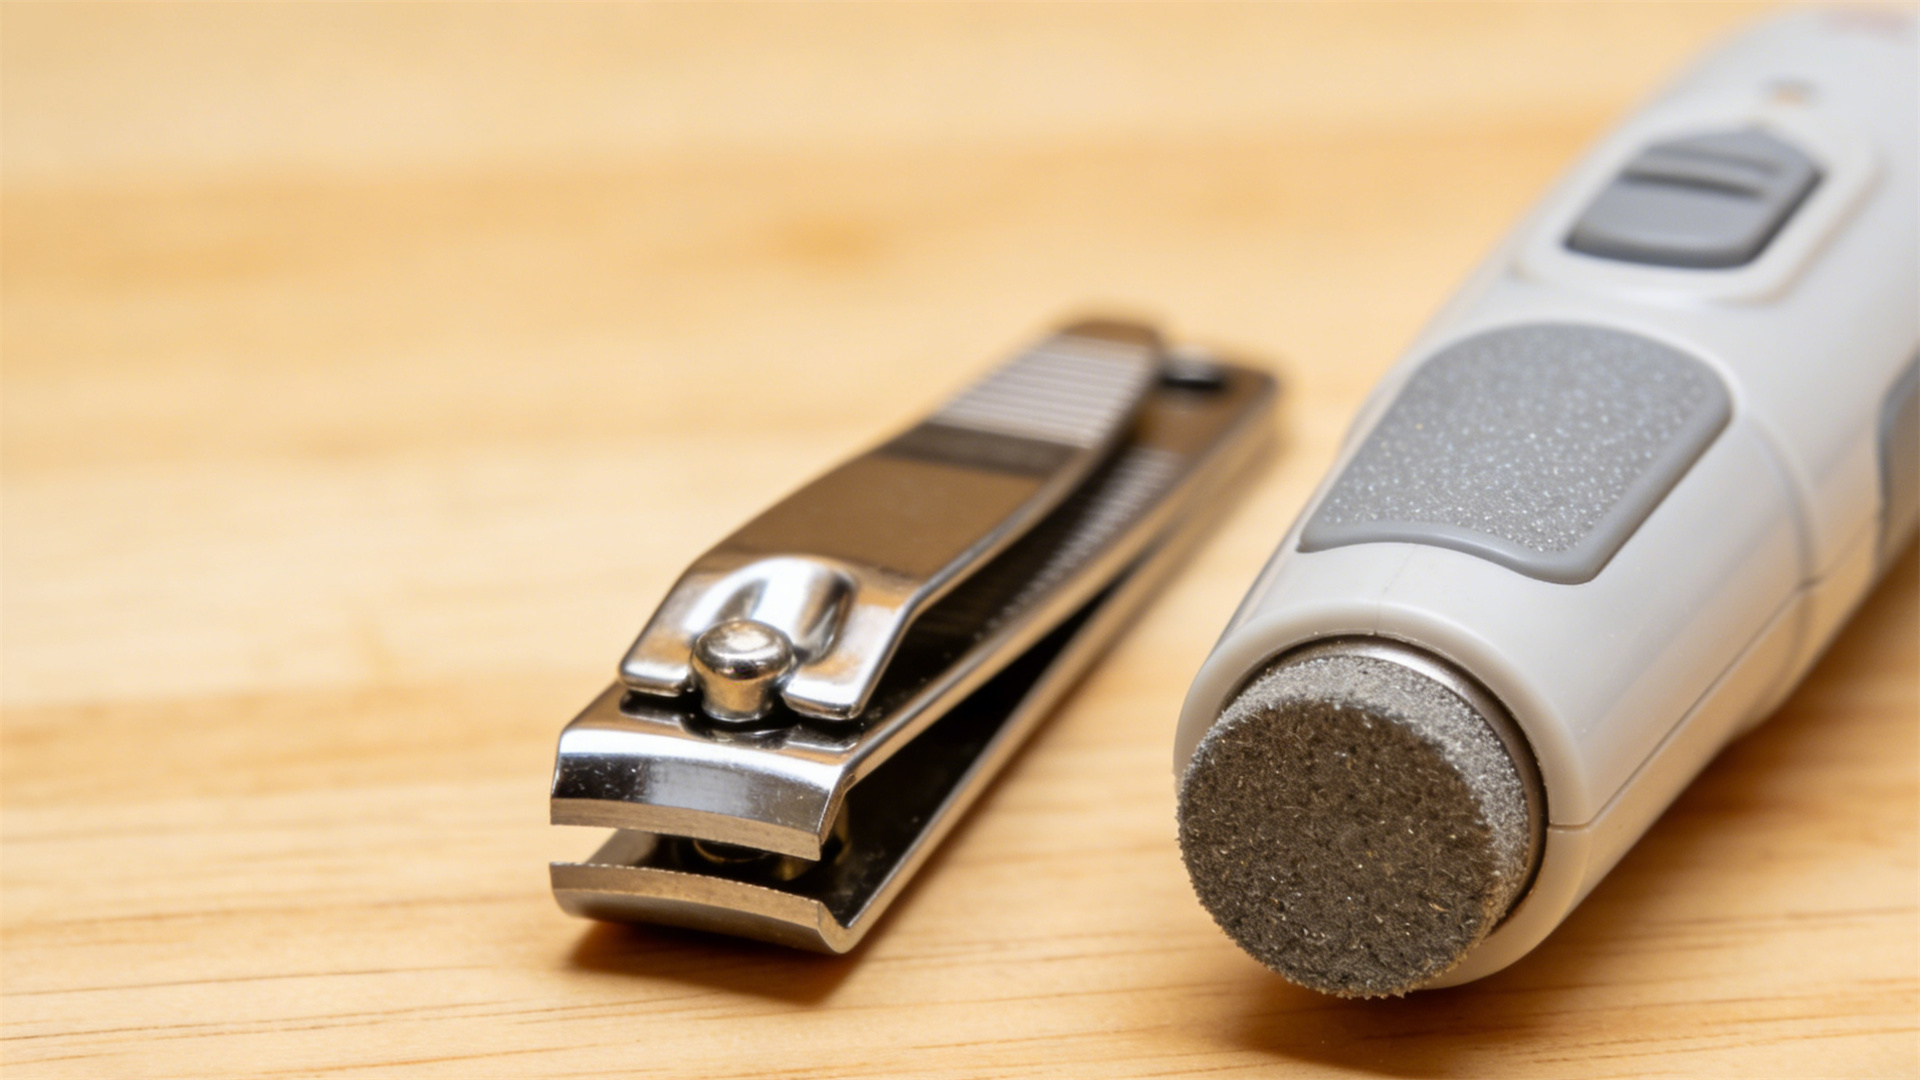
Drying & De-shedding: This is where you see a massive leap in results. A human hair dryer is too hot and too weak. A high-velocity canine dryer is a game-changer. It blasts water from the coat and blows out loose undercoat with cool, safe air. For de-shedding, tools like the FURminator undercoat deshedding tool or a professional-grade slicker brush are indispensable for dog grooming bathroom success.
💇 Pro Techniques: Elevate Your Home Dog Bathing Routine
With your new space and tools, implement these professional methods.
The Pre-Bath Brush-Out: Never bathe a matted dog. Thoroughly brush and comb to remove all tangles and loose fur. Bathing will tighten any existing mats.
The Two-Lather Method: The first shampoo lather breaks down oils and dirt. Rinse completely. The second lather cleanses and allows the shampoo's beneficial ingredients to work. This is the secret to a truly deep clean.
The "Squeegee" Rinse: Use your hand like a squeegee to push water out of the coat as you rinse. This ensures you rinse down to the skin and drastically reduces drying time.
High-Velocity Drying Protocol: Start by "towel-blotting" (don't rub). Then, use the dryer on a low setting to initially break up the water in the coat. Keep the dryer nozzle moving in the direction of hair growth, holding the skin taut with your other hand to effectively blow out the undercoat.
⚙️ Maintenance and Safety: Protecting Your Space and Your Pet
Your new pet grooming station is an investment. Maintain it by disinfecting surfaces and tools after each use, checking hose connections for leaks, and regularly cleaning hair from drains and dryer filters.
Safety is non-negotiable. Never leave your dog unattended while restrained or in the tub. Be meticulous about water temperature—test it on your inner wrist (it should feel lukewarm). Place a cotton ball gently in each ear to prevent water entry. And always, always keep clippers, scissors, and electrical cords away from water and your pet's reach.