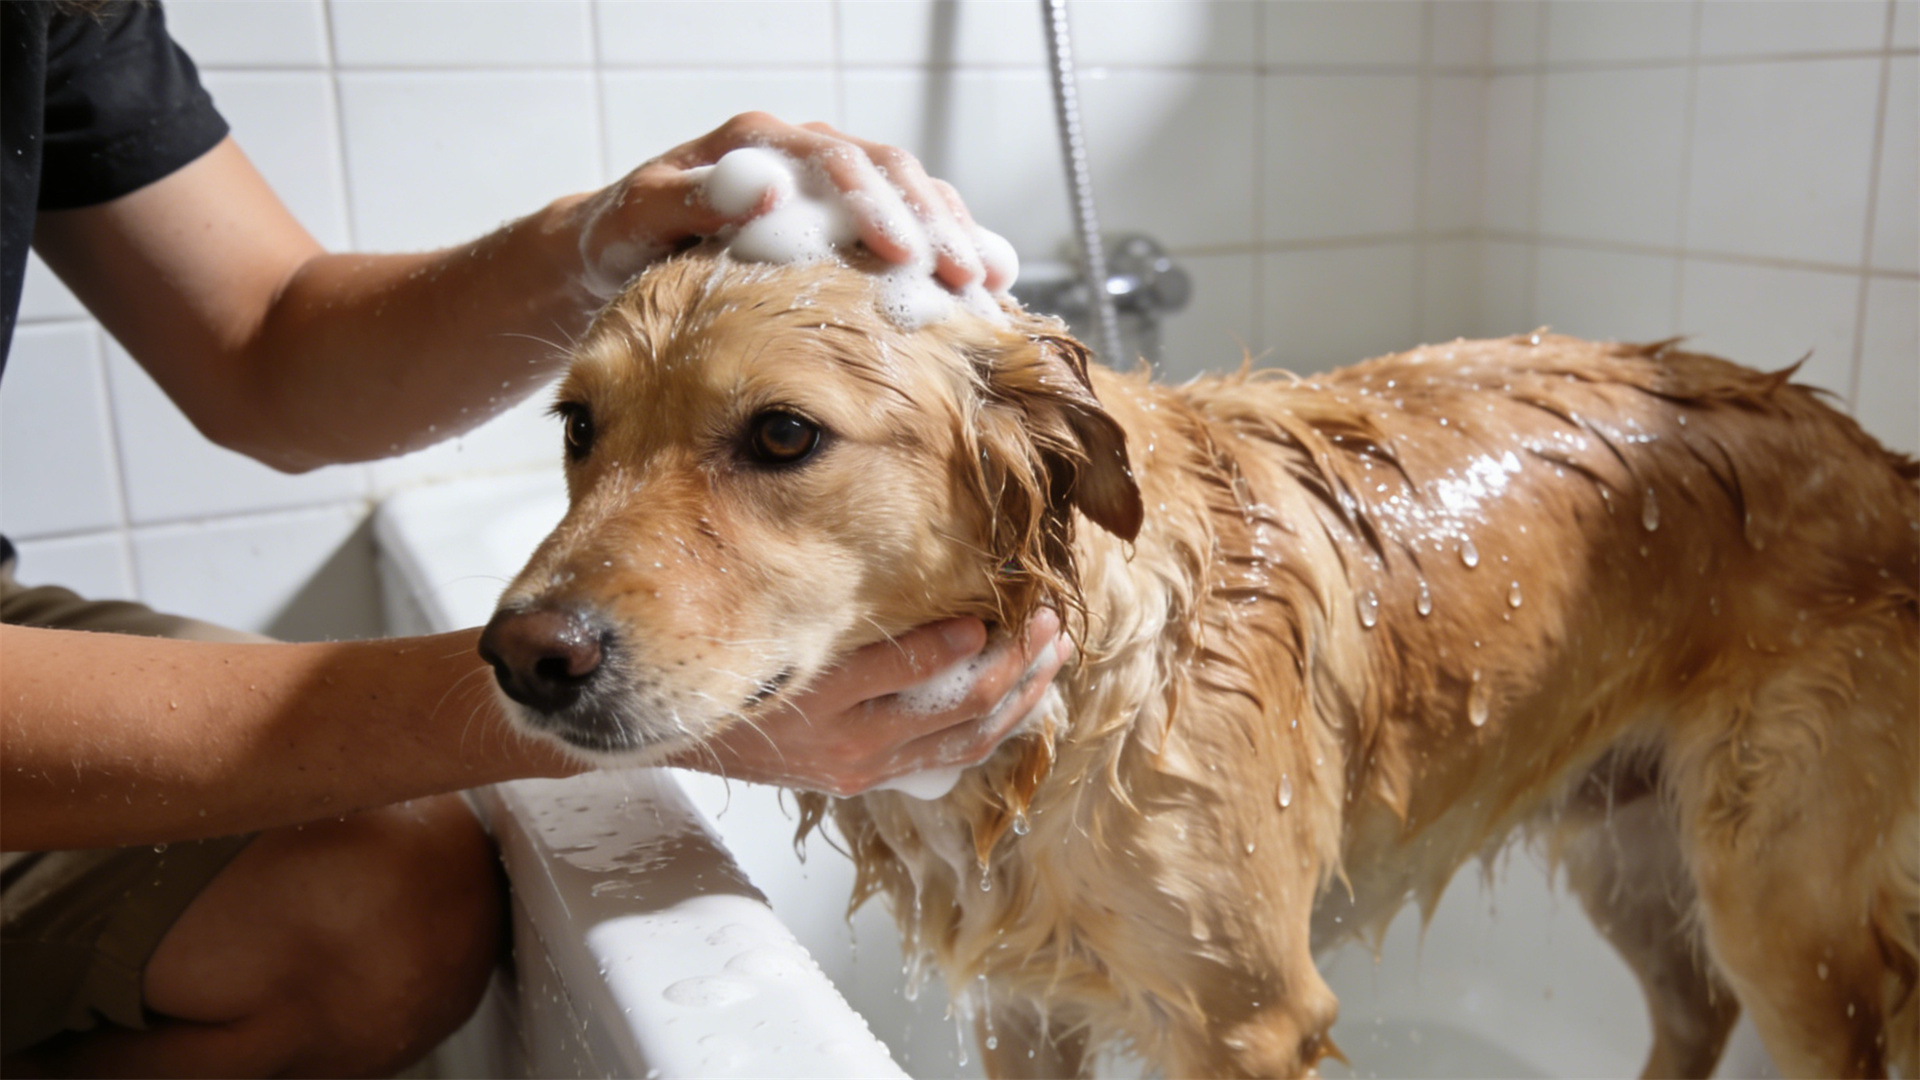
Your dog's ears are a marvel of anatomy, but their unique shape—especially in floppy-eared breeds—creates a warm, dark environment perfect for yeast and bacteria. Neglecting this crucial aspect of canine ear care can lead to a cascade of problems: painful infections, chronic inflammation, and even permanent hearing loss. A proactive, preventative approach is the cornerstone of dog ear health. This tutorial is designed to empower you with a clear, safety-first method for maintaining your dog's ears. When we say "daily grooming routine for dogs," we refer to regular, attentive observation and maintenance, with full cleanings performed as needed based on your dog's breed, lifestyle, and individual physiology. This guide will help you master dog earwax removal and become your pet's first line of defense against discomfort.
🔍 Pre-Cleaning Essentials: Knowledge is Power
Before you ever reach for a cleaner, understanding what you're looking at and gathering the right tools are the most critical steps in home dog ear cleaning.
Recognizing Healthy vs. Unhealthy Ears
A healthy ear is straightforward to identify. Look for skin that is a pale pink, with a minimal amount of light brown, non-smelly wax. There should be no redness, swelling, or noticeable odor. In contrast, an ear needing veterinary attention—not just cleaning—will show clear warning signs. Special Reminder: Do not attempt to clean your dog's ears if you suspect an infection, as this can push debris deeper and cause pain.
Signs you should skip cleaning and call your vet:
Intense Redness or Swelling: The ear canal appears inflamed or thickened. Dark, Foul-Smelling Discharge: Black, green, or yellow pus-like material with a strong, unpleasant odor. Excessive Scratching or Head Shaking: Your dog is clearly irritated and cannot leave the ear alone. Pain or Sensitivity: Your dog yelps, pulls away, or acts aggressively when the ear is touched. Scabbing or Crusting: Signs of self-trauma from constant scratching.Gathering Your Supplies: The Right and Wrong Tools
Having everything prepared beforehand makes the process smoother and safer. Here’s your checklist for effective dog ear infection prevention.
Required Supplies:
Veterinarian-Approved Canine Ear Cleaning Solution: These solutions are pH-balanced for dogs and often contain drying agents. This is the cornerstone of your dog ear cleaning kit. Cotton Balls or Gauze Squares: For gentle wiping. Gauze is less likely to leave behind fibers. High-Value Treats: Essential for positive reinforcement and building a positive association.Strictly Prohibited Items:
Cotton Swabs (Q-tips): Never insert these into the ear canal. They pack wax and debris deeper against the sensitive eardrum, risking perforation. Rubbing Alcohol or Hydrogen Peroxide: These can cause significant irritation and stinging to the delicate skin of the ear canal. Use only if specifically prescribed by your vet. Paper Towels or Tissues: They can shred and leave fibers inside the ear, leading to irritation.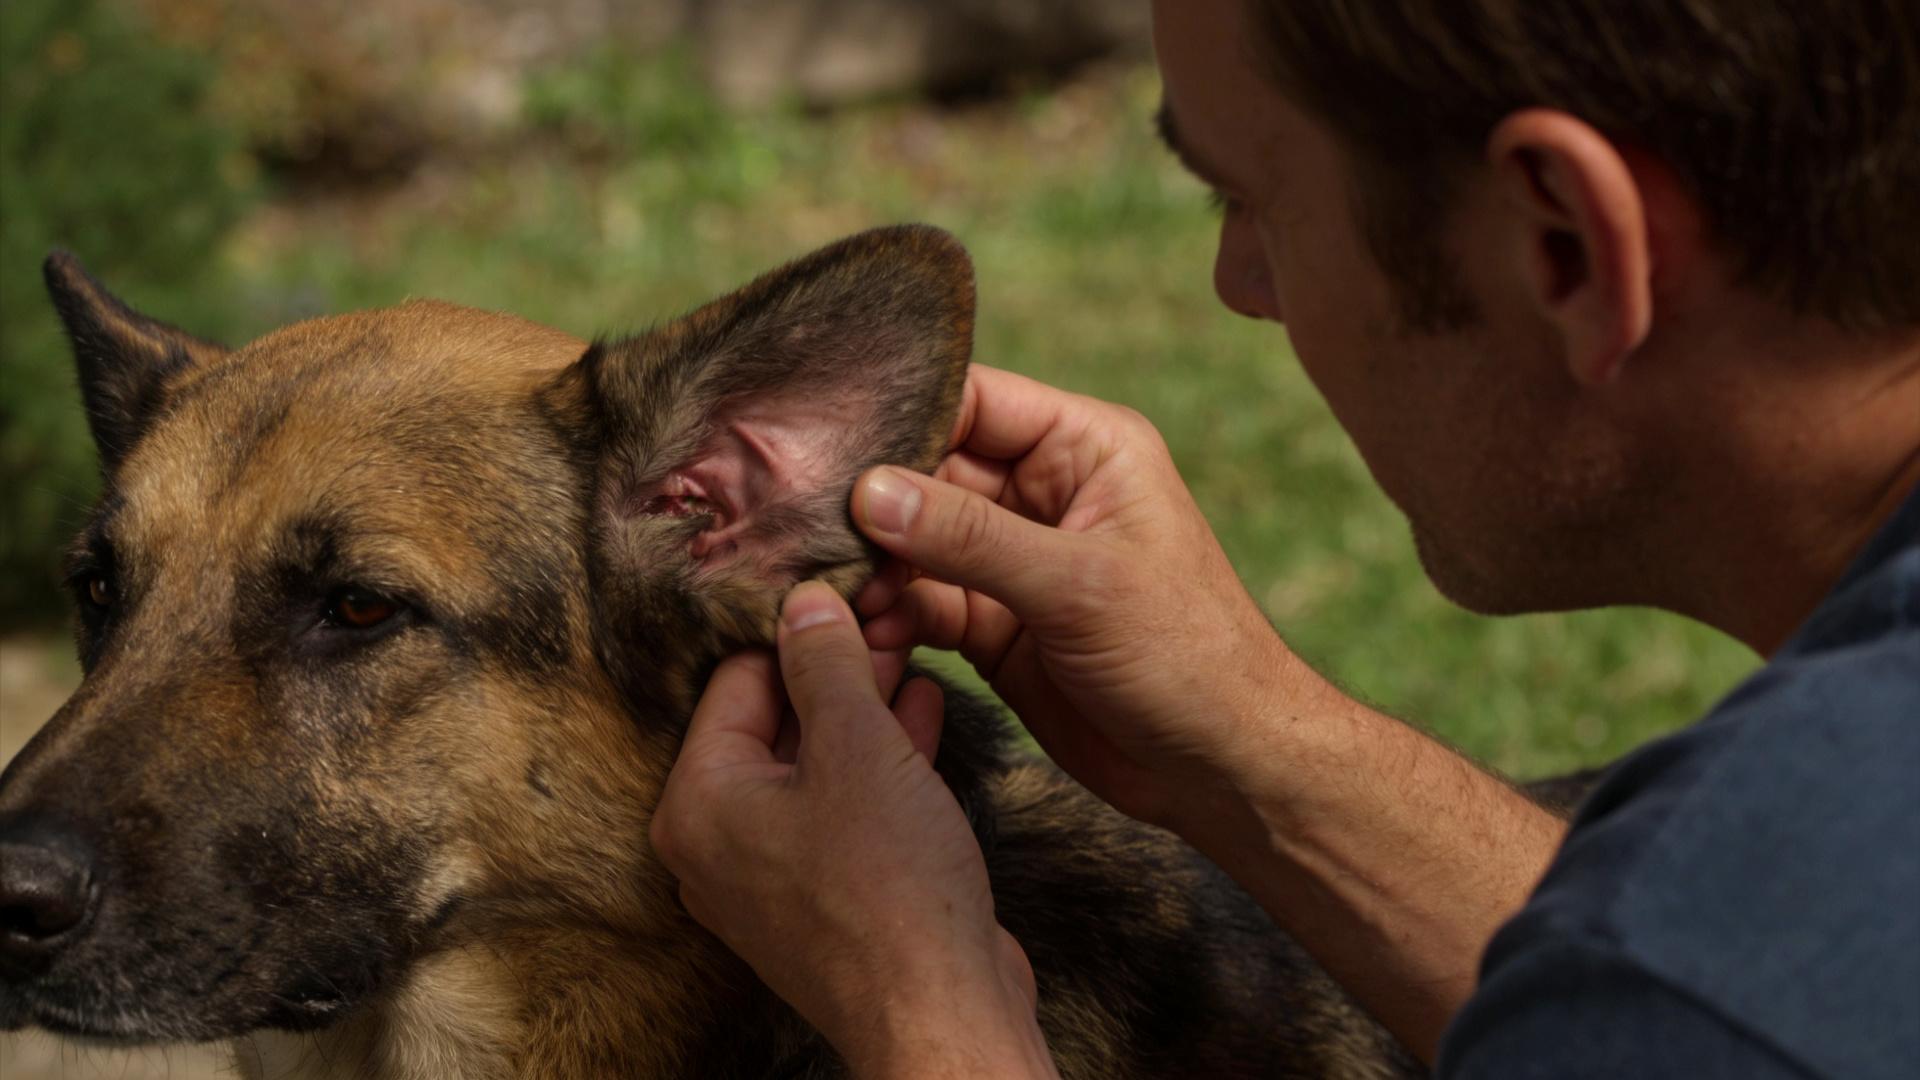
🧤 The Step-by-Step Cleaning Tutorial: A Gentle Process
Now that you're prepared, follow these steps for the best way to clean dog ears safely and effectively.
Step 1: Establish a Calm Environment
Choose a quiet, well-lit room. Sit on the floor with your dog or have them on a non-slip surface like a grooming table. Have all your supplies—cleaner, cotton balls, treats—within arm's reach. For a wiggly or large dog, enlisting a helper to offer treats and gentle stabilization can be invaluable.
Step 2: The Detailed Cleaning Process
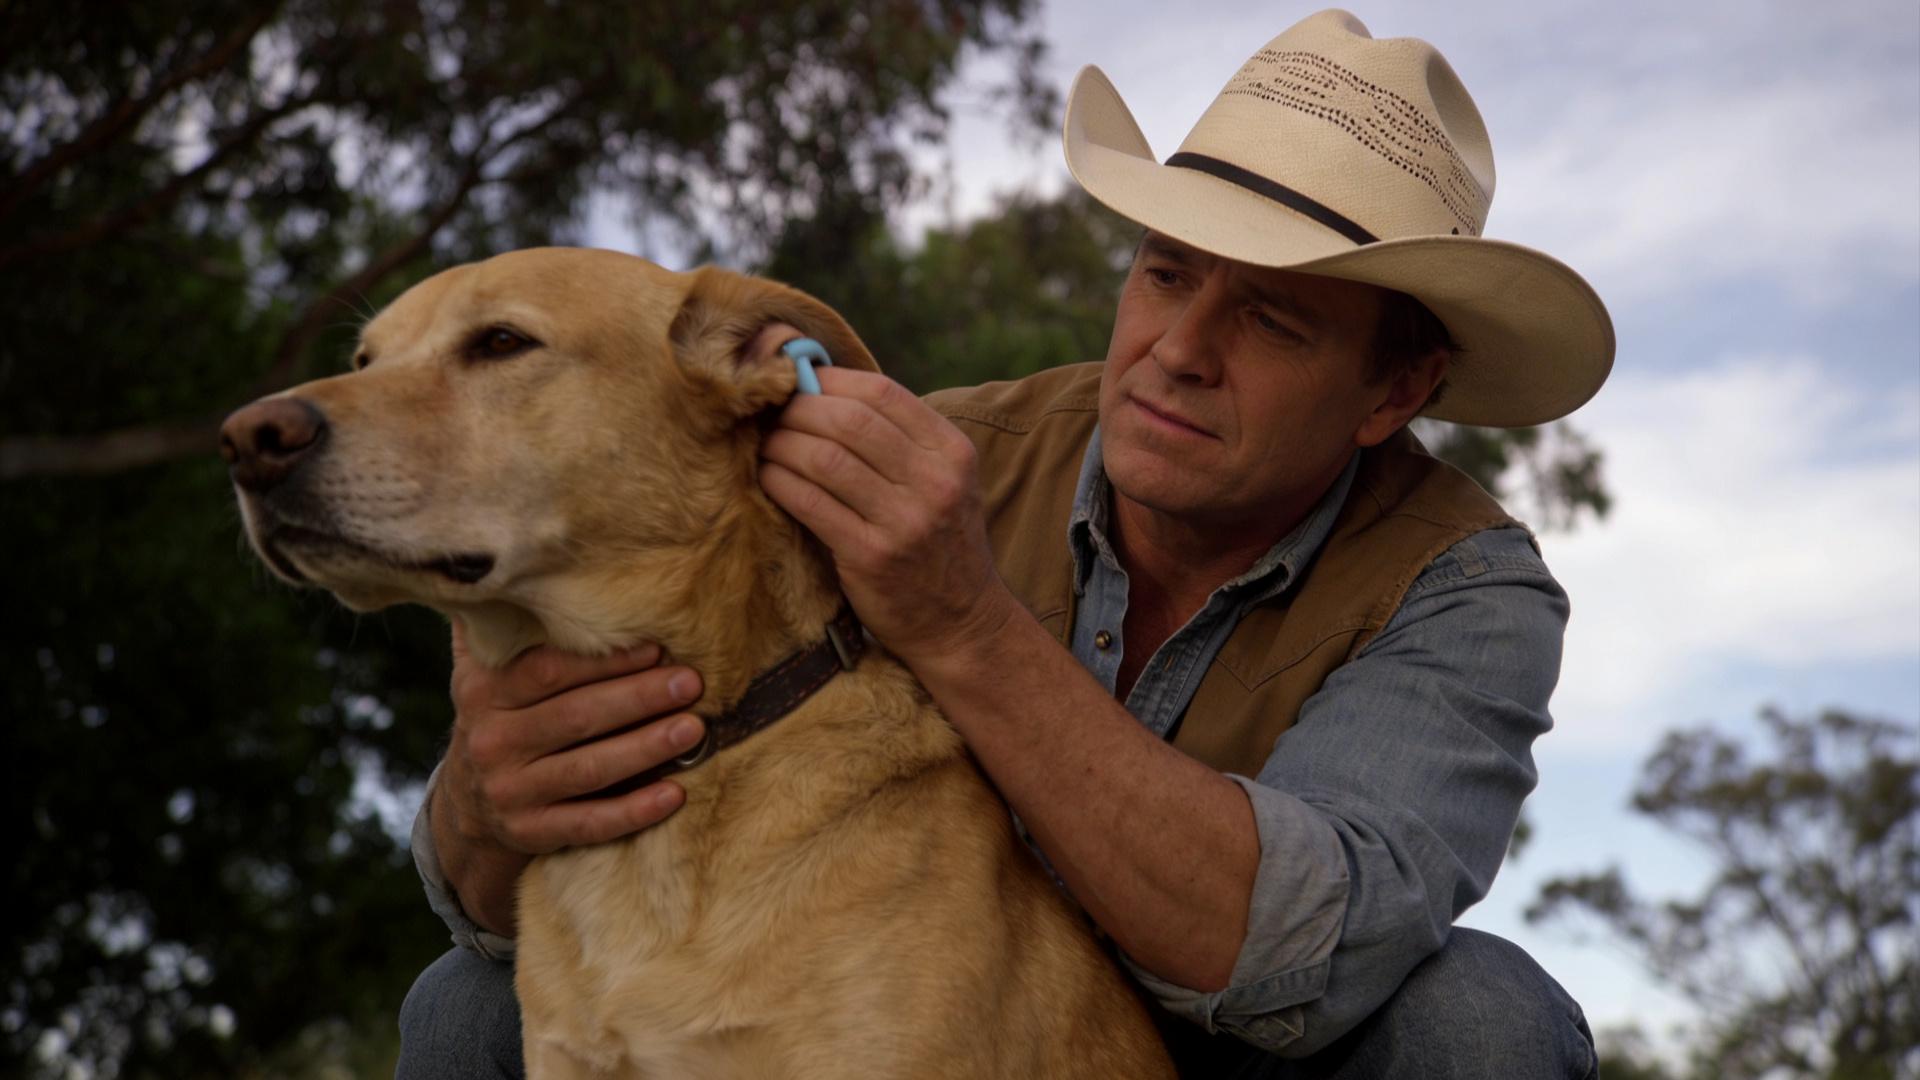
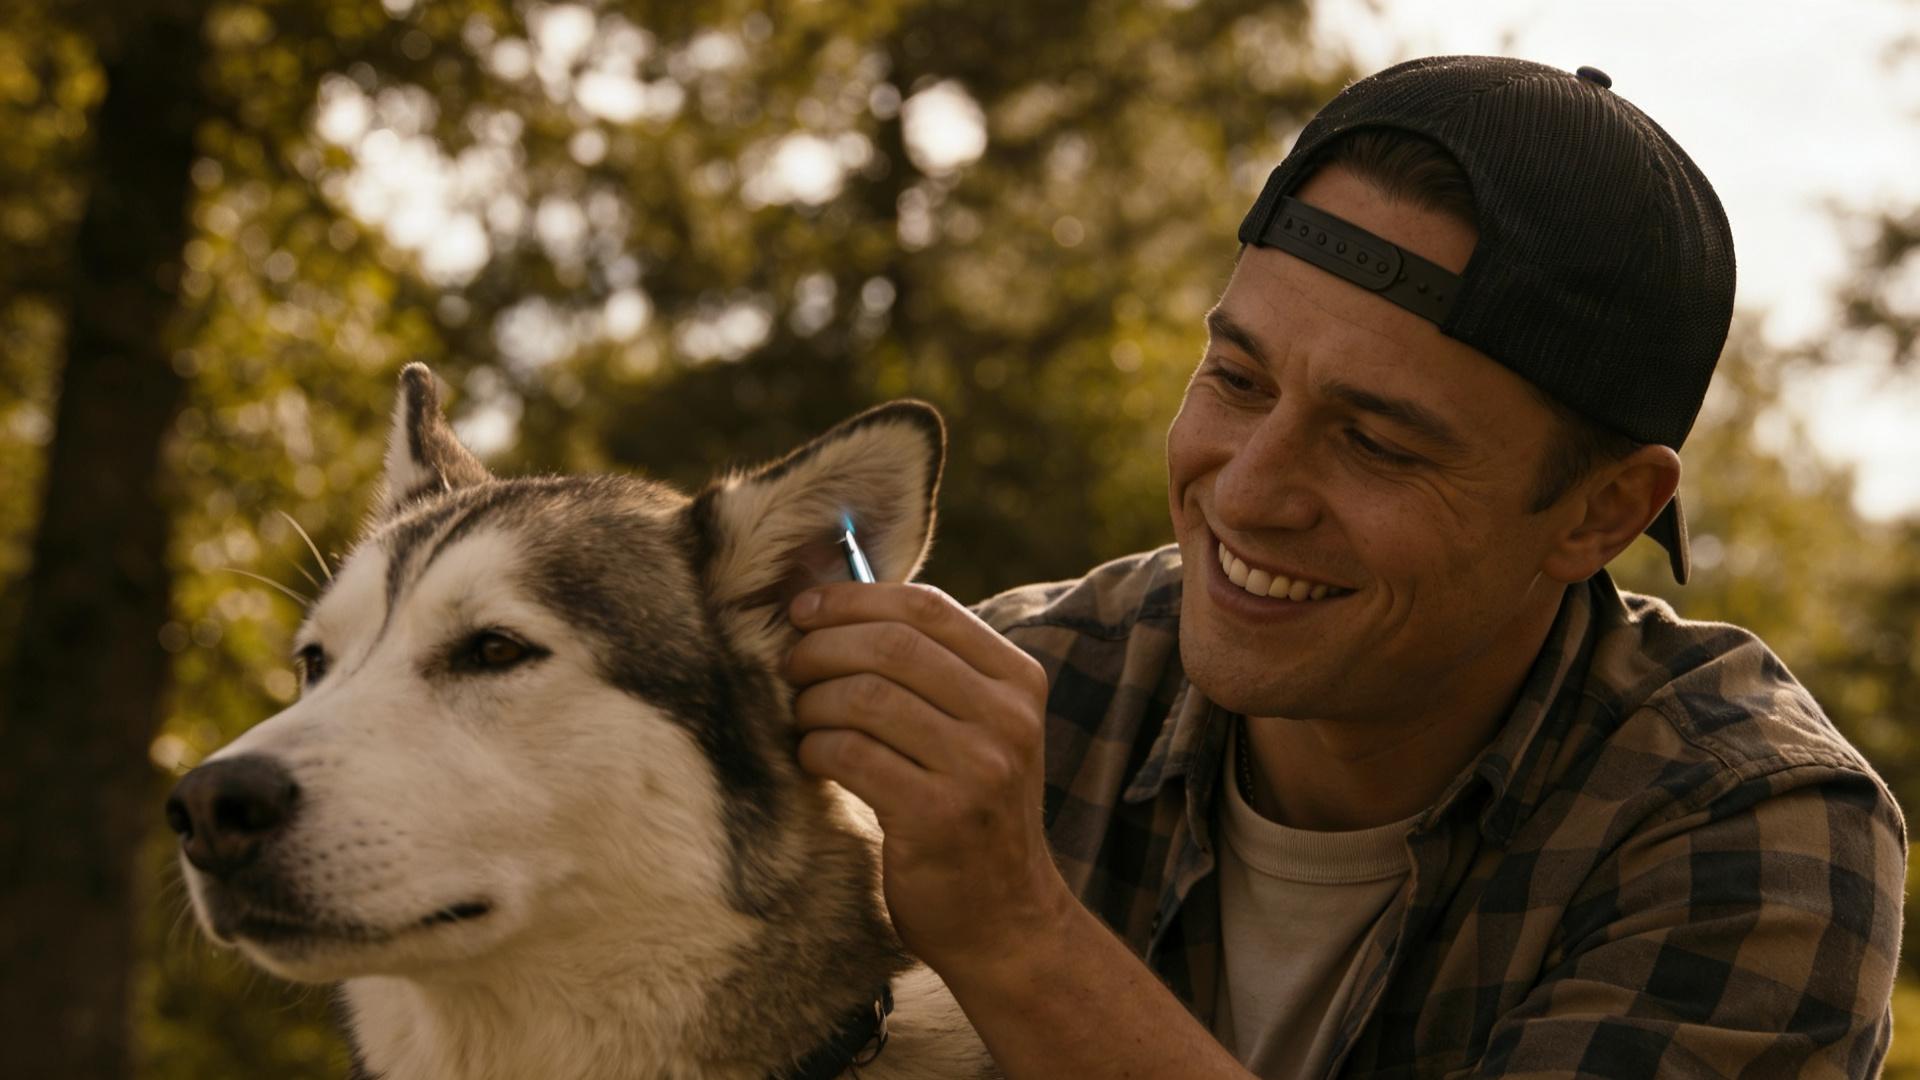
Step One: Expose the Canal. Gently hold your dog's ear flap (pinna) upright and vertical. This straightens the L-shaped ear canal, allowing for better access.
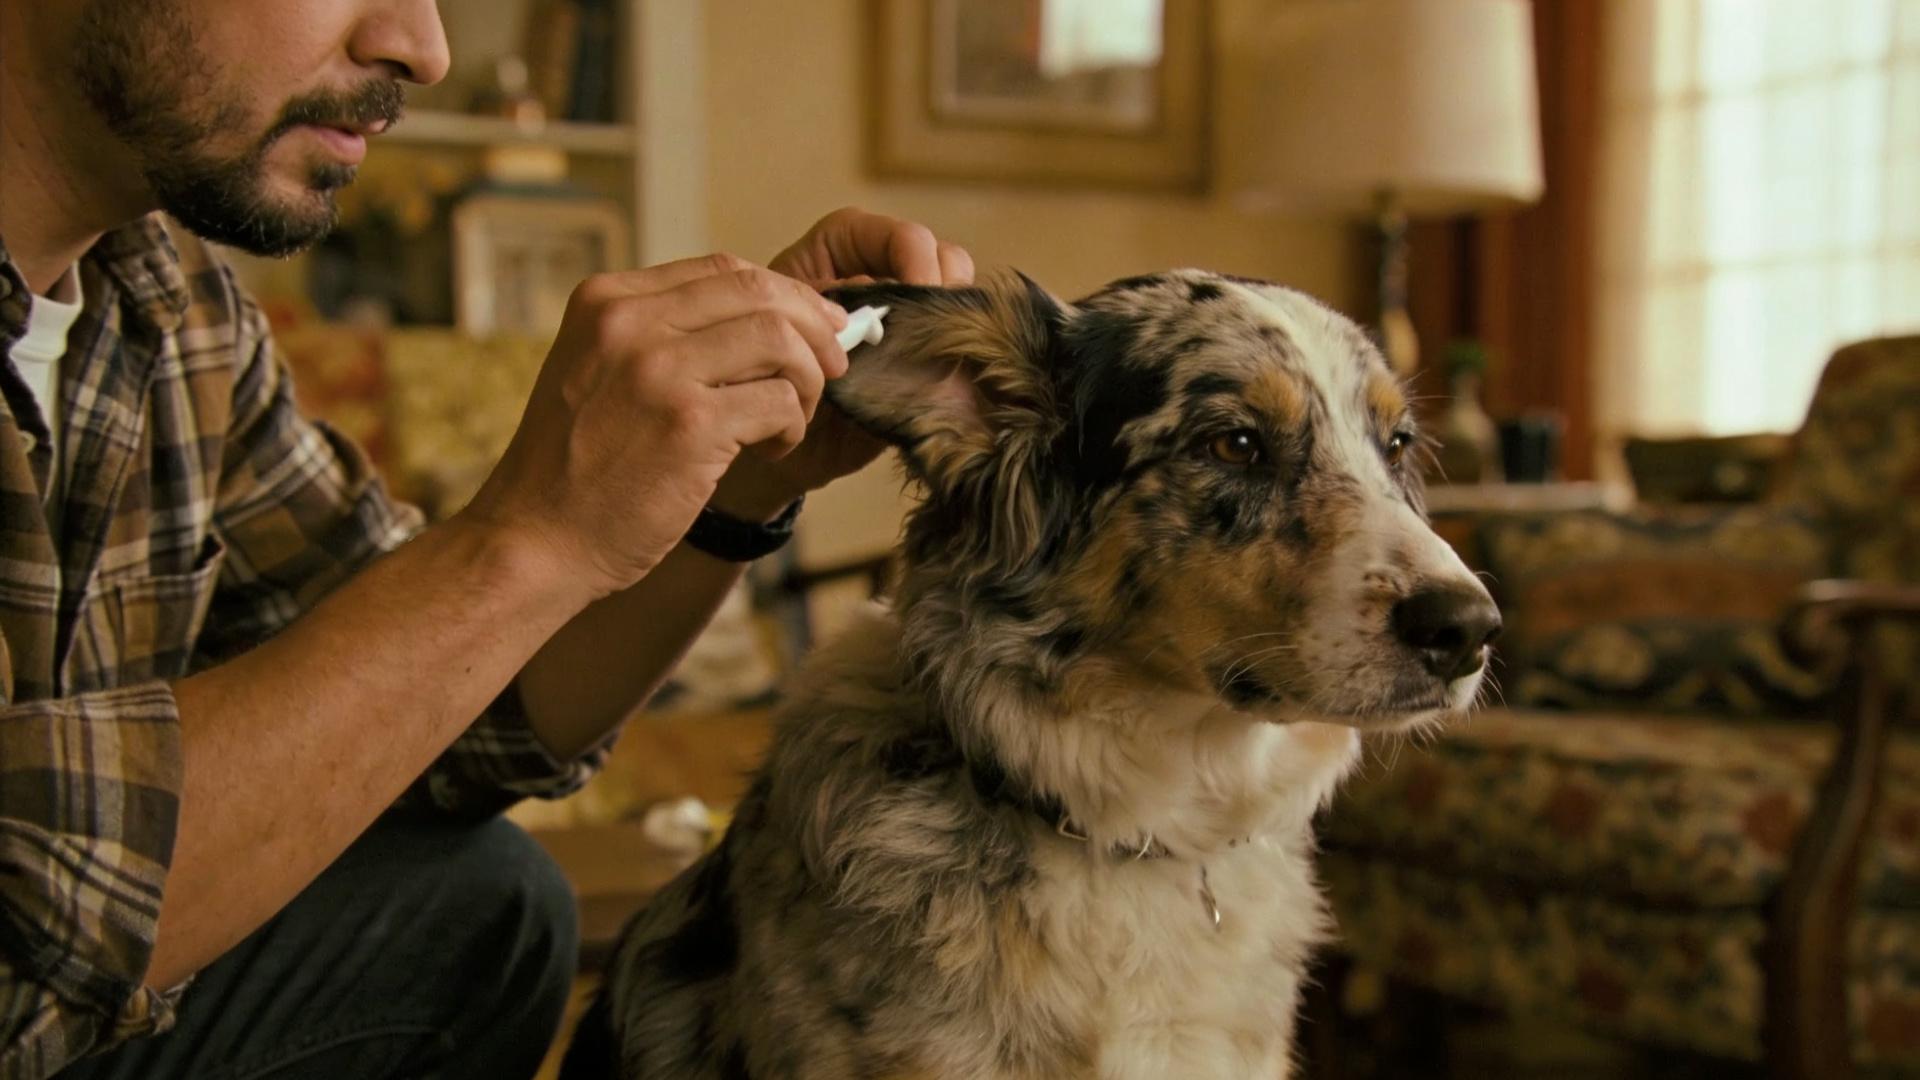
Step Two: Apply the Solution. Take your dog ear cleaning solution and fill the ear canal until it is slightly full (follow bottle directions). Critical: Do not let the tip of the bottle touch your dog's ear, as this can contaminate the bottle with bacteria or yeast.
Step Three: The Massage. This is the key step! While still holding the ear flap up, use your other hand to gently massage the base of the ear for a good 20-30 seconds. You should hear a soft squishing sound. This action breaks up wax and debris from the canal walls.
Step Four: The Shake. Release the ear and let your dog shake its head. This natural reflex brings the loosened debris up from the horizontal part of the canal to the outer area where you can wipe it away. You might want to step back!
Step Five: The Wipe. Take a fresh cotton ball or gauze square and gently wipe out the ear canal and the folds of the outer ear. Golden Rule: Wipe only what you can easily see. Never probe deeper into the canal. Use as many cotton balls as needed until they come away clean.
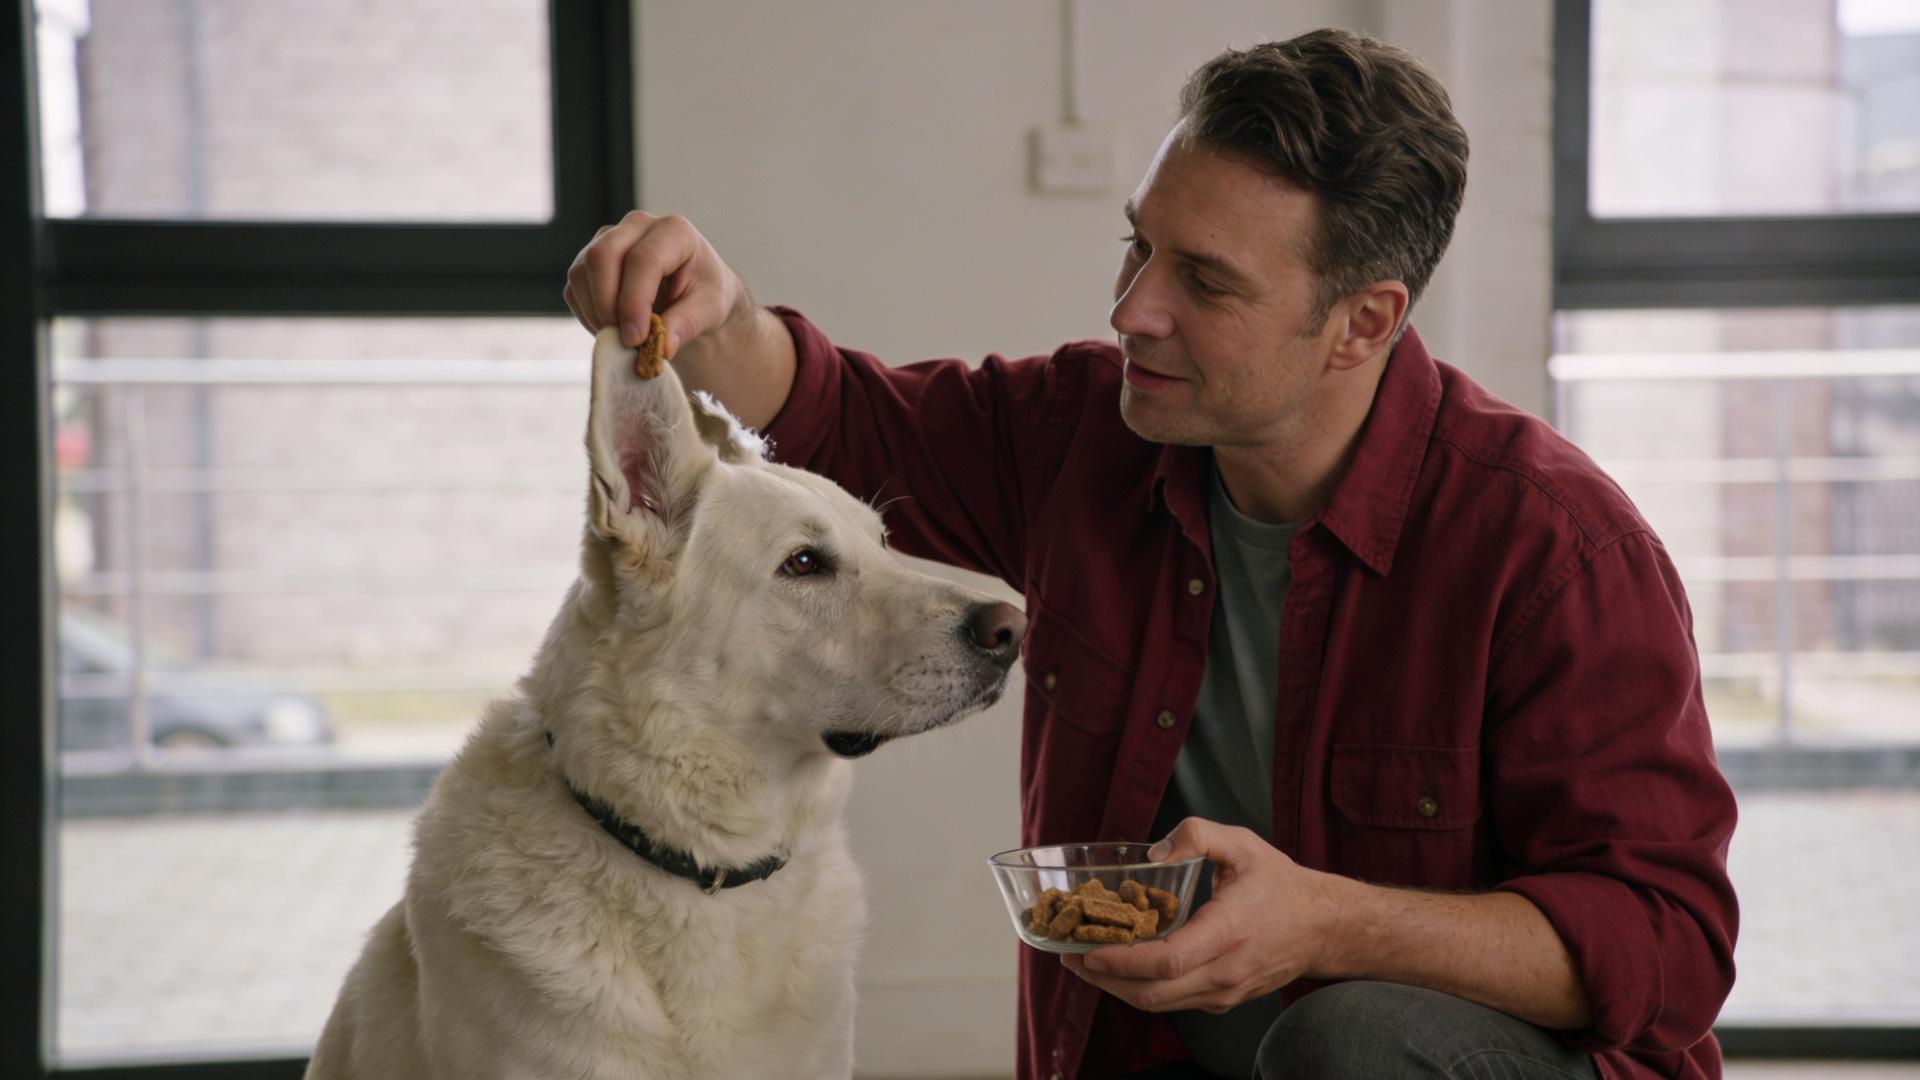
Step Six: Praise & Reward. Throughout and immediately after the process, offer calm praise and those high-value treats. This conditions your dog to see ear cleaning as a positive experience, making future sessions easier.
📅 Aftercare and Building Your Dog's Routine
Successful dog ear maintenance relies on consistency tailored to your individual pet. A daily grooming routine in this context means daily awareness and a scheduled maintenance cleaning.
Frequency Guidelines:
Low-Maintenance Ears (e.g., some pointy-eared breeds): A weekly visual check, with a full cleaning every 2-4 weeks or as needed. High-Maintenance Ears (e.g., Basset Hounds, Cocker Spaniels, active swimmers): A visual check 2-3 times a week, with a full cleaning often required weekly to prevent ear infections in dogs and stop dog ear smell. Post-Activity: Always check and gently dry ears after swimming or baths.Monitor your dog's ears after each cleaning. If you notice increased redness or irritation, discontinue and consult your veterinarian. They can recommend a different cleaning solution and rule out underlying issues.
💚 Your Call to Action for Optimal Canine Health
You now have a comprehensive, safe blueprint for how to clean dog ears and integrate this vital practice into your overall dog grooming tips repertoire. Remember, this tutorial is for preventative maintenance on healthy ears.
1. Consult Your Veterinarian: Before starting any new regimen, talk to your vet. They can recommend the best dog ear cleaning solution for your dog's specific needs and demonstrate the technique on your pet.
2. Share the Knowledge: If you found this dog ear cleaning guide helpful, please share it with fellow dog owners. Empowering others with safe practices creates a happier, healthier community of pets.
By making daily ear care for dogs a thoughtful part of your life together, you're not just preventing odor and gunk—you're safeguarding your dog's comfort, hearing, and quality of life.