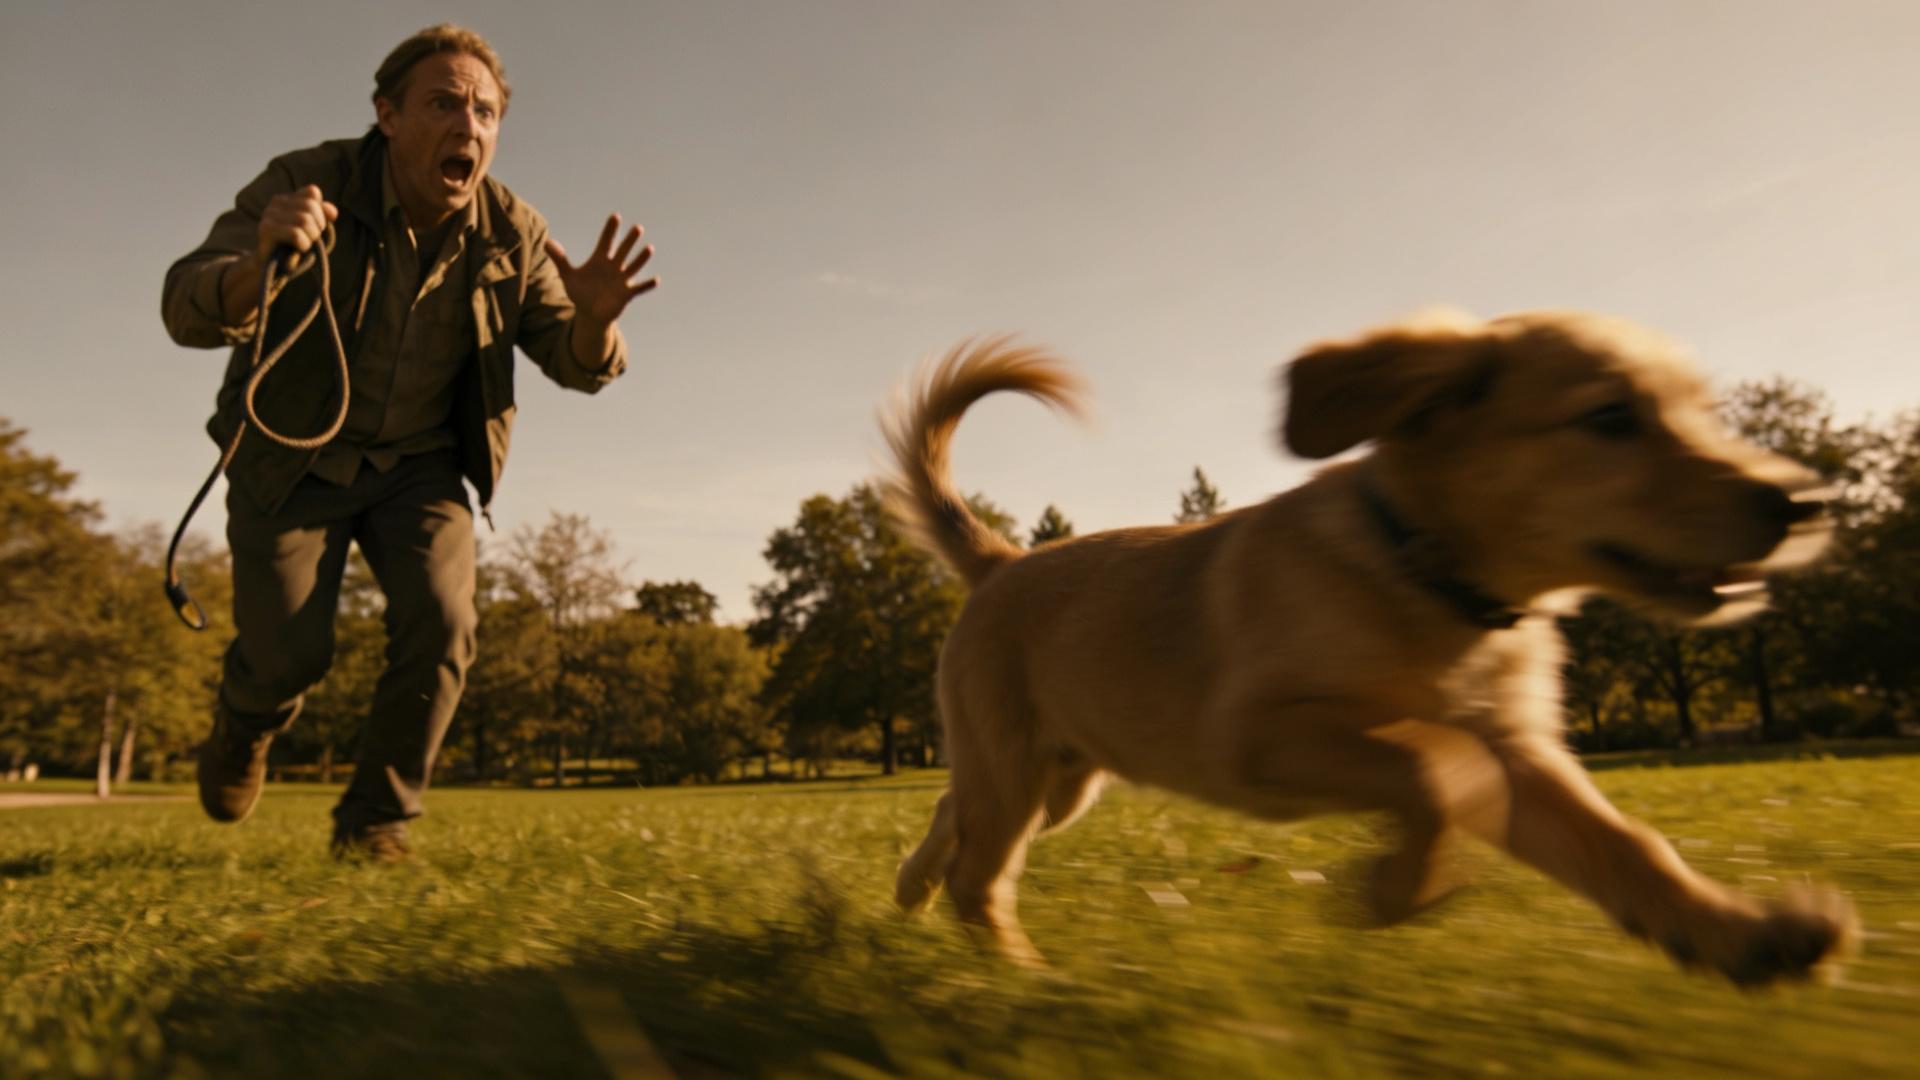
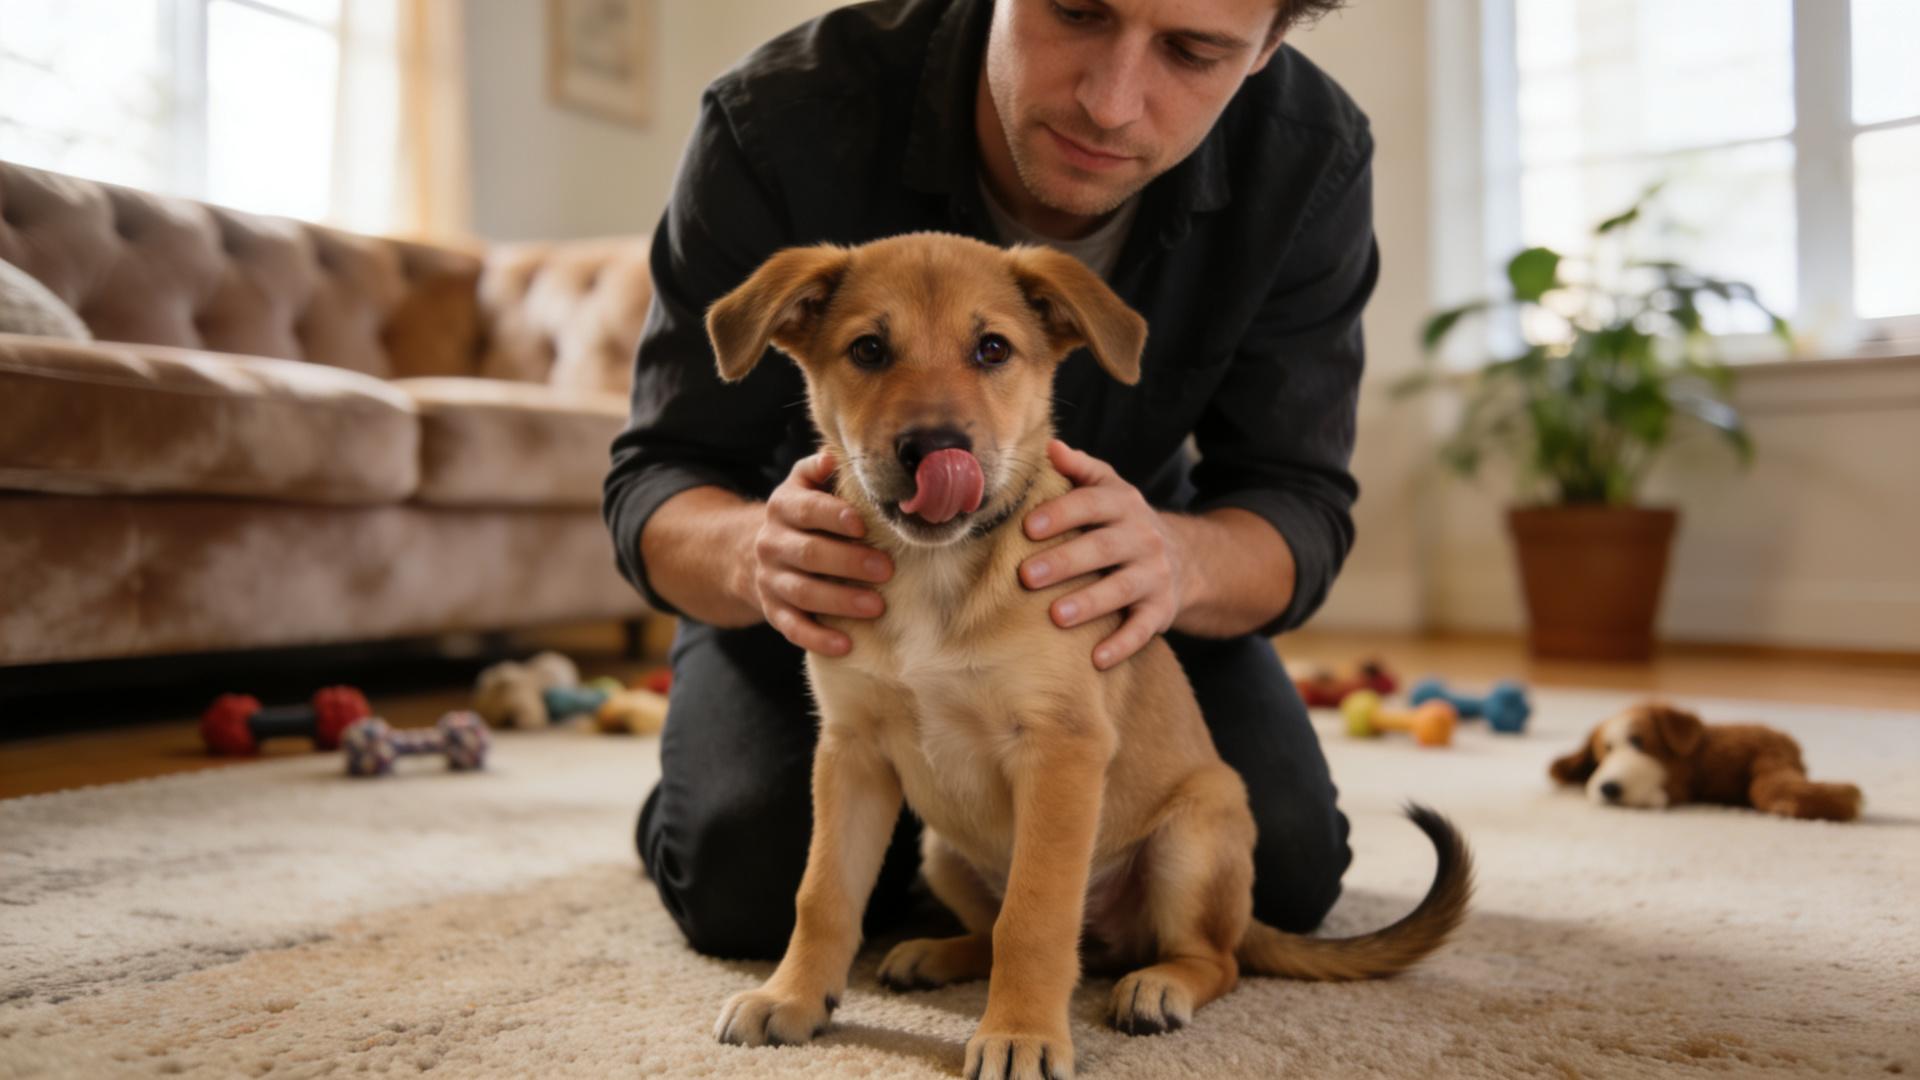
For countless puppy parents, the mere thought of nail trimming or ear cleaning can induce a wave of dread. What should be a routine part of healthcare often turns into a stressful wrestling match, filled with whimpers, squirms, and a frustrated owner. If this sounds familiar, you’re not alone. Many puppies view these necessary procedures with suspicion or outright fear. But what if you could transform these chores into moments of calm cooperation—or even enjoyment—for your pup? This is where the transformative power of medical desensitization training comes in. Rooted in science and compassion, this method uses patience, positive reinforcement, and a step-by-step approach to build unshakeable trust, encouraging your puppy to willingly participate in their own care. Let's explore how to turn grooming from a battle into a bonding experience.
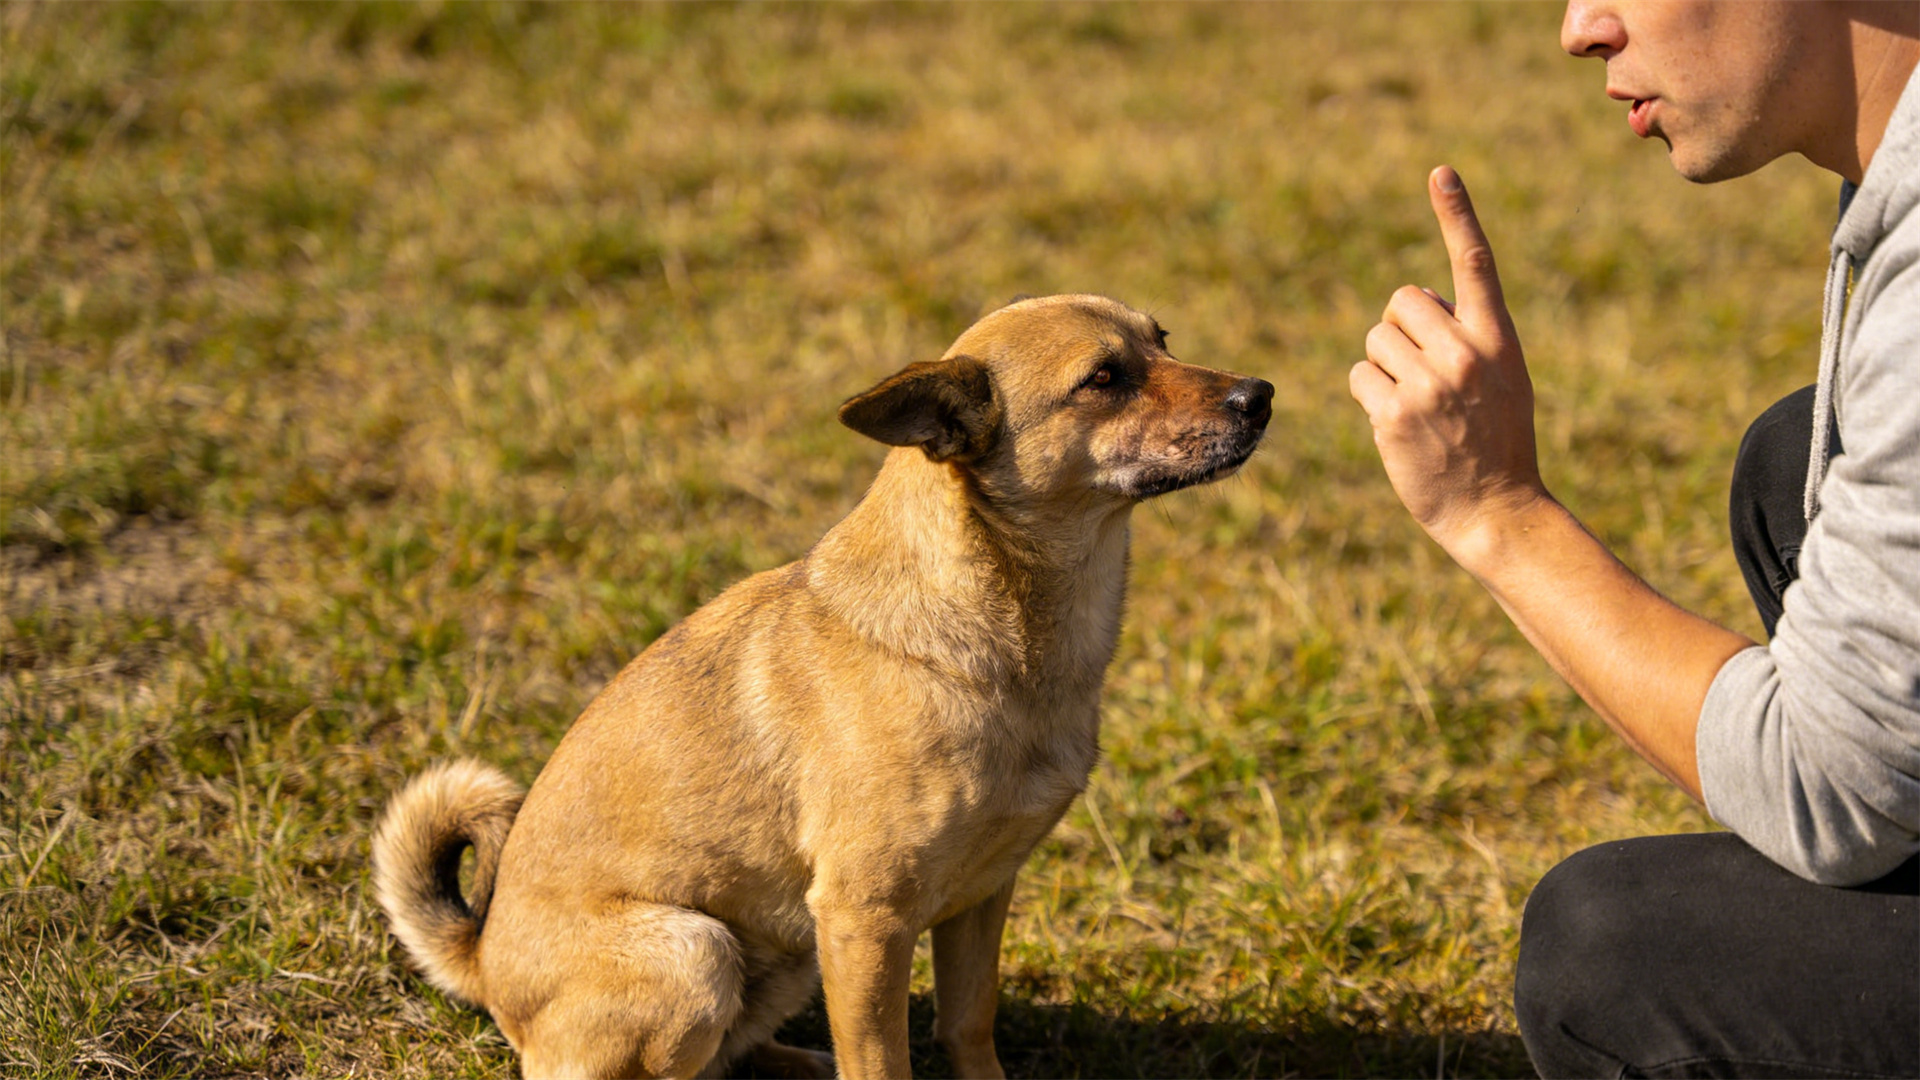
🐕 What is Medical Desensitization Training?
At its core, medical desensitization training is a systematic behavioral technique designed to change an animal’s emotional response to a specific stimulus. In simpler terms, it’s the process of helping your puppy get used to something they find scary by exposing them to it in a controlled, gradual, and positive way. Unlike “flooding” (forced exposure which often worsens fear), desensitization respects the puppy’s comfort level, advancing only when they are relaxed.
The process hinges on two key principles: 1) Desensitization – breaking down the scary procedure into tiny, manageable steps, and 2) Counter-Conditioning – pairing each of those steps with something the puppy loves, usually high-value treats. This creates new, positive associations in the puppy’s brain. Instead of “clippers = restraint = scary,” they learn “clippers near my paw = chicken = amazing!” Over repeated, short sessions, fear is replaced with tolerance, and eventually, cooperative care.
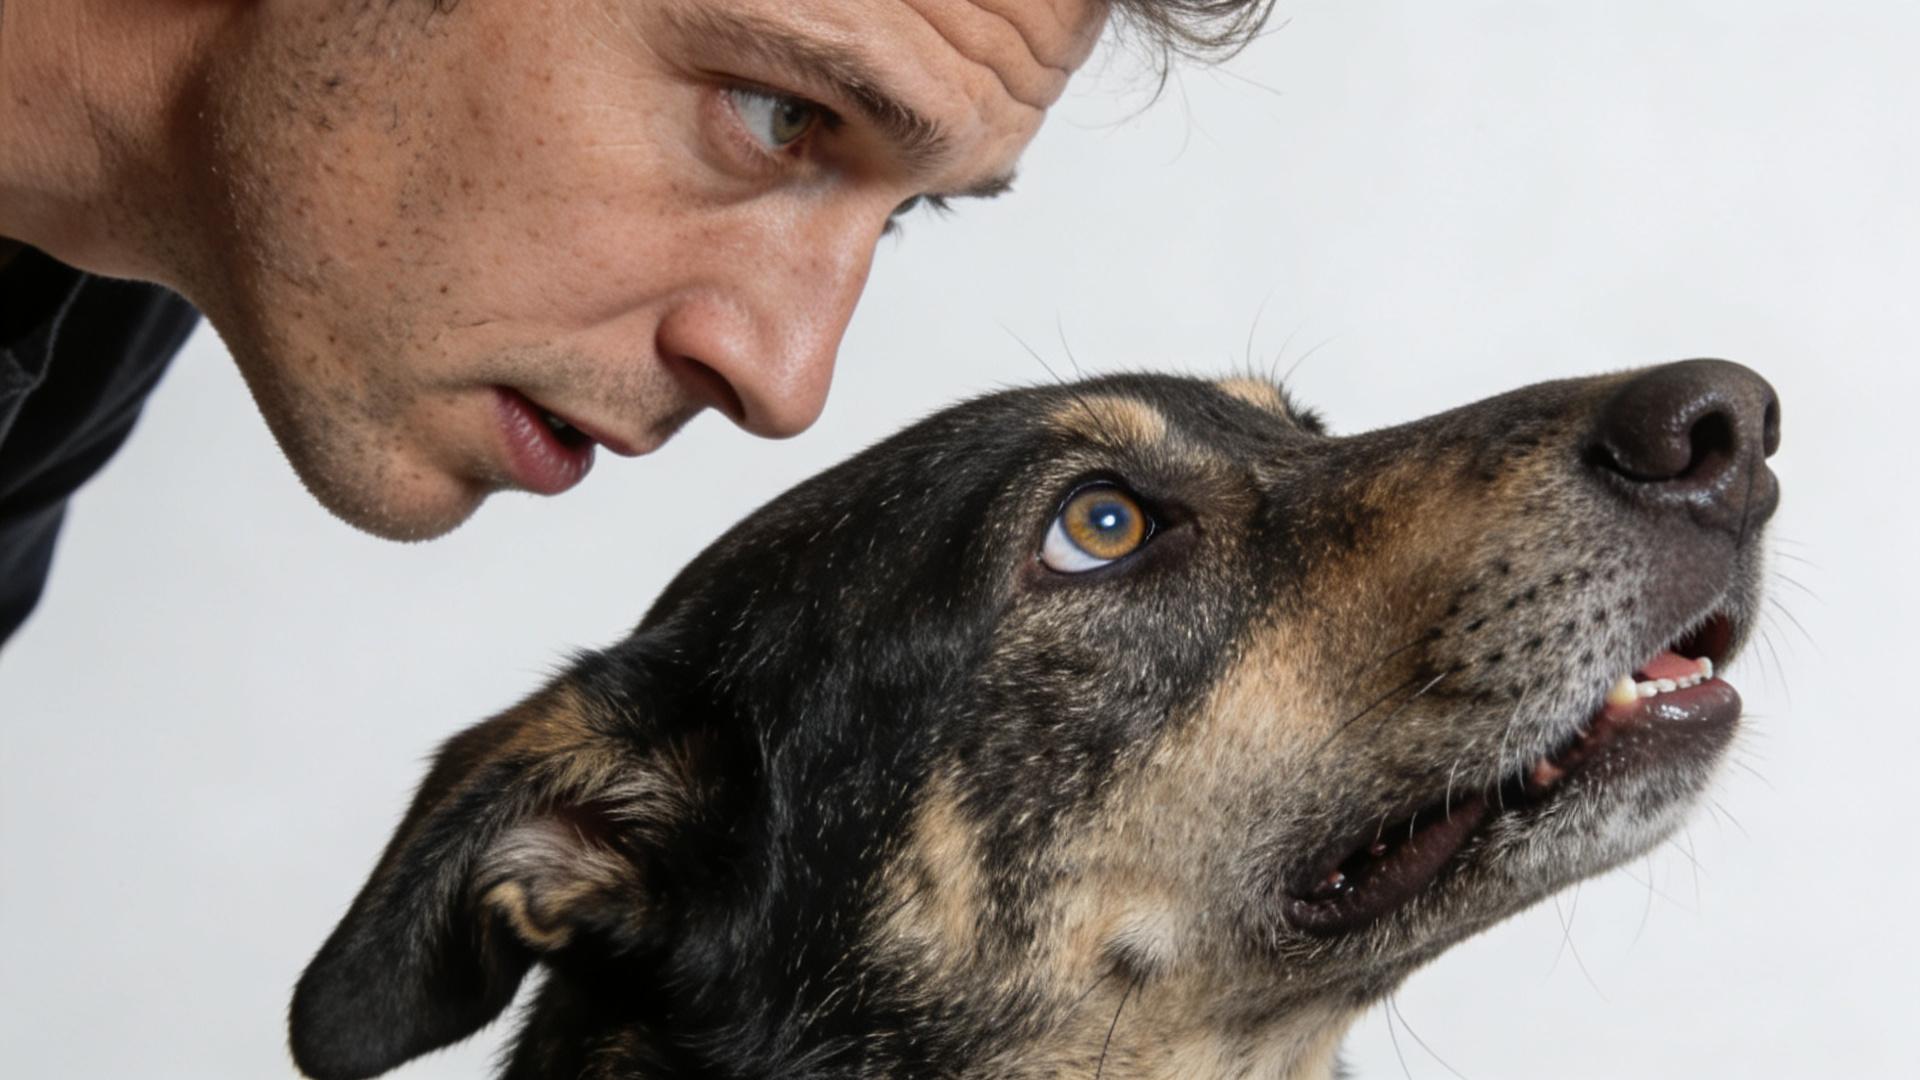
Why It Works: The Science Behind the Snacks
Canine behavior science shows that emotions drive behavior. Fear triggers the “fight, flight, or freeze” response. By working below your puppy’s fear threshold and consistently pairing the stimulus with rewards, you activate the brain’s reward pathways. This not only builds positive associations but also empowers your puppy, giving them a sense of control. This is the foundation of fear-free grooming and handling.
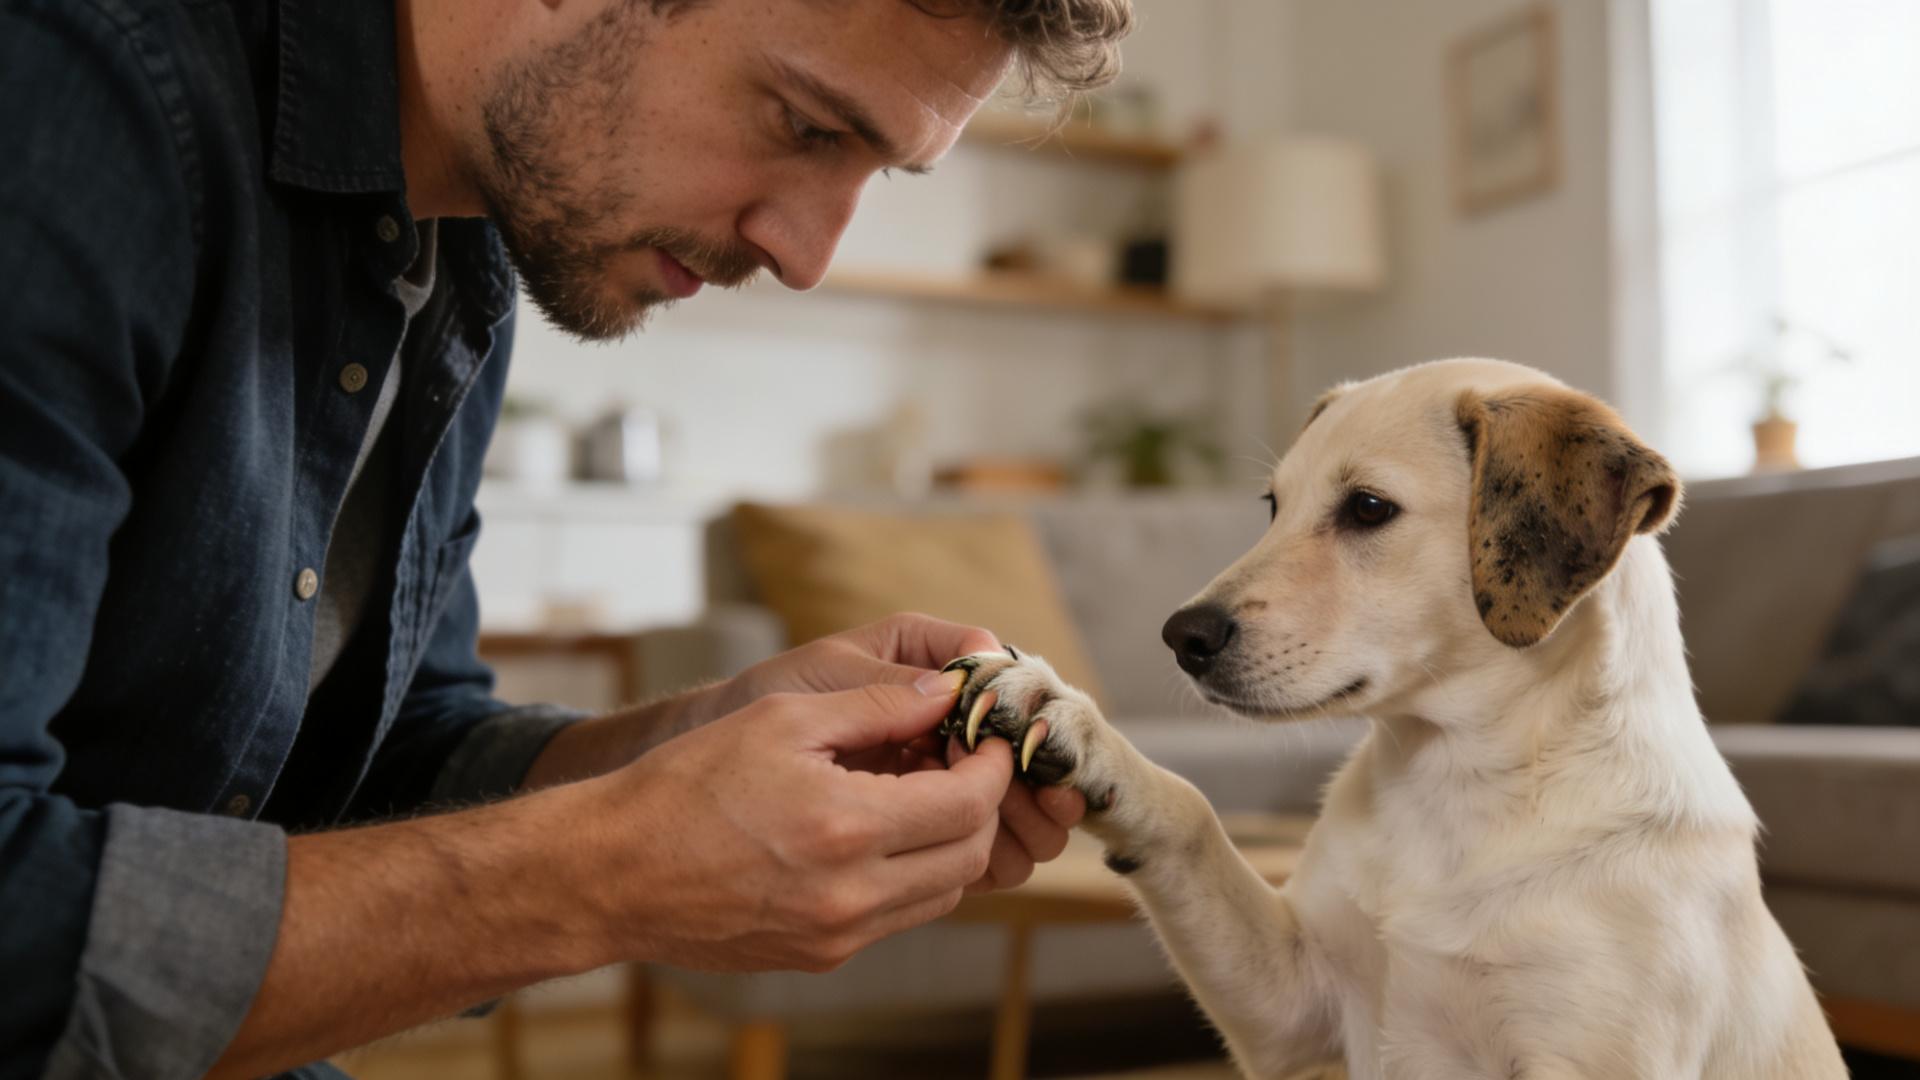
⚠️ Why Desensitization is Non-Negotiable for Nail & Ear Health
Neglecting nail and ear care isn’t an option for a responsible owner. The consequences are real and impactful:
- Overgrown Nails: Can alter a dog’s gait, causing chronic pain, joint stress, and even arthritis. Severely long nails can curl and grow into the paw pad.
- Dirty Ears: Create a warm, moist environment perfect for yeast and bacterial infections, leading to pain, odor, and hearing damage.
However, forcing the issue by pinning down a terrified puppy is counterproductive. It damages your bond, erodes trust, and confirms their worst fear: that grooming is something to be feared. Medical desensitization training prevents this cycle. It ensures procedures are completed safely (a wiggling puppy and sharp clippers are a dangerous mix) and transforms grooming from a traumatic event into a trust-building activity. The goal is a puppy who chooses to participate.
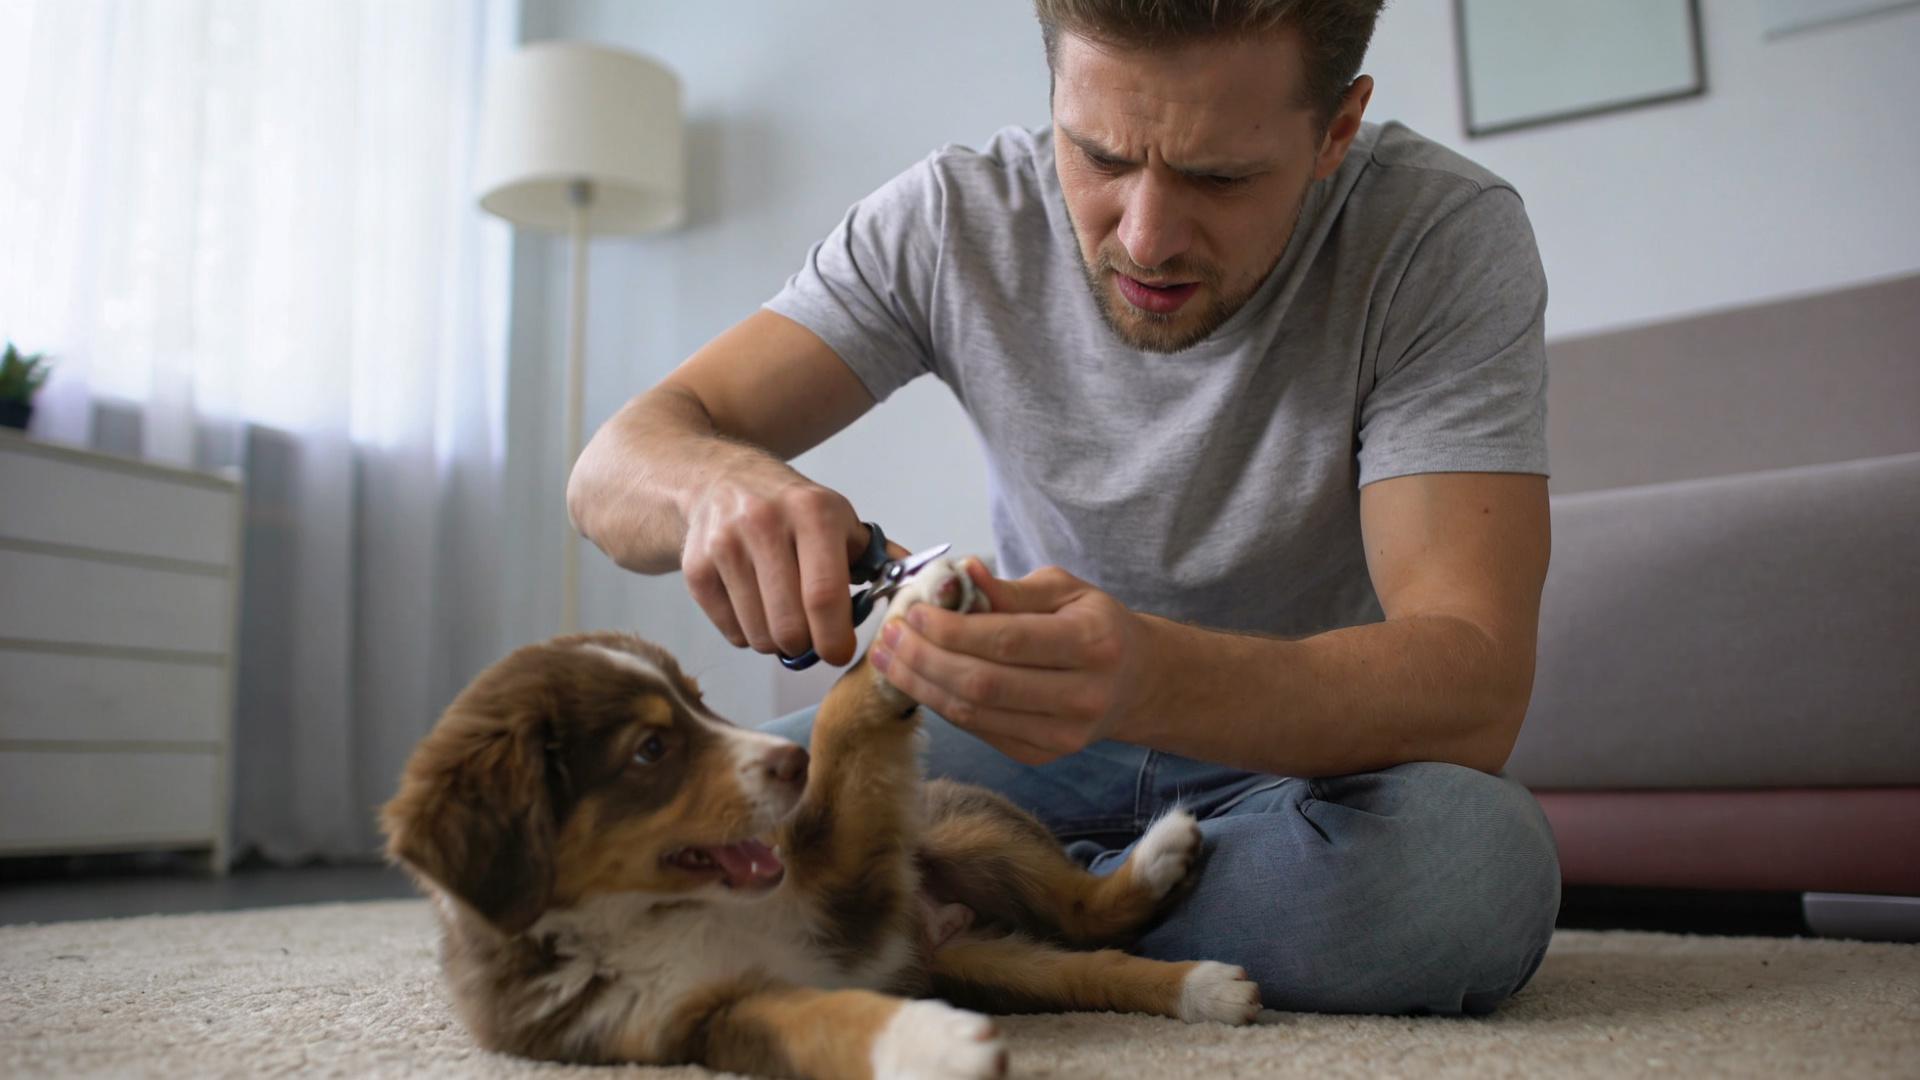
✂️ Step-by-Step Guide: Desensitization for Nail Trimming
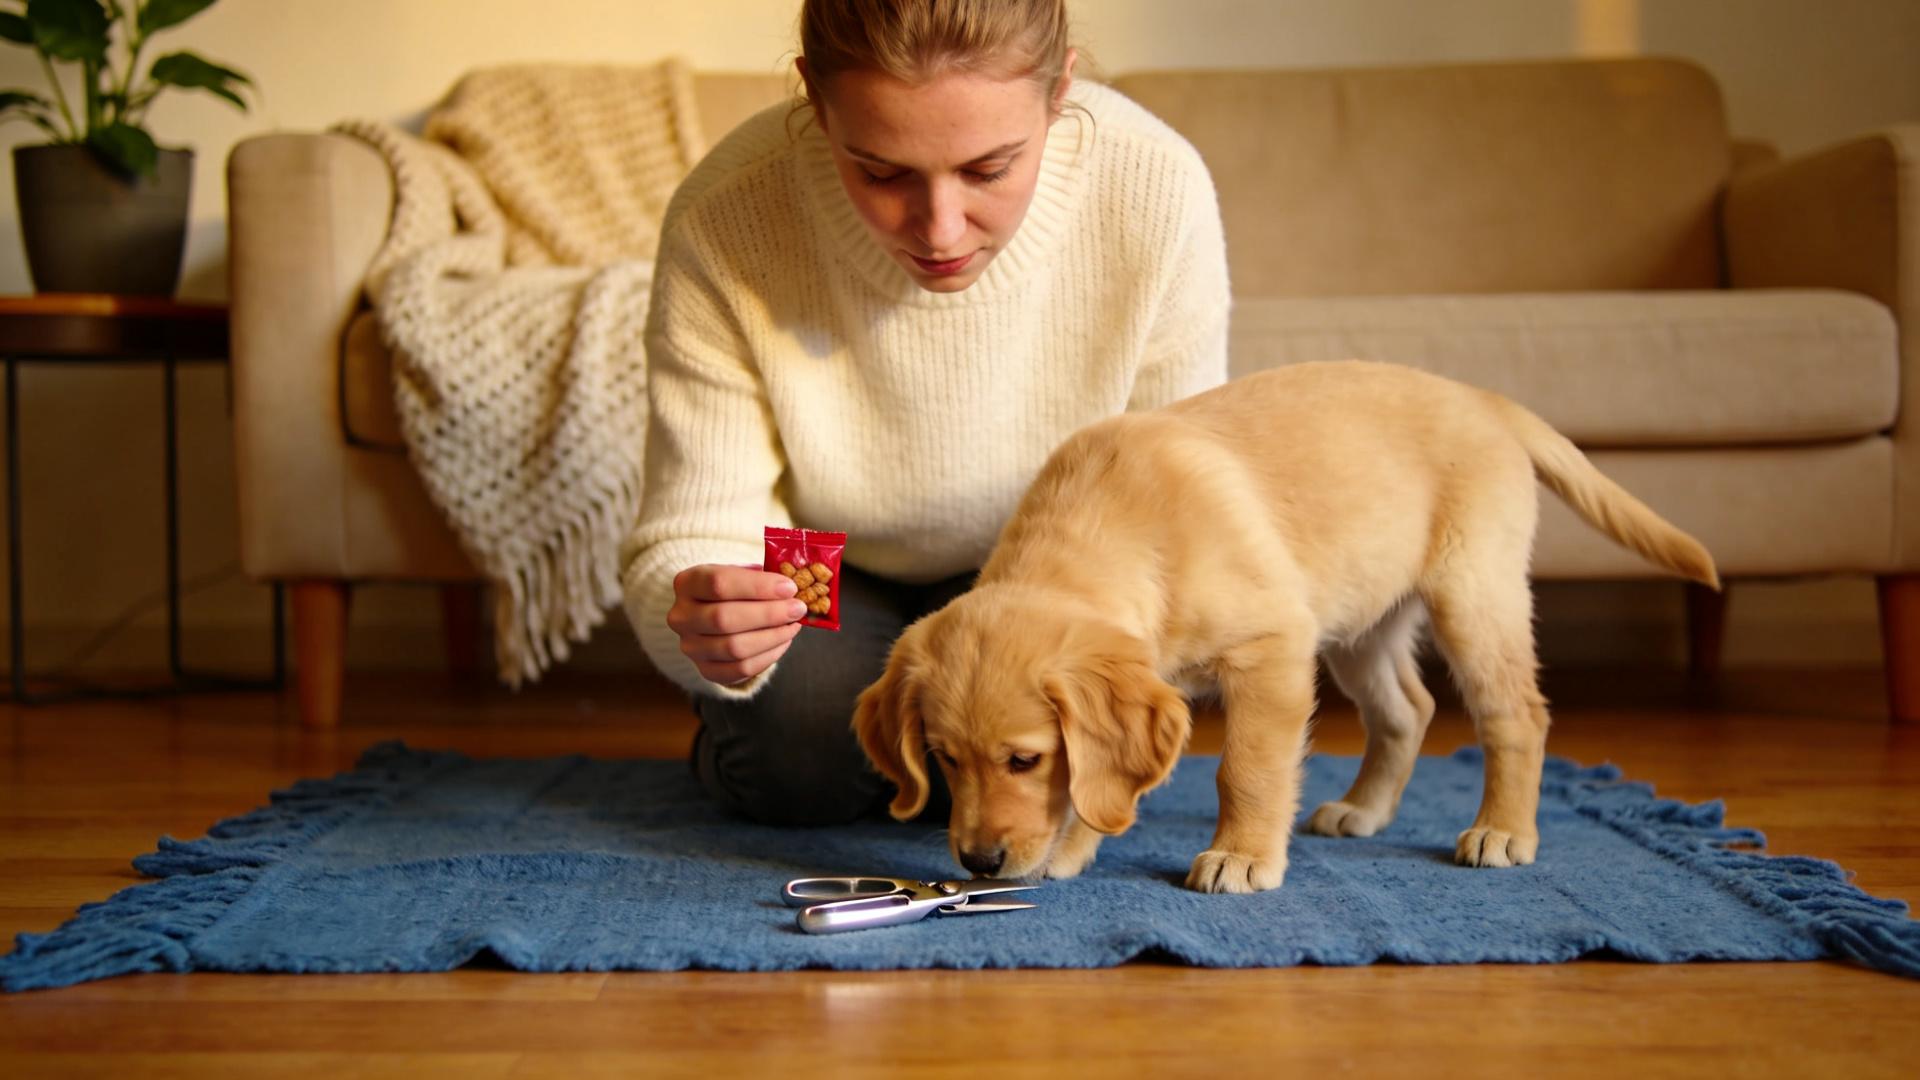
This is not a race. Progress is measured in tiny victories. Patience and consistency are your most important tools. Gather your supplies: nail clippers or a grinder, and an arsenal of high-value treats (e.g., small pieces of chicken, cheese, or commercial training treats).
Phase 1: Foundation & Positive Association
- Step 1: Place the clippers on the floor during a calm time. Let your puppy investigate freely. Click or mark (say “yes!”) and reward any curiosity—even a glance.
- Step 2: Pick up the clippers, click/treat. Hold them near your puppy (not their paw), click/treat. Make the clippers a treat-dispensing signal.
Phase 2: Paw Handling & Tool Introduction
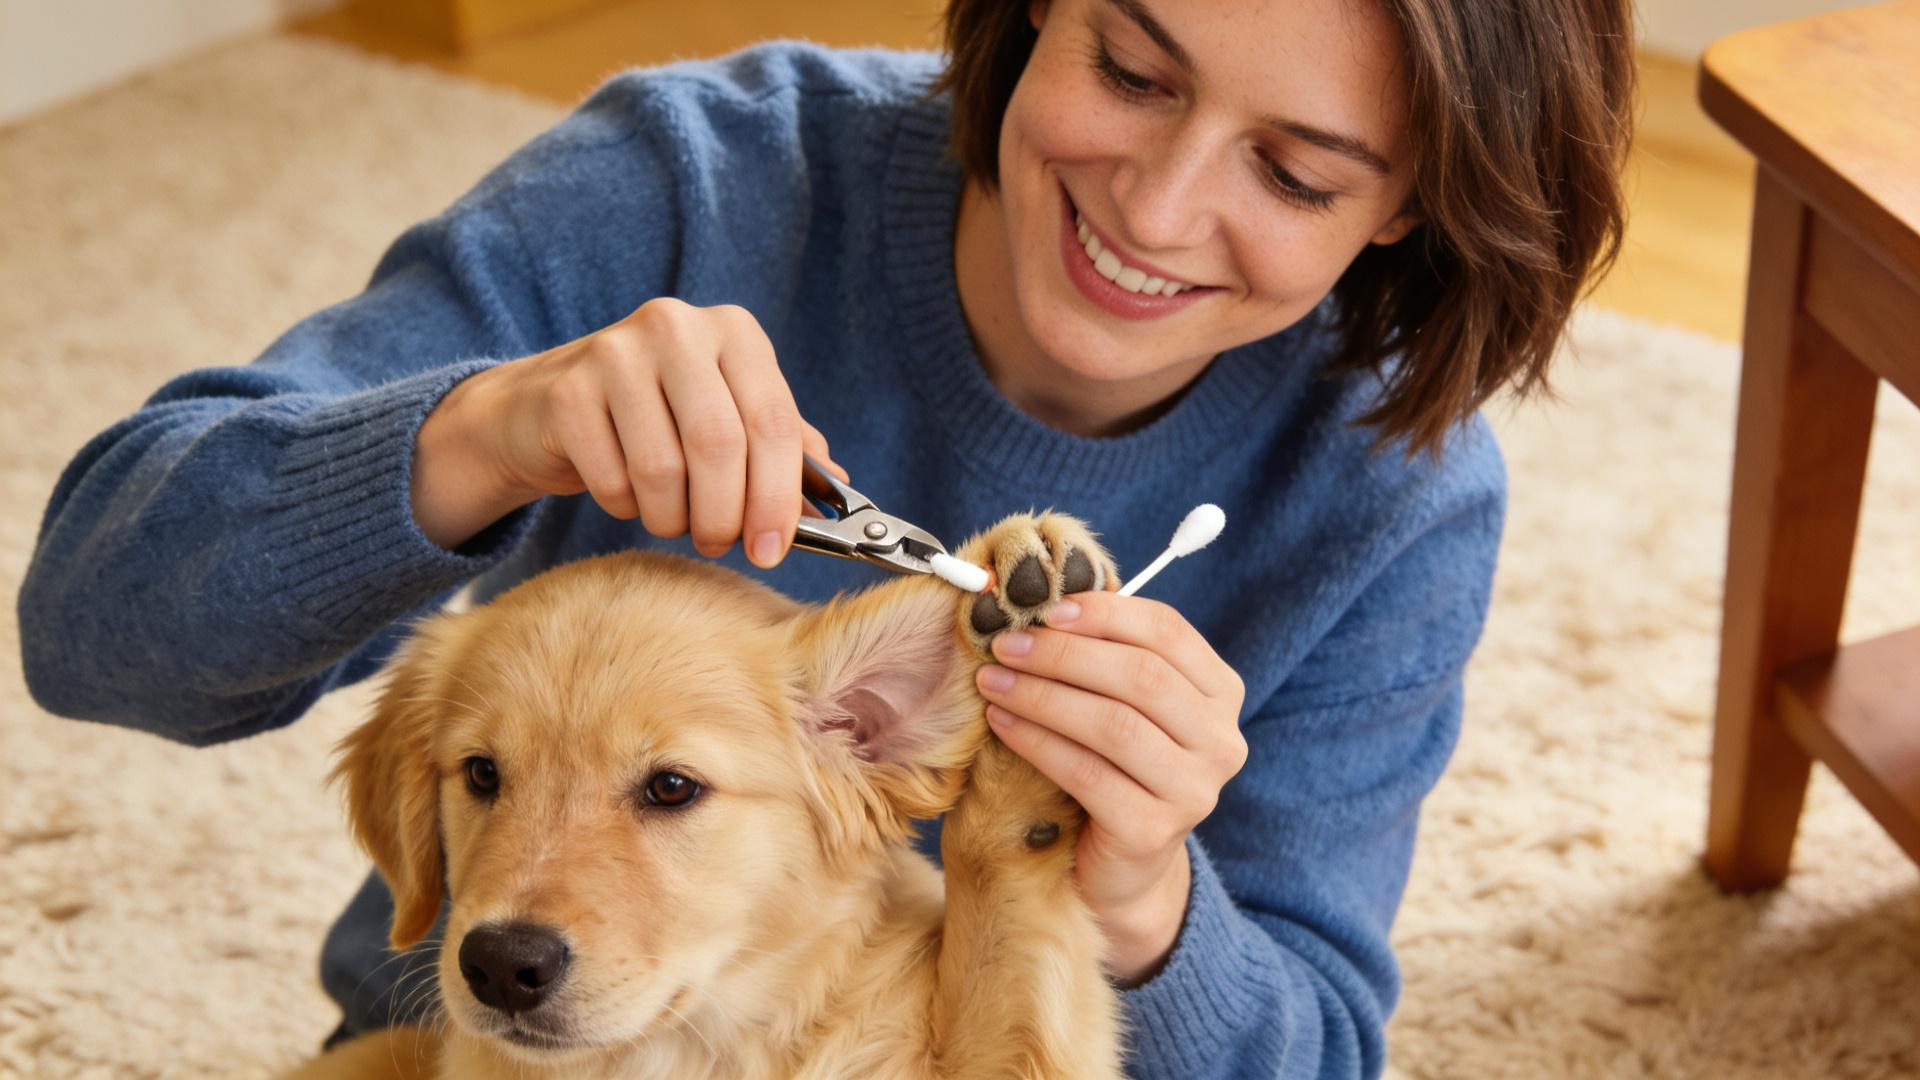
- Step 3: Gently handle your puppy’s paws during cuddle time, without any tools. Touch, hold, and gently press each toe. Reward calm acceptance lavishly.
- Step 4: With treats flowing, touch the clipper to a single nail without cutting. Just a tap. Click/treat. Repeat for each paw over several sessions.
Phase 3: Simulation & The First Clip
- Step 5: Position the clippers on a nail and apply the slightest pressure, simulating a clip. Click/treat. Do this for a few nails per session.
- Step 6 (The Big Step): Trim the very tip of ONE nail. Immediately follow with a jackpot of treats and enthusiastic praise! End the session on this massive success.
- Step 7: Over subsequent sessions, work up to clipping more nails per session, but always stay under your puppy’s comfort threshold. Keep sessions under 5 minutes.

👂 Step-by-Step Guide: Desensitization for Ear Cleaning & Turning
Ears are sensitive. The key is gentle, predictable movements. Special Reminder: Never insert cotton swabs or the bottle tip deep into the ear canal. Only clean the parts you can see.
Phase 1: Gentle Touch & Flap Lifting
- Step 1: In a relaxed setting, softly touch and massage the base and outside of your puppy’s ears. Pair every touch with a treat.
- Step 2: Gently lift the ear flap for one second, then release and reward. Gradually increase the duration you can hold the flap up to 5-10 seconds.
Phase 2: Introducing Tools & Mimicry
- Step 3: Let your puppy sniff the ear cleaning bottle and a cotton ball. Reward all calm interactions.
- Step 4: With a dry cotton ball, gently mimic a wiping motion on the outer ear flap and the visible part of the inner ear. Treat after each wipe.
Phase 3: Adding Solution & Final Integration
- Step 5: Put a small amount of vet-approved cleaning solution on the cotton ball. Wipe the same outer areas. The cool sensation may be novel, so keep the treats flowing.
- Step 6: Finally, introduce the bottle. Squirt a tiny drop onto your finger first, let puppy sniff, and treat. Progress to squirting a drop onto the cotton ball, then eventually (over many sessions) a drop into the ear itself, followed immediately by a treat and a gentle wipe.
🚧 Common Challenges & Pro Solutions
Hit a roadblock? Don’t panic. Regressions are normal. Here’s how to troubleshoot:
- Puppy shows anxiety (lip lick, yawn, turn away): You’ve moved too fast. Immediately go back to the last step where they were successful and rebuild from there.
- Low-value treats aren’t working: Upgrade your rewards! Use “super treats” reserved only for training: boiled chicken, hot dog bits, or cream cheese.
- Puppy resists or mouths you: Sessions are too long. Shorten them to 60 seconds or less. End while your puppy is still happy and wanting more.
- Severe fear or no progress: Enlist a certified professional dog trainer (CPDT-KA) or a veterinary behaviorist. They can provide personalized guidance.
🎉 Conclusion: A Partnership in Care
Medical desensitization training is more than just a method for easier grooming; it’s an investment in your lifelong relationship with your dog. It empowers you as a caregiver and empowers your puppy as a willing participant in their own health. By committing to slow progress, celebrating micro-successes, and always prioritizing your puppy’s emotional state, you will build a foundation of trust that extends far beyond nail trims and ear cleanings. You’ll cultivate a confident, resilient companion who views your touch as safe and rewarding. Start today, with patience and a pocketful of treats. Your happier, healthier puppy—and your stress-free self—will thank you for it. Happy training!