Trimming your dog's paw hair is more than just a Grooming touch-up; it's a fundamental aspect of responsible pet care that directly impacts their health and comfort. Excess hair between the pads can trap moisture, dirt, and debris, creating a breeding ground for bacteria and yeast. It can also cause matting, reduce traction on smooth floors, and lead to discomfort with every step. For beginners, the thought of bringing scissors near your pet's paws can be daunting. This guide is designed to demystify the process, providing you with a safe, step-by-step framework to master this essential skill. Not only will you enhance your dog's well-being, but you'll also strengthen your bond through patient, positive grooming sessions. Let's get started on the path to happier, healthier paws.
🐾 Tools You Will Need: Gathering Your Grooming Arsenal
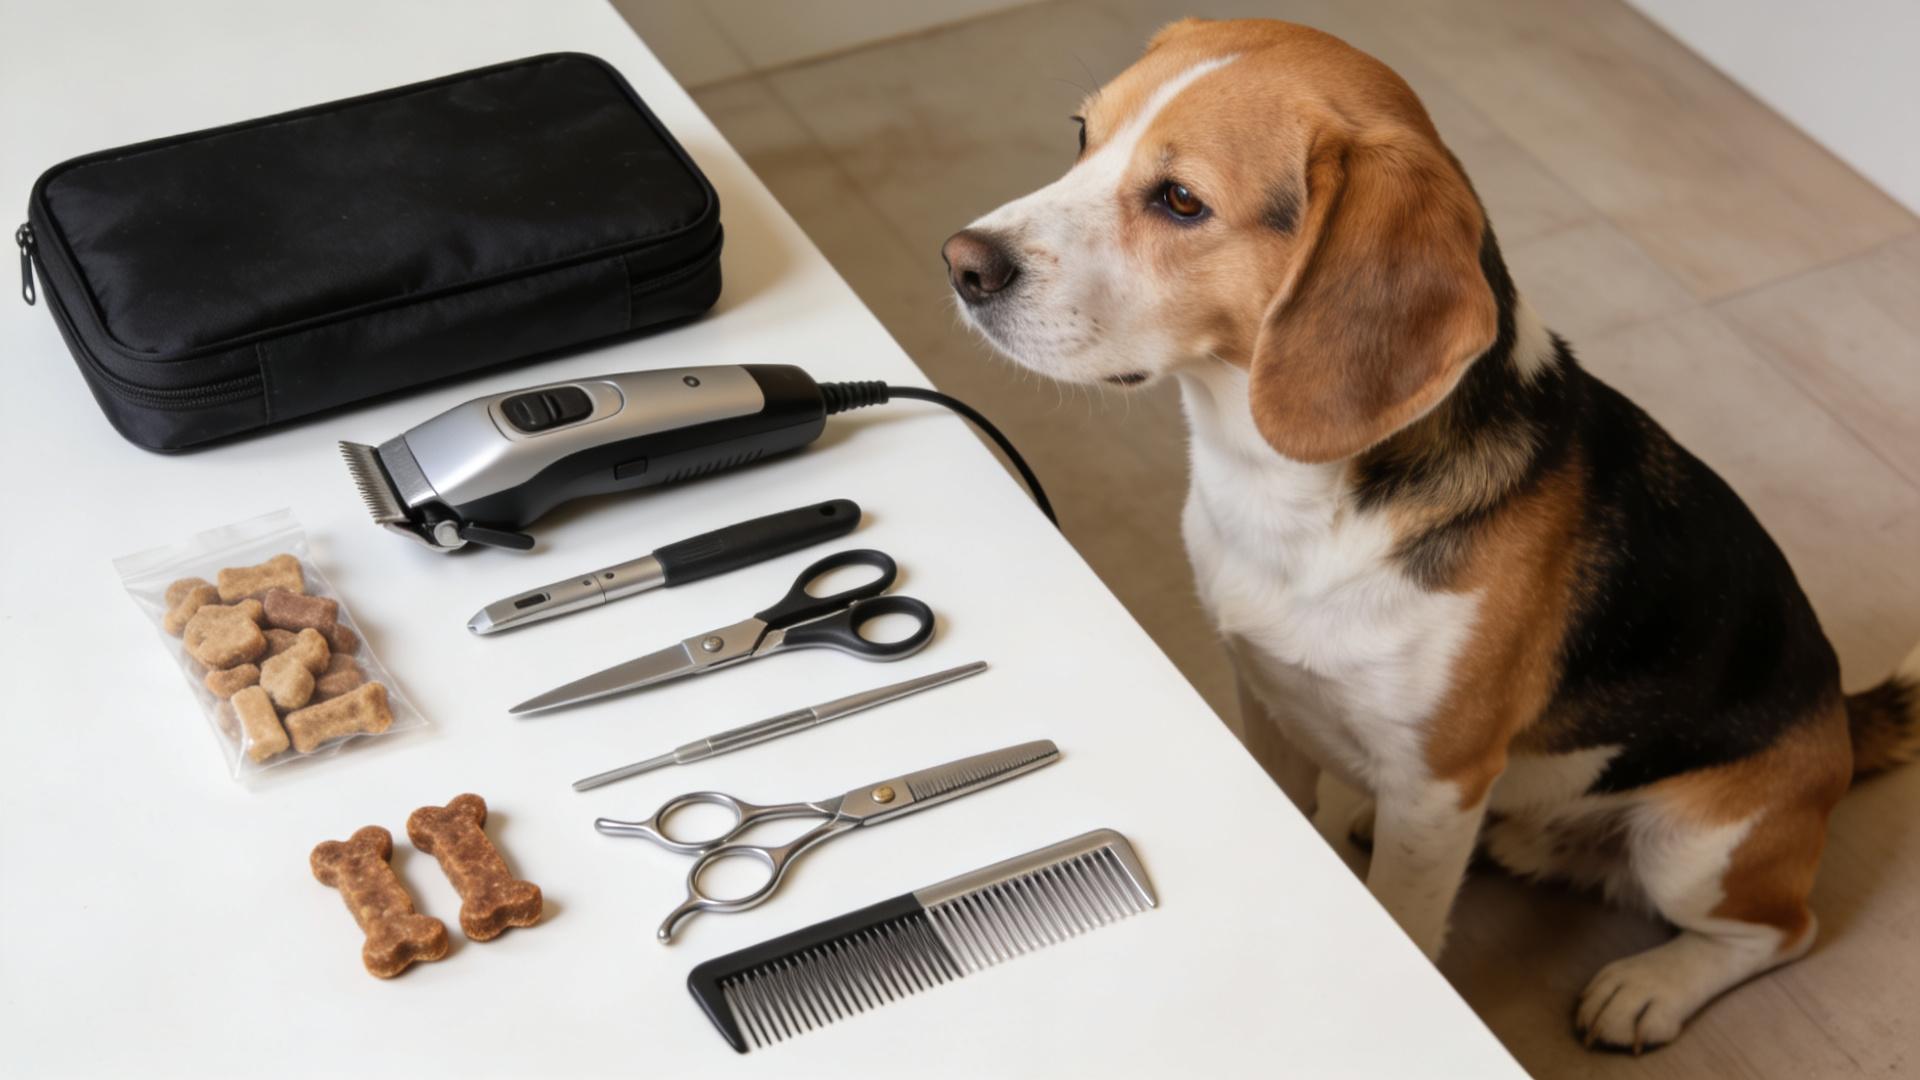
Having the right tools within reach is the first step to a successful and stress-free grooming session. Using improper tools, like human scissors or dull clippers, can make the task difficult and potentially dangerous. Here is your essential checklist:
Essential Implements for the Job
- Blunt-Tipped Grooming Scissors: These are non-negotiable for safety. The rounded tips minimize the risk of accidentally poking or cutting your dog's sensitive skin between their pads.
- Fine-Tooth Comb or Small Slicker Brush: A metal fine-tooth comb is perfect for teasing out and lifting the hair between pads. A small slicker brush works wonders for removing mats and tangles from the fur on top of the paw.
- Dog-Safe Electric Clippers with a Guard Attachment: While optional for a very basic trim, clippers with a #10 or #15 blade and a guard comb (e.g., 3mm or 4mm) allow for a quick, even trim around the paw's edges. Never use human clippers, as they run hotter and can frighten your dog with their noise and vibration.
- High-Value Treats: This is your secret weapon! Use small, special treats your dog loves to reward calm behavior and create positive associations. Think boiled chicken, cheese bits, or commercial training treats.
- Non-Slip Mat: Place this on your table or floor. It provides secure footing for your dog, preventing slips that could startle them and make them anxious.
🛠️ Preparing Your Dog and Workspace: Setting the Stage for Success
A calm environment and a relaxed dog are 80% of the battle won. Rushing this preparation stage often leads to a struggle. Dedicate time to create a positive experience.
Creating a Calm Environment
Choose a quiet, well-lit room free from distractions like other pets or loud TVs. Good lighting is crucial for seeing what you're cutting. Lay out all your tools on a stable surface next to you. If using a table, ensure it's at a comfortable height for you and that the non-slip mat is securely in place.
Acclimating Your Dog
If your dog isn't used to paw handling, do not attempt a full trim on day one. For several days prior, practice simply touching and holding their paws while offering treats and praise. Gently manipulate their toes, simulating the pressure you'll use during grooming. This builds trust. For the actual session, ensure your dog has had some exercise beforehand to burn off excess energy.
✂️ Step-by-Step Trimming Instructions: A Detailed Walkthrough
Follow these steps in order. Work on one paw at a time, completing each step fully before moving to the next. This methodical approach is clearer for you and less overwhelming for your dog.
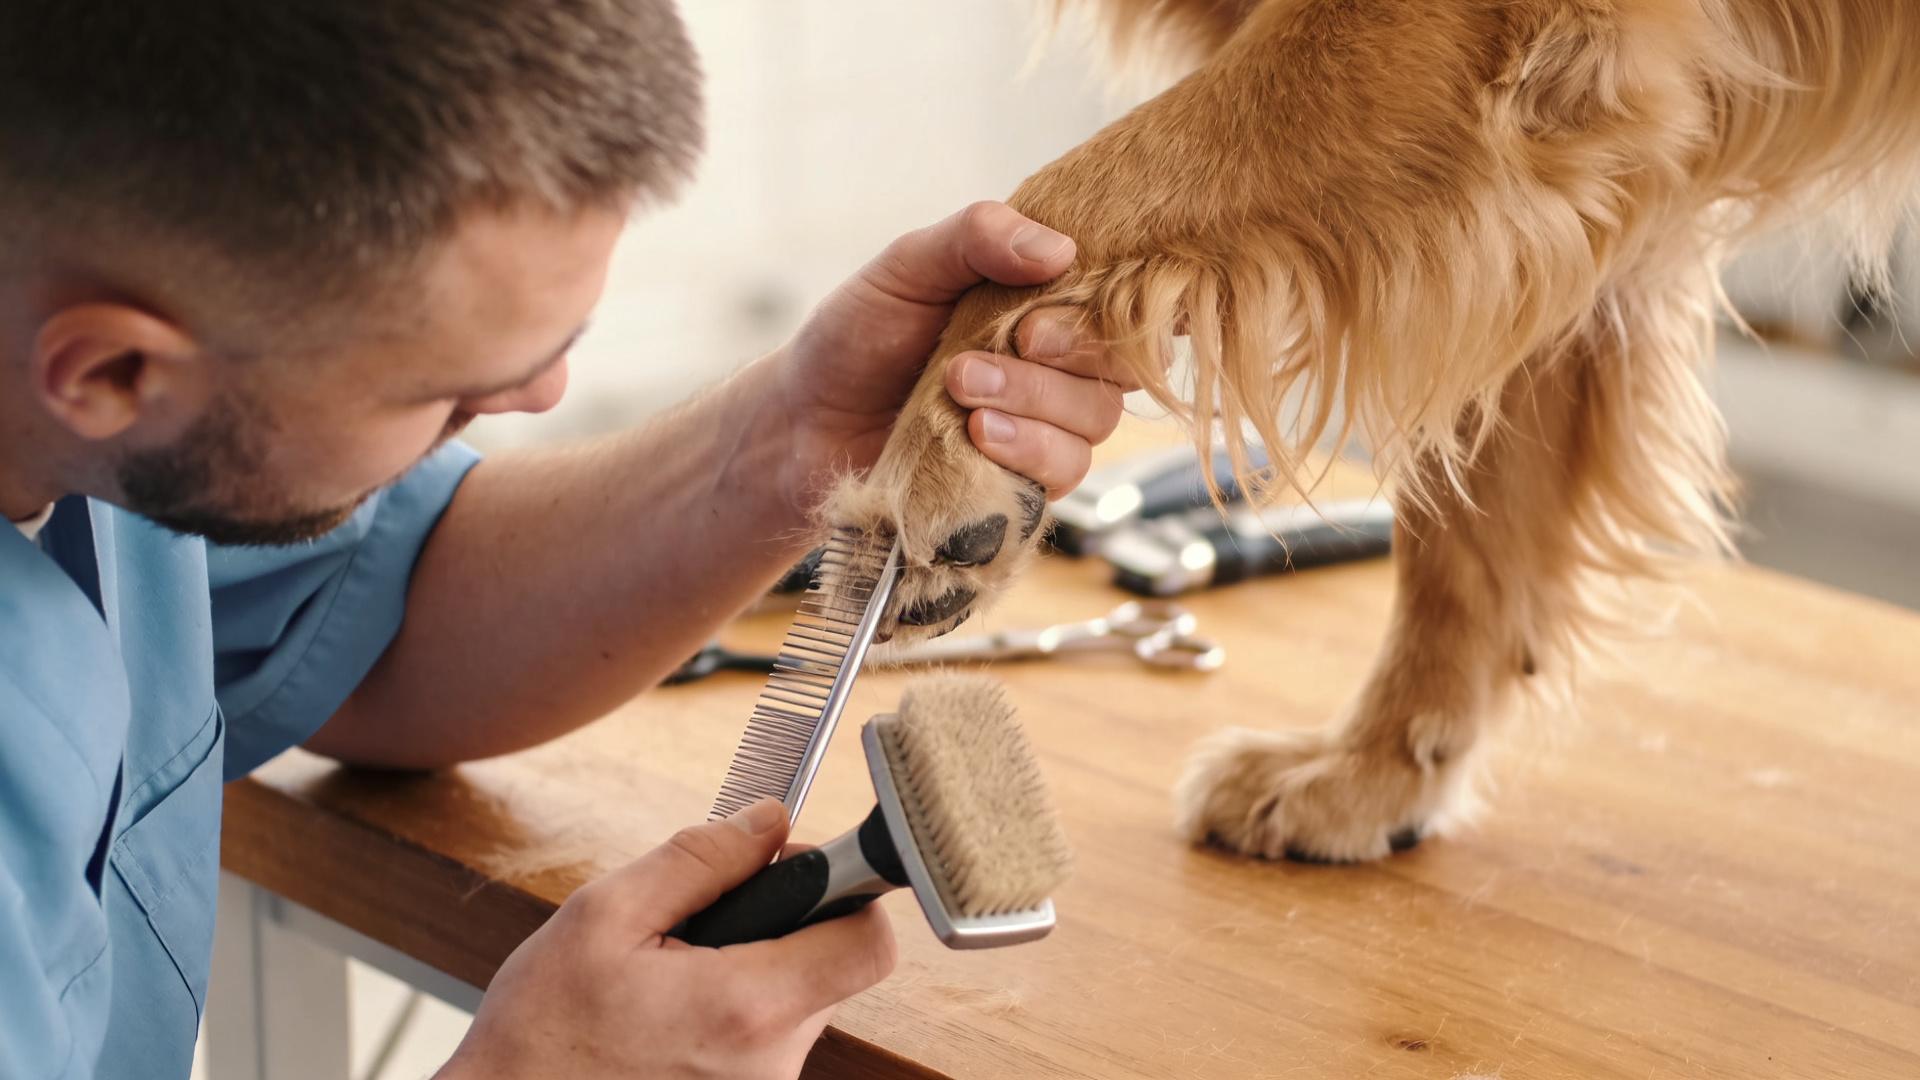
Step 1: The Thorough Brush-Out
Using your fine-tooth comb or slicker brush, gently but thoroughly brush all the hair on the paw—top, sides, and between the toes. Your goal is to remove all mats and tangles. Cutting through a mat can pull the skin and cause injury. If you encounter a severe mat, consider using a detangling spray or, if stuck against the skin, seek professional help.
Step 2: Lifting the Interpad Hair
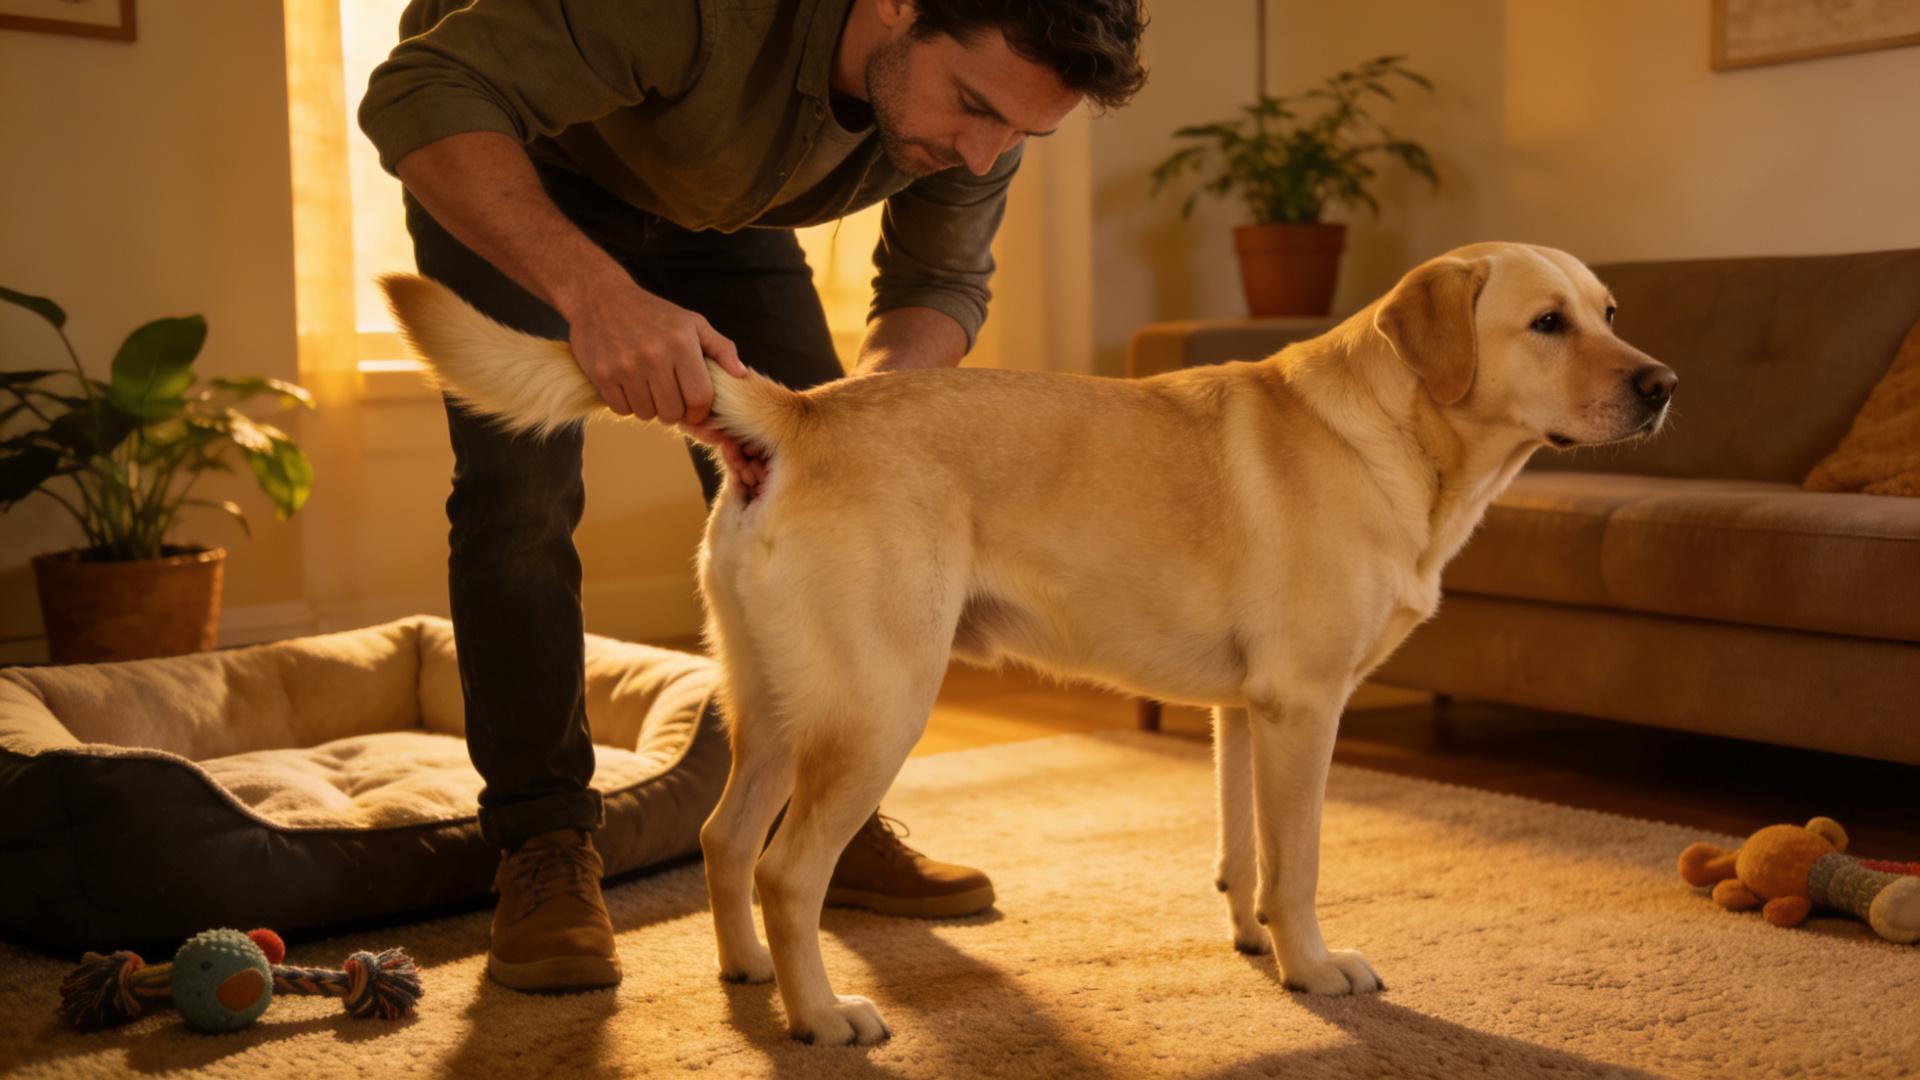
This is the most critical step for health. Take your fine-tooth comb and gently insert it into the hair growing between the paw pads. Carefully lift the hair upward and away from the skin. This separates the hair from the pad itself, creating a clear, safe cutting line. You should be able to see the pad's surface beneath the lifted hair.
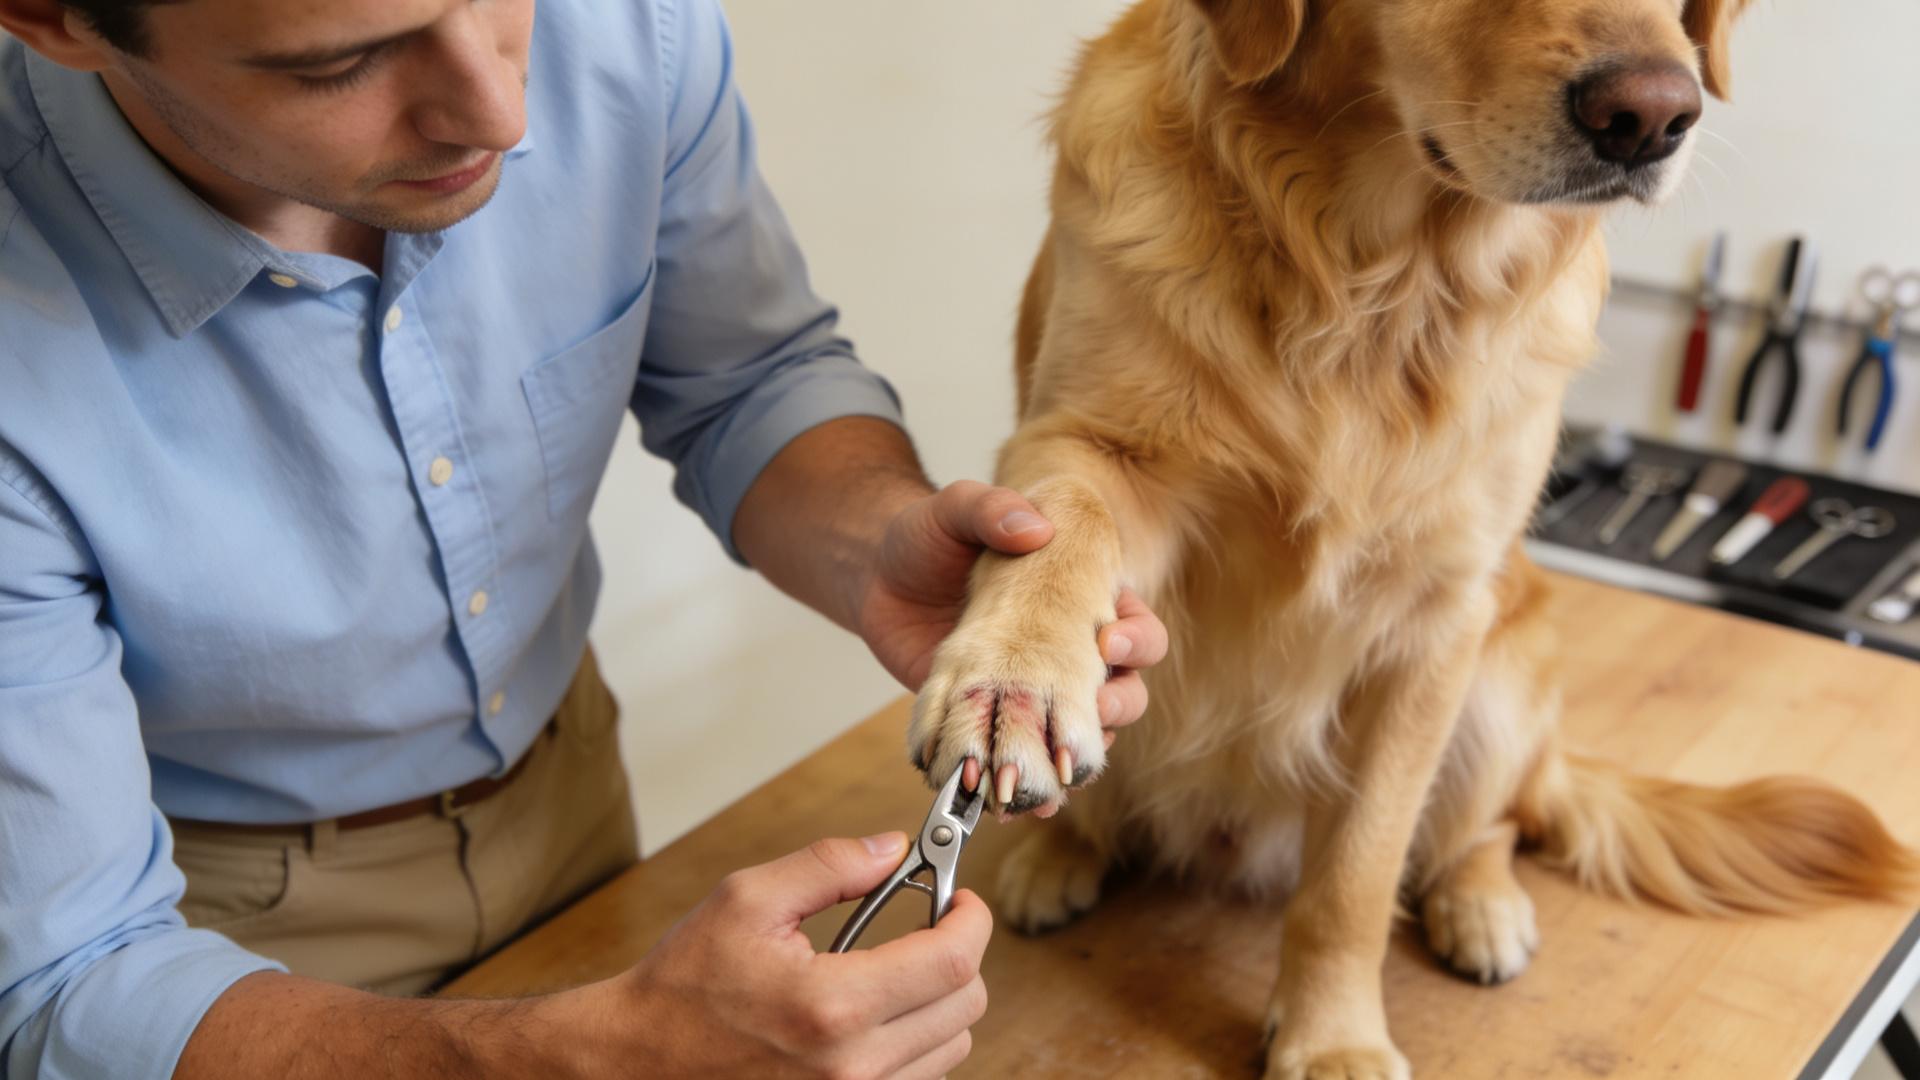
Step 3: Trimming Between the Pads (The Core Task)
With your blunt-tipped scissors in hand, carefully trim the hair you have lifted with the comb. CRUCIAL SAFETY RULE: Always cut parallel to the pad's surface, with the scissors pointing sideways or away from the paw. Never point the scissor tips downward or inward toward the skin. Make small, conservative snips. It's better to trim less and reassess than to cut too much. Your aim is to make the pads flush with the floor, removing the "slipper" effect.
Step 4: Shaping the Paw Outline
Now, neatening the hair around the edges of the paw gives a finished look. Using either your scissors (held parallel to the paw's contour) or your electric clippers with a guard attachment, trim the hair that flows over the foot's silhouette. The guard ensures an even length and prevents nicks. Think of giving the paw a tidy, rounded "footprint."

Step 5: The Finishing Touch on Top
Finally, lightly brush and trim any excessively long hair on the top of the paw (the metatarsal area). This is purely for tidiness and to prevent snowballs or mud collection. A light touch here is key—you don't want to make the paw look shaved or exposed.
⚠️ Important Safety Tips: Your Non-Negotiable Rules
Adhering to these tips separates a successful DIY dog grooming session from a potential accident.
- Tool Vigilance: Use only blunt-tipped scissors. Sharpen them regularly so they cut cleanly without pulling.
- The Visibility Rule: Never cut hair you cannot see clearly. If the hair isn't lifted and separated by the comb, don't cut it.
- Secure Hold: Hold the paw firmly but gently. A wiggling paw is a hazard. If your dog pulls, pause, ask for a sit, reward, and then continue.
- Read the Signs: Watch for stress signals—whale eye, lip licking, yawning, trembling, or growling. Stop immediately if your dog shows significant distress. This may mean ending the session and trying another day.
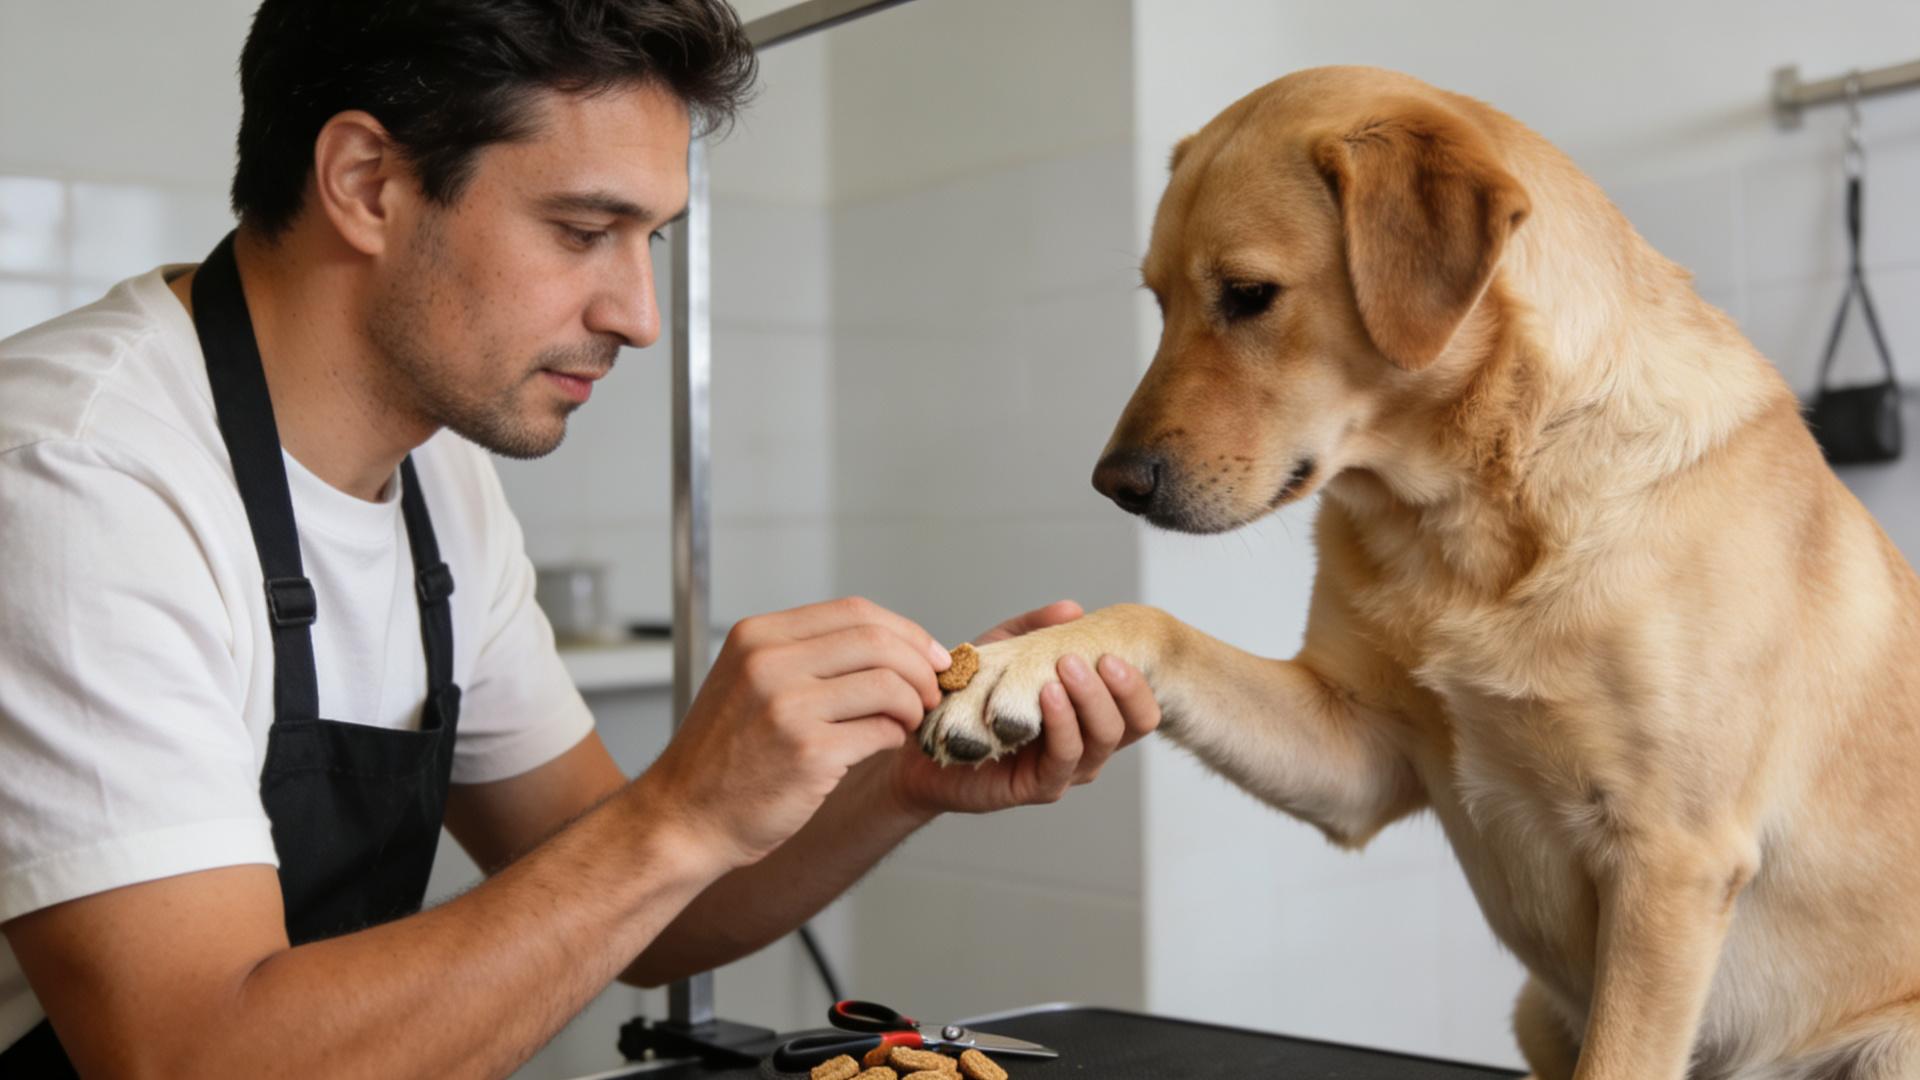
- Positive Reinforcement: Shower your dog with treats and praise for calm behavior, especially when they allow you to handle a sensitive area.

💖 Aftercare and Maintenance: Completing the Cycle
The job isn't done when the last hair is cut. Proper aftercare ensures comfort and sets the schedule for future at home dog grooming.
- Inspect: In good light, carefully check each paw pad and between the toes for any minor nicks, redness, or irritation you may have missed.
- Clean: Wipe the paws with a damp cloth to remove loose cut hairs that can be itchy. You can also use a pet-safe wipe.
- Celebrate: Offer enthusiastic praise, a play session, or a special long-lasting treat like a stuffed Kong. Make the end of grooming a big, positive event.
- Schedule: Paw hair grows continuously. For optimal health and traction, plan to do this simple trim every 3 to 4 weeks. Mark it on your calendar to build a consistent routine.
🎉 Conclusion: Embracing Your Role as a Pet Caretaker
Mastering the simple dog trim of your dog's paw hair is an incredibly rewarding skill. It moves beyond basic care into the realm of proactive health maintenance. Each successful session deepens the trust between you and your dog, transforming a potential chore into a bonding ritual. Remember, every expert was once a beginner. Start slow, prioritize safety and positivity over perfection, and be patient with both yourself and your canine companion. With consistent practice, you'll gain the confidence to keep your pet's paws in pristine condition, ensuring their comfort with every step they take. Happy grooming!