If you've ever looked into your dog's sweet, expressive eyes only to be met with the rusty, damp trails of tear stains, you're not alone. That feeling of frustration—wondering if you're failing your furry friend's hygiene or if there's something wrong—is incredibly common. We pour our love into our dogs, and we want them to look and feel their absolute best. The good news is that tackling tear stains doesn't require harsh chemicals or expensive, mysterious formulas. This guide is built on the principles of gentle, safe, and effective care, approved by canine skincare rationale. We'll walk you through a simple, vet-inspired homemade cleansing solution, a patient step-by-step removal process, and the daily habits that prevent stains from returning. With a little consistency and the right knowledge, you can significantly improve your dog's comfort and appearance, restoring the bright, clear gaze you love. 🐾
🔍 Understanding Tear Stains: More Than Just a Grooming Issue
Before diving into solutions, it's crucial to understand what you're dealing with. Tear stains are those reddish-brown streaks that appear under a dog's eyes, most notably on white or light-colored fur. They are primarily composed of porphyrin—a pigment found in tears, saliva, and urine that contains iron molecules. When tears overflow and sit on the fur, the porphyrin oxidizes, leaving that characteristic stain.
What Causes Excessive Tearing?
Several factors can contribute to the excessive tearing (epiphora) that leads to staining:
- Dietary Factors: Low-quality ingredients, food allergies, or additives can increase tear production. Some believe minerals in tap water may also play a role.
- Genetics & Breed Predisposition: Breeds with short noses (brachycephalic) like Shih Tzus, Pugs, and Maltese, or those with long hair around the eyes (e.g., Lhasa Apsos, Pekingese) are highly prone due to facial structure and hair contact.
- Eye Irritation & Health: Inverted eyelids (entropion), glaucoma, corneal scratches, or even something as simple as an ingrown eyelash can cause constant eye watering.
- Tear Duct Issues: Blocked or improperly formed tear ducts prevent normal tear drainage, causing overflow onto the face.
- Ear Infections: Surprisingly, pain or infection in the ear can stimulate a reflex that increases tear production.
Special Reminder: While the methods here effectively address the stain itself, they are not a cure for underlying medical conditions. If your dog has sudden, severe, or persistent eye watering, redness, or squinting, a veterinary consultation is essential to rule out health issues.
🧪 The Homemade Gentle Cleansing Solution: Nature's Stain Remover
Commercial stain removers can be loaded with bleach, antibiotics, or unknown ingredients that may irritate your dog's sensitive eye area. This homemade alternative leverages natural ingredients with proven soothing and cleansing properties. It’s gentle enough for regular use and effective at breaking down porphyrin deposits.
The Recipe & Rationale
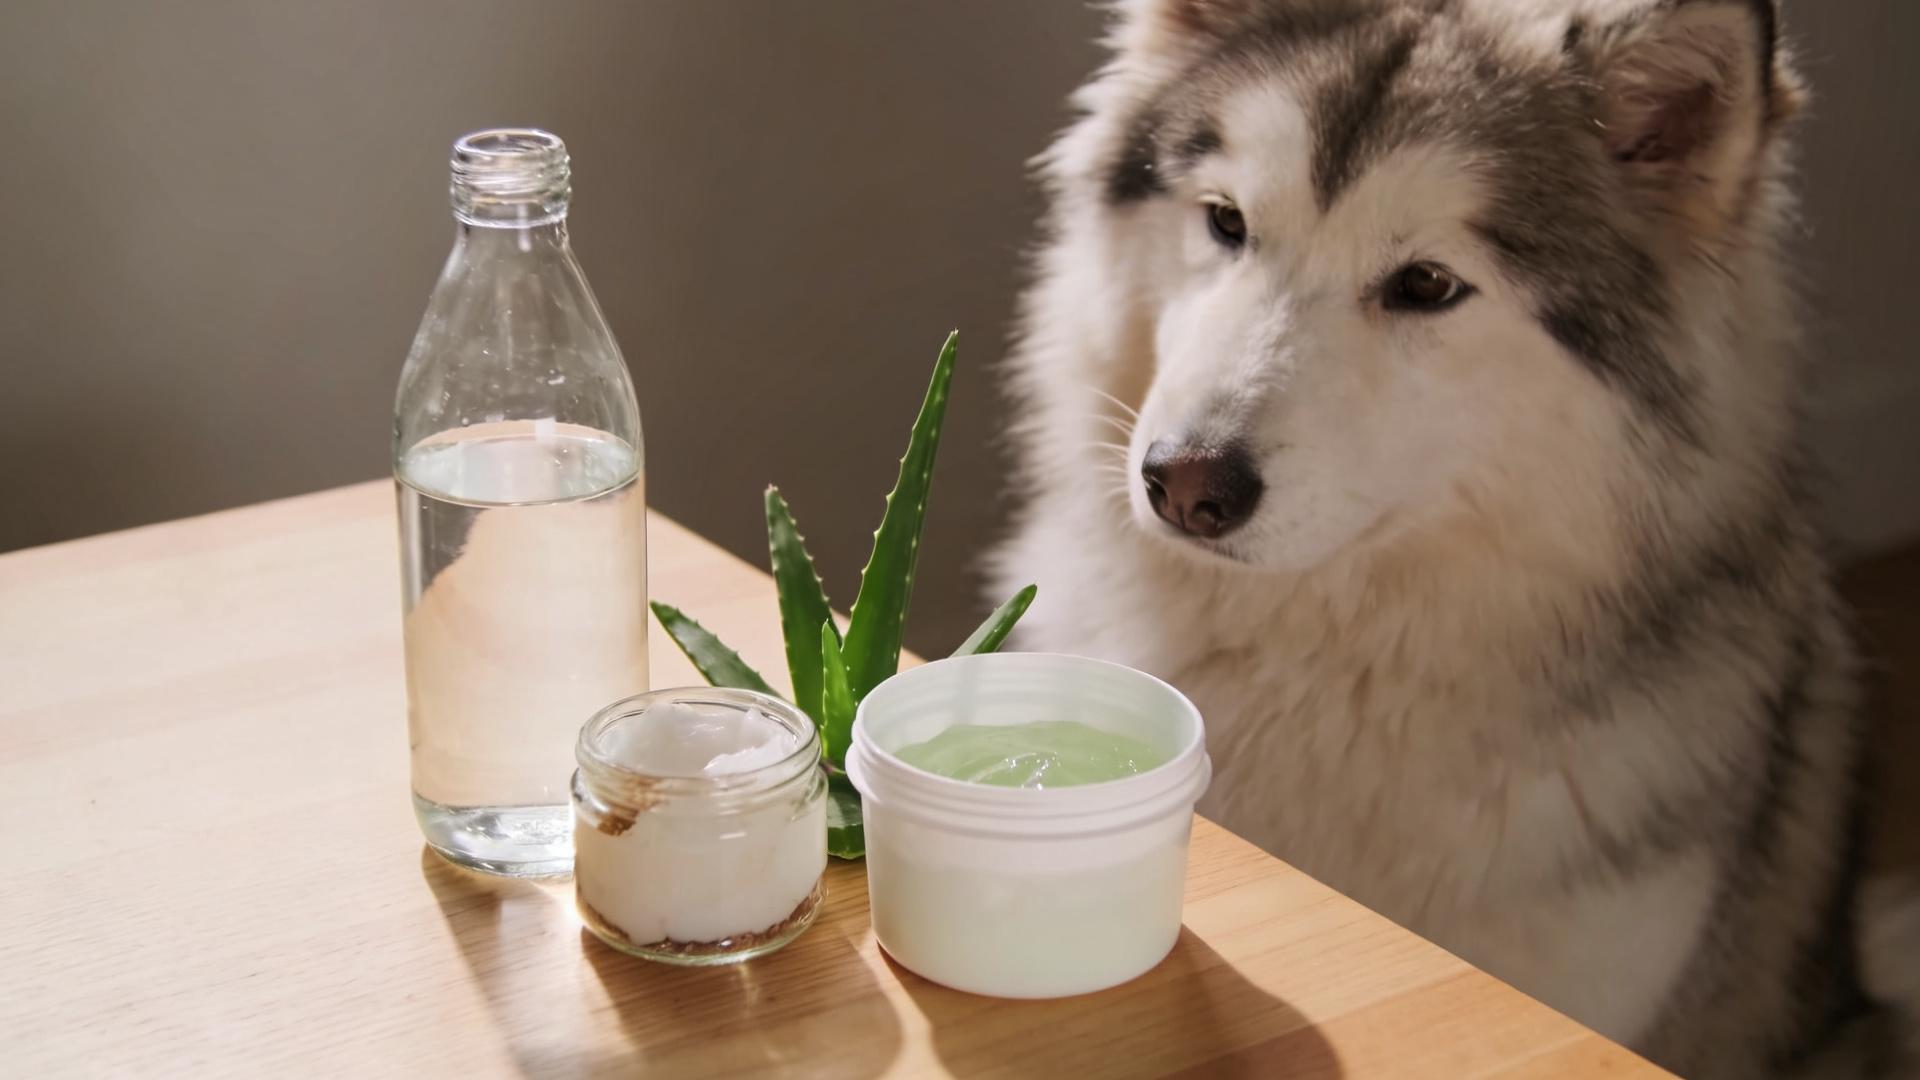
Ingredients:
- 1 tablespoon of Distilled Water – Ensures purity, free from the minerals and potential contaminants found in tap water that could worsen staining.
- 1 tablespoon of Organic, Unrefined Coconut Oil – A superstar ingredient. It's a superb, natural moisturizer that prevents the delicate skin from drying out and cracking. Crucially, it contains lauric acid, which has mild antimicrobial and antifungal properties, helping to keep the area clean.
- 1 teaspoon of Pure Aloe Vera Gel (99-100%) – Renowned for its soothing, cooling, and anti-inflammatory properties. It calms any skin irritation or redness around the eyes, making the process comfortable for your dog.
Mixing Instructions & Crucial Safety Notes
In a small, clean bowl, combine the coconut oil and aloe vera gel. If your coconut oil is solid, gently warm the jar in a bowl of hot water until it liquifies. Stir vigorously until fully blended. Slowly add the distilled water and continue to stir until you achieve a smooth, consistent, slightly creamy paste.
VITAL SAFETY PRECAUTIONS:
- Avoid Eye Contact: This solution is for the fur and skin around the eyes, NOT for use inside the eye. Be extremely careful during application.
- Patch Test: Before the first full application, perform a patch test. Apply a tiny dab of the solution on a less sensitive area of your dog's skin (like the inner leg) and wait 24 hours to check for any adverse reaction (redness, itching).
- Quality Matters: Use the highest quality, pure ingredients you can find. Avoid aloe vera gels with alcohol, colors, or fragrances.

👐 Step-by-Step Tear Stain Removal Technique
Patience and gentleness are key. Rushing or scrubbing will only distress your dog and potentially harm their eyes.
Step 1: Preparation is Key
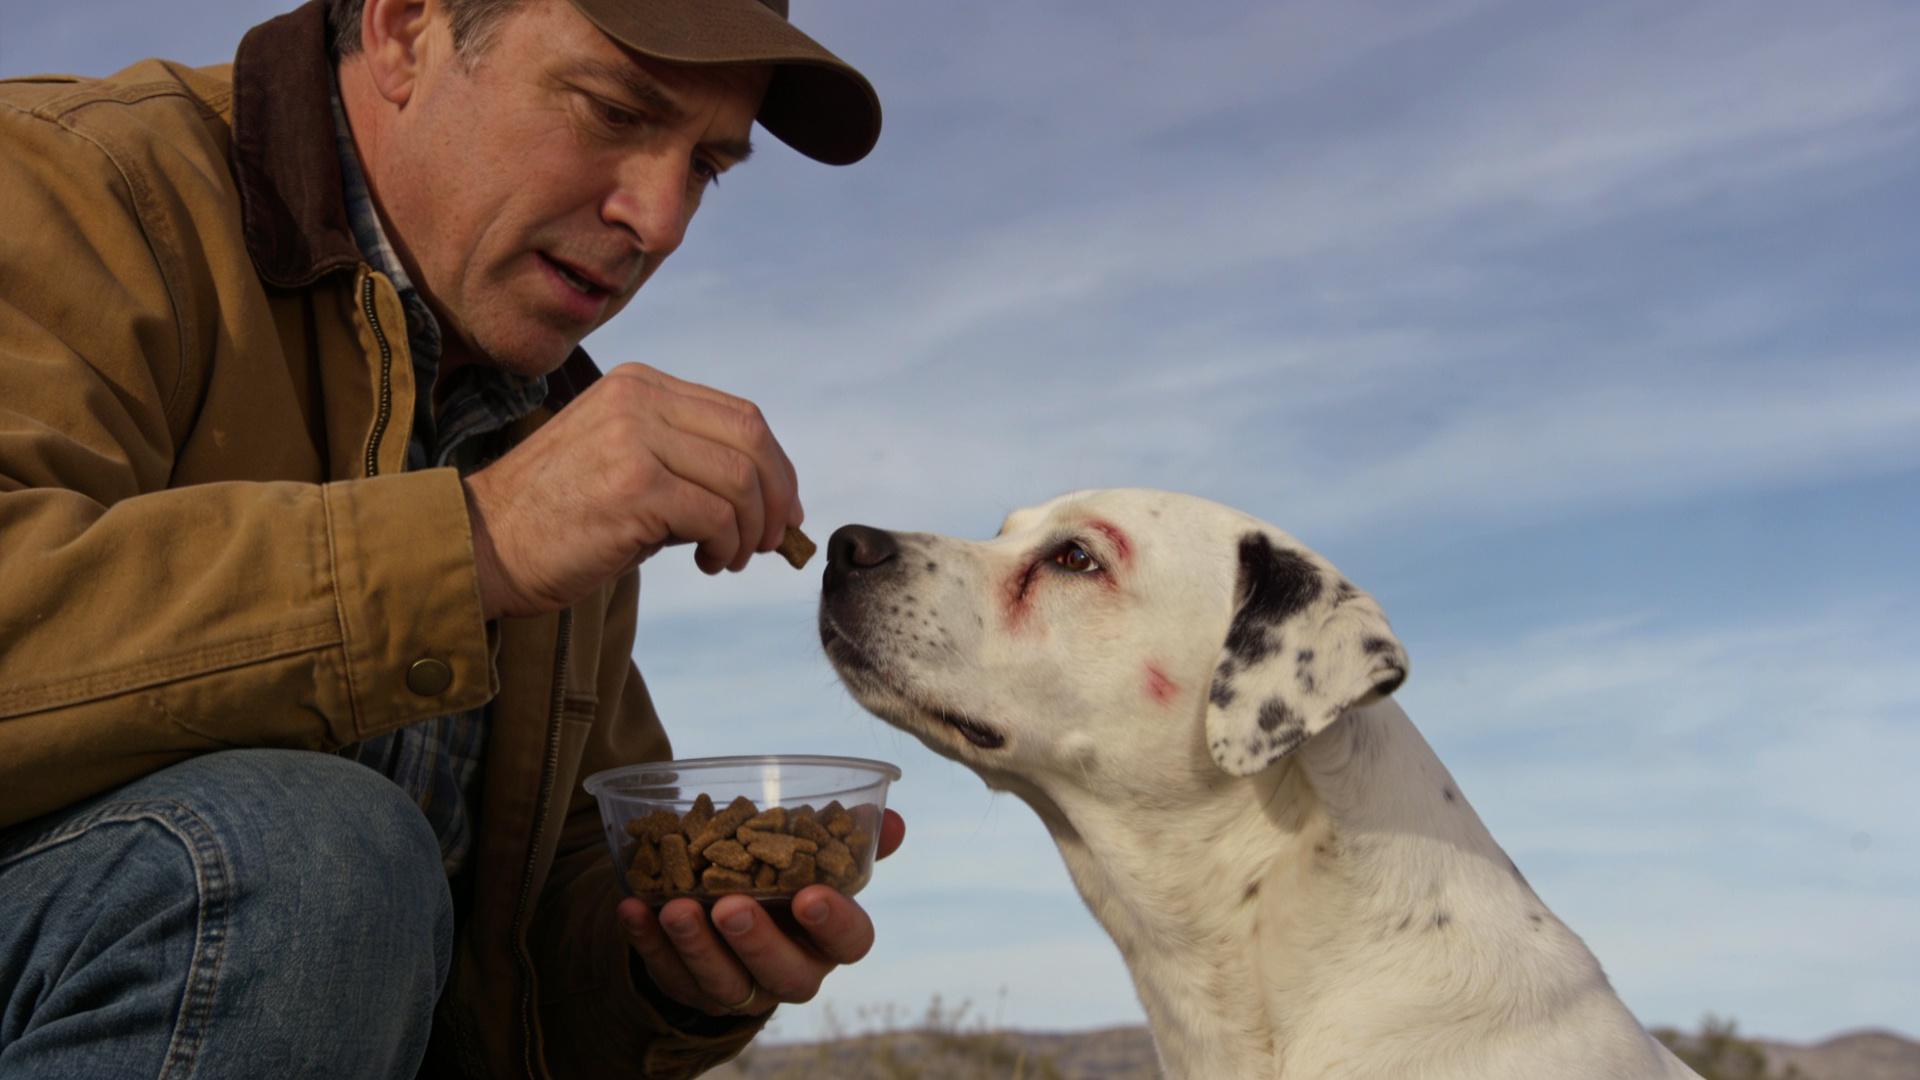
Gather all supplies: your homemade solution, several soft cloths or cotton rounds, a fine-toothed comb (more on this later), and tasty treats. Choose a calm, well-lit area. Ensure your dog is relaxed—perhaps after a walk or play session. Have your treats ready to reward cooperation.
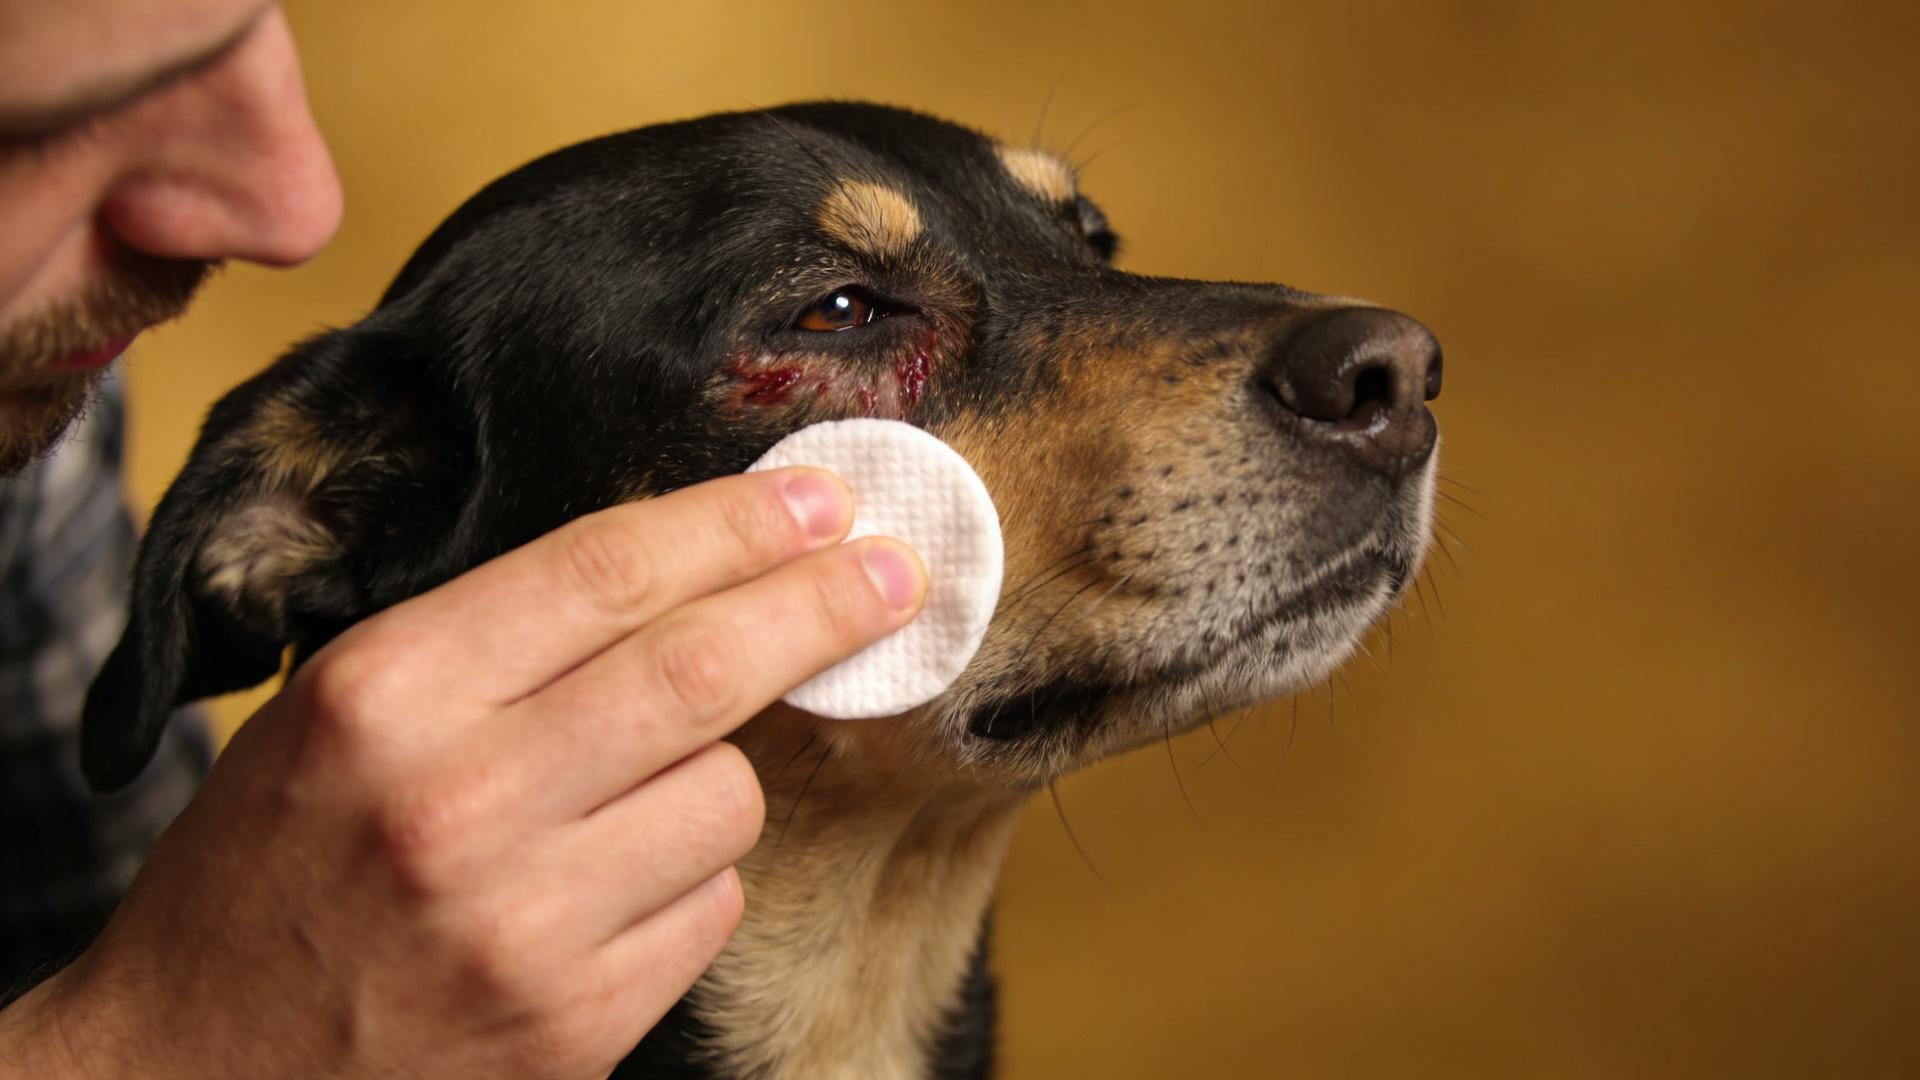
Step 2: Gentle Application
Dip a corner of a soft cloth or cotton pad into the solution. Gently apply a small amount directly onto the stained fur, avoiding the eyelid and eye itself. Start with a small area to see how your dog tolerates it.
Step 3: Root-Level Massage
With your fingertips (not your nails), very gently massage the solution into the stained hair, working down to the roots where the pigment accumulates. Use a circular, soothing motion.
Step 4: The Soaking Period
Allow the solution to sit on the stain for 5 to 10 minutes. This gives the coconut oil and aloe vera time to penetrate and break down the porphyrin bonds. Use this time to offer calm pets and praise.
Step 5: Careful Wiping
Take a clean, damp cloth (warmed slightly is very soothing) and gently wipe away the solution. You should see some of the stained residue come off on the cloth. Rinse the cloth and repeat until no more residue is lifted. Do not rub harshly.
Step 6: Thorough Drying
This step is critical! Use a fresh, dry, soft cloth or paper towel to gently pat the area completely dry. Leaving moisture behind creates a perfect environment for bacteria and yeast, which can worsen staining and cause skin infections.
Frequency: For existing heavy stains, you can do this once daily until you see significant fading. For maintenance, 2-3 times per week is often sufficient.
⚙️ Complementary Techniques and Tools
Enhance your cleansing routine with these supportive tools and methods.
🔧 The Right Tool: Fine-Toothed Combs & Wipes
Before applying your homemade solution, use a fine-toothed tear stain comb (often made of stainless steel) to very, very gently tease apart the matted, stained hairs. This allows the solution to reach deeper. For quick daily upkeep between deep cleans, pre-moistened tear stain wipes formulated for dogs can be a convenient tool to remove fresh moisture and debris.
✂️ Trimming: A Last Resort
For severe, old stains that are deeply embedded, carefully trimming the stained fur may be the most humane option. Extreme caution is required.
- Use blunt-tipped grooming scissors.
- Have a second person gently hold your dog's head still, looking away from the scissors.
- Place your finger between the scissors and your dog's skin as a guard.
- Only trim the stained hair, not the whiskers, and never point scissors toward the eye.
- If you're unsure, leave it to a professional groomer.
🛡️ Preventing Future Tear Stains: Long-Term Management
The ultimate goal is to minimize staining at the source. Prevention is a multi-faceted approach.
💧 Dietary & Environmental Adjustments
- Water & Bowl Hygiene: Offer filtered or distilled water to reduce mineral intake. Use stainless steel or ceramic bowls and wash them daily to prevent bacterial slime.
- Diet Quality: Consider a high-quality diet free from common fillers like corn, wheat, and soy. Some owners find success with adding a teaspoon of apple cider vinegar to food or using probiotic supplements to support gut and immune health.
✂️ Proactive Grooming Habits
- Keep the hair around the eyes trimmed short (safely, as described above).
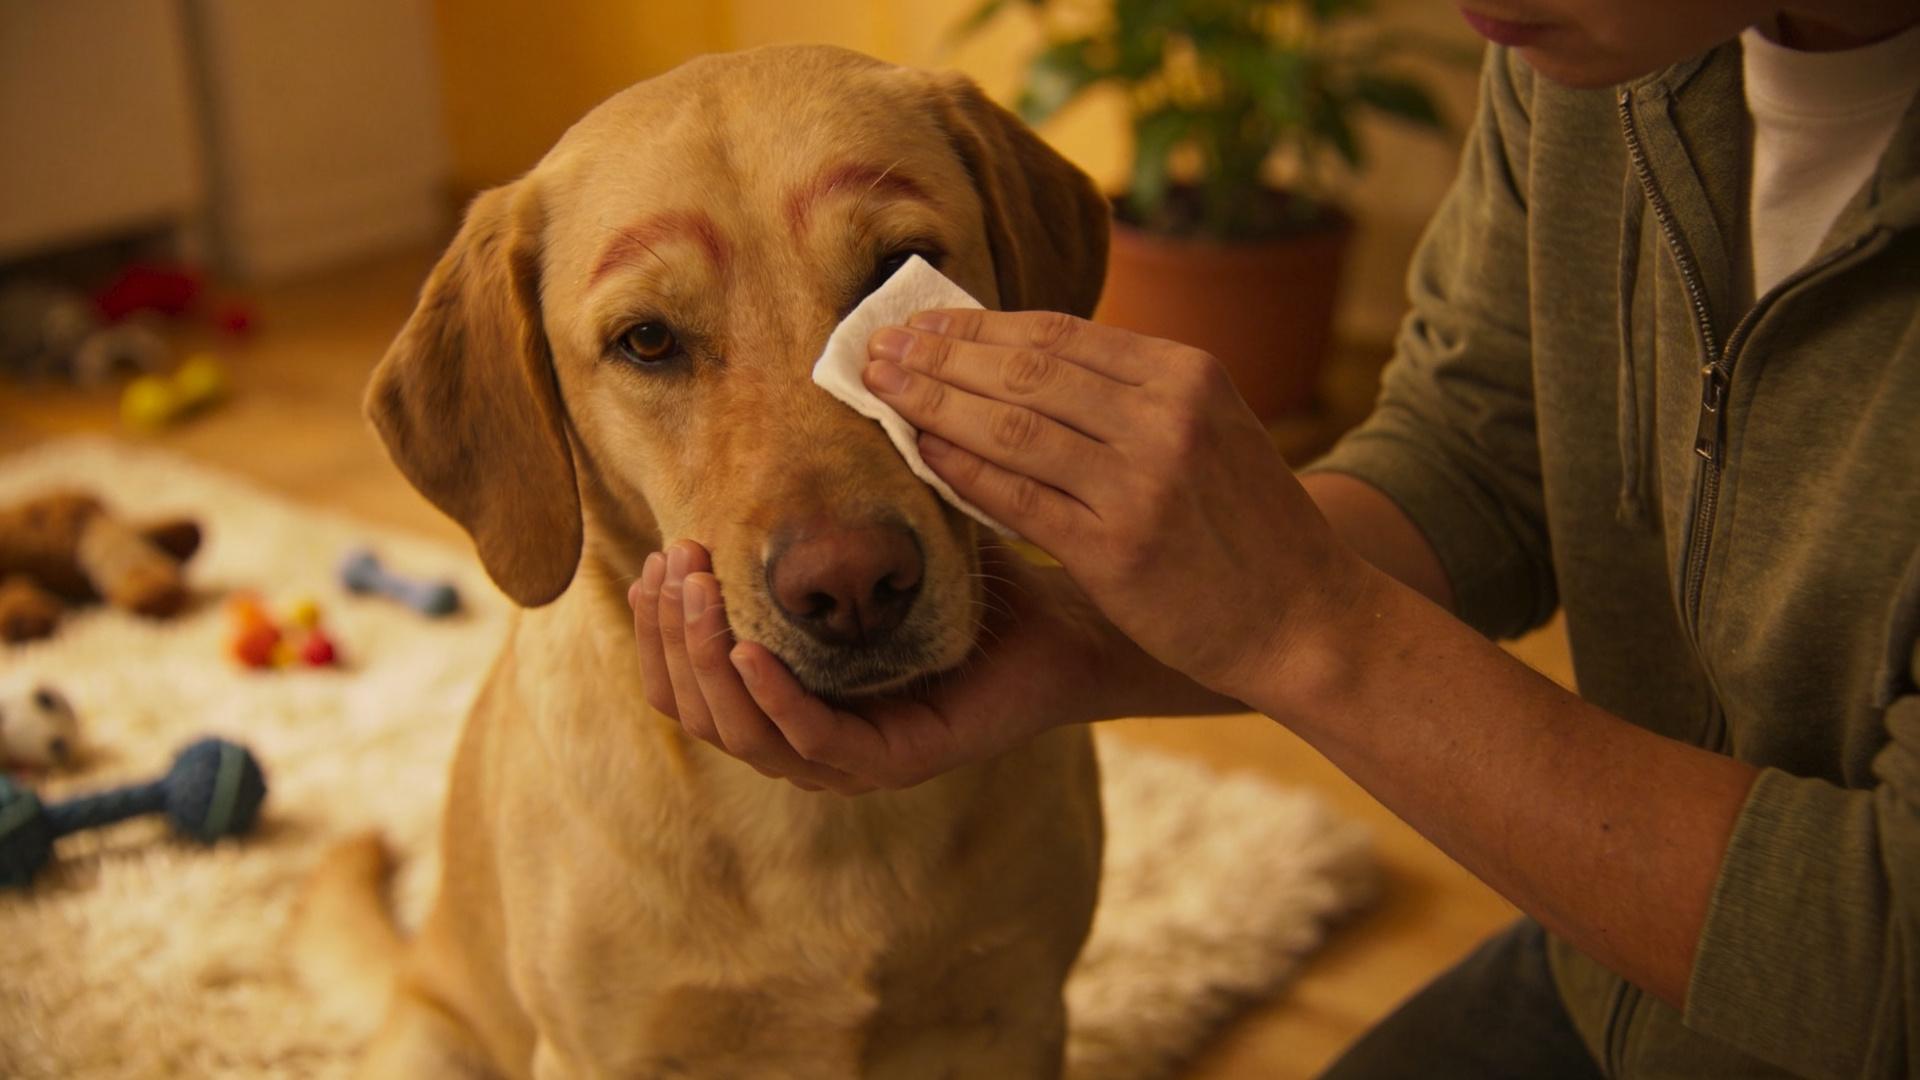
- Wipe the eye area daily with a soft, dry cloth to catch moisture before it stains.
- Regularly check for and remove any potential irritants like dirt, dust, or inverted hairs.
👁️ Regular Health Checks
Make checking your dog's eyes part of your weekly routine. Look for redness, discharge, or signs of discomfort. Schedule regular veterinary check-ups to address any underlying issues like allergies, ear infections, or dental problems that could contribute to tearing.

💬 FAQ: Your Tear Stain Questions Answered
Are tear stains harmful to my dog?
The stains themselves are typically a Grooming issue. However, the constant moisture underneath can lead to skin infections, yeast overgrowth (Malassezia), and discomfort. The underlying cause of the tearing may also signify a health problem.
Can I use human products like baby wipes or makeup removers?
It is not recommended. Baby wipes often contain fragrances, alcohol, and other chemicals that can irritate a dog's sensitive eye area. Makeup removers are far too harsh. Always use products specifically formulated for canine eye care or natural, simple ingredients like those in our homemade solution.
How long before I see results?
With consistent daily application, you may see lightening of newer stains within a week. Older, deeper stains may take several weeks of consistent care to fade significantly. Patience is crucial, as the goal is gentle removal, not instant bleaching.
My dog hates this process. Any tips?
Associate it with positive things! Use high-value treats reserved only for eye cleaning time. Keep sessions very short at first, just a quick wipe, and gradually increase duration. Stay calm—your dog will pick up on your anxiety.
Conclusion: A Clearer Path Forward
Tackling dog tear stains effectively is a blend of the right homemade gentle cleansing solution, a patient, step-by-step removal technique, and a committed focus on prevention. By understanding the causes, using safe, natural ingredients like coconut oil and aloe vera, and incorporating simple daily habits, you're not just cleaning stains—you're actively contributing to your dog's ocular comfort and overall health. Remember, consistency and gentleness will always yield better results than harsh, quick fixes. The care you invest in this small part of your dog's grooming routine is a beautiful testament to the bond you share, ensuring your beloved companion looks and feels their vibrant best, with eyes that shine clear and bright. 🌟