Seeing your dog flinch while eating, drooling more than usual, or hesitating to play with their favorite toy is heart-wrenching. 🐾 Discovering an angry-looking sore inside their mouth can instantly spike any pet parent's anxiety. You're not just worried about their pain; you're overwhelmed with questions about how to help. The path to relief starts with understanding one non-negotiable truth: consistent, gentle daily cleaning is the cornerstone of healing canine oral ulcers. While a veterinarian must diagnose the root cause, your care at home creates the clean environment essential for recovery. This guide will provide you with a compassionate, step-by-step plan to confidently perform this crucial aspect of health care, turning a daunting task into a manageable, healing ritual for you and your dog.
🦷 Understanding Canine Oral Ulcers and the Need for Cleaning
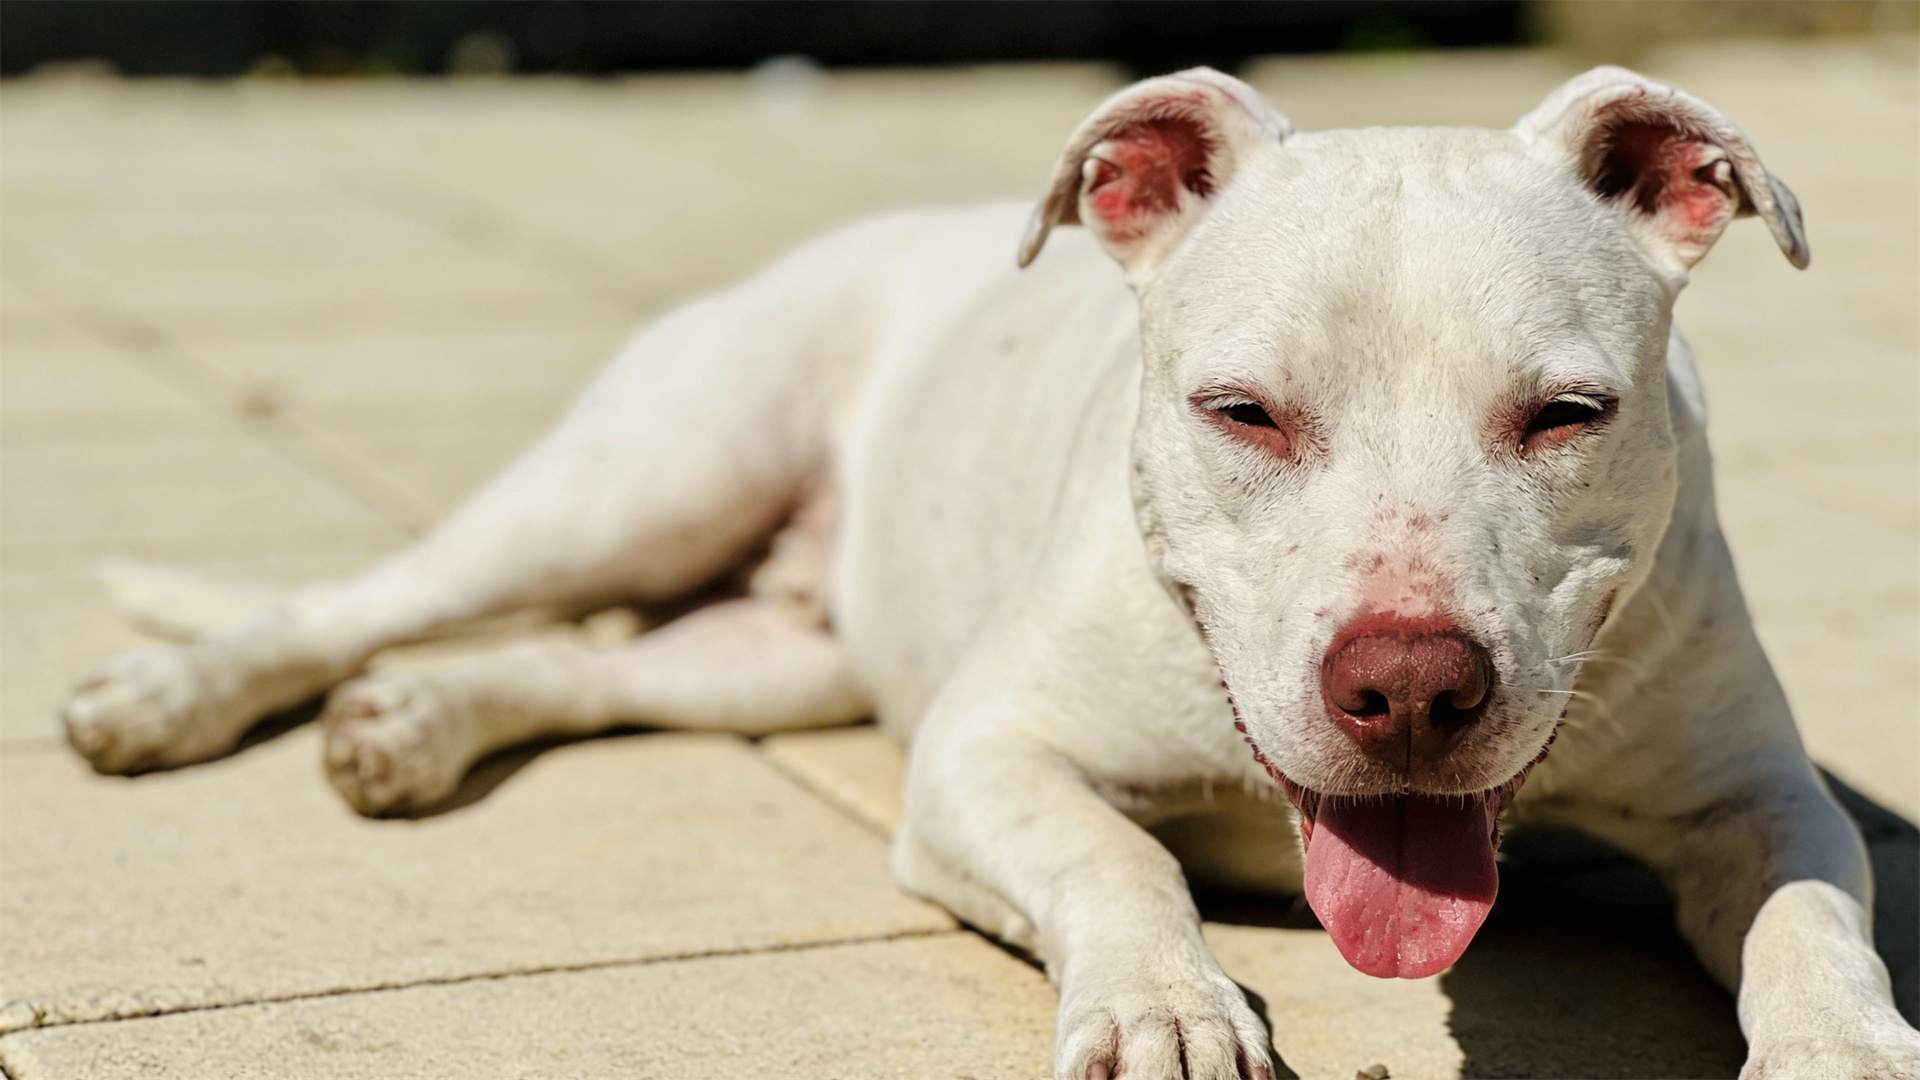
An oral ulcer is essentially an open sore or lesion on the soft tissues of your dog's mouth—the gums, inner cheeks, tongue, or lips. These painful spots can arise from various sources. Common causes include physical trauma (from chewing hard objects, electrical cord burns, or rough play), severe dental disease like periodontitis, viral infections (such as canine papillomavirus or canine distemper), systemic illnesses (like kidney disease or autoimmune disorders), and even reactions to certain medications.
Regardless of the cause, the presence of an ulcer creates a vulnerable break in the mucosal barrier. This opening is an invitation for the millions of bacteria naturally present in your dog's mouth, as well as food particles, to infiltrate and cause secondary infection. Imagine trying to heal a scraped knee while constantly rubbing dirt into it—it simply won't close up. A dirty mouth environment perpetuates inflammation, increases pain, and significantly delays recovery. Therefore, while your vet addresses the "why," your daily mission is to manage the "how" by maintaining impeccable oral hygiene practices for dogs with ulcers to create the optimal conditions for the body's natural healing processes to work.
🧼 Preparing for Safe and Stress-Free Cleaning Sessions
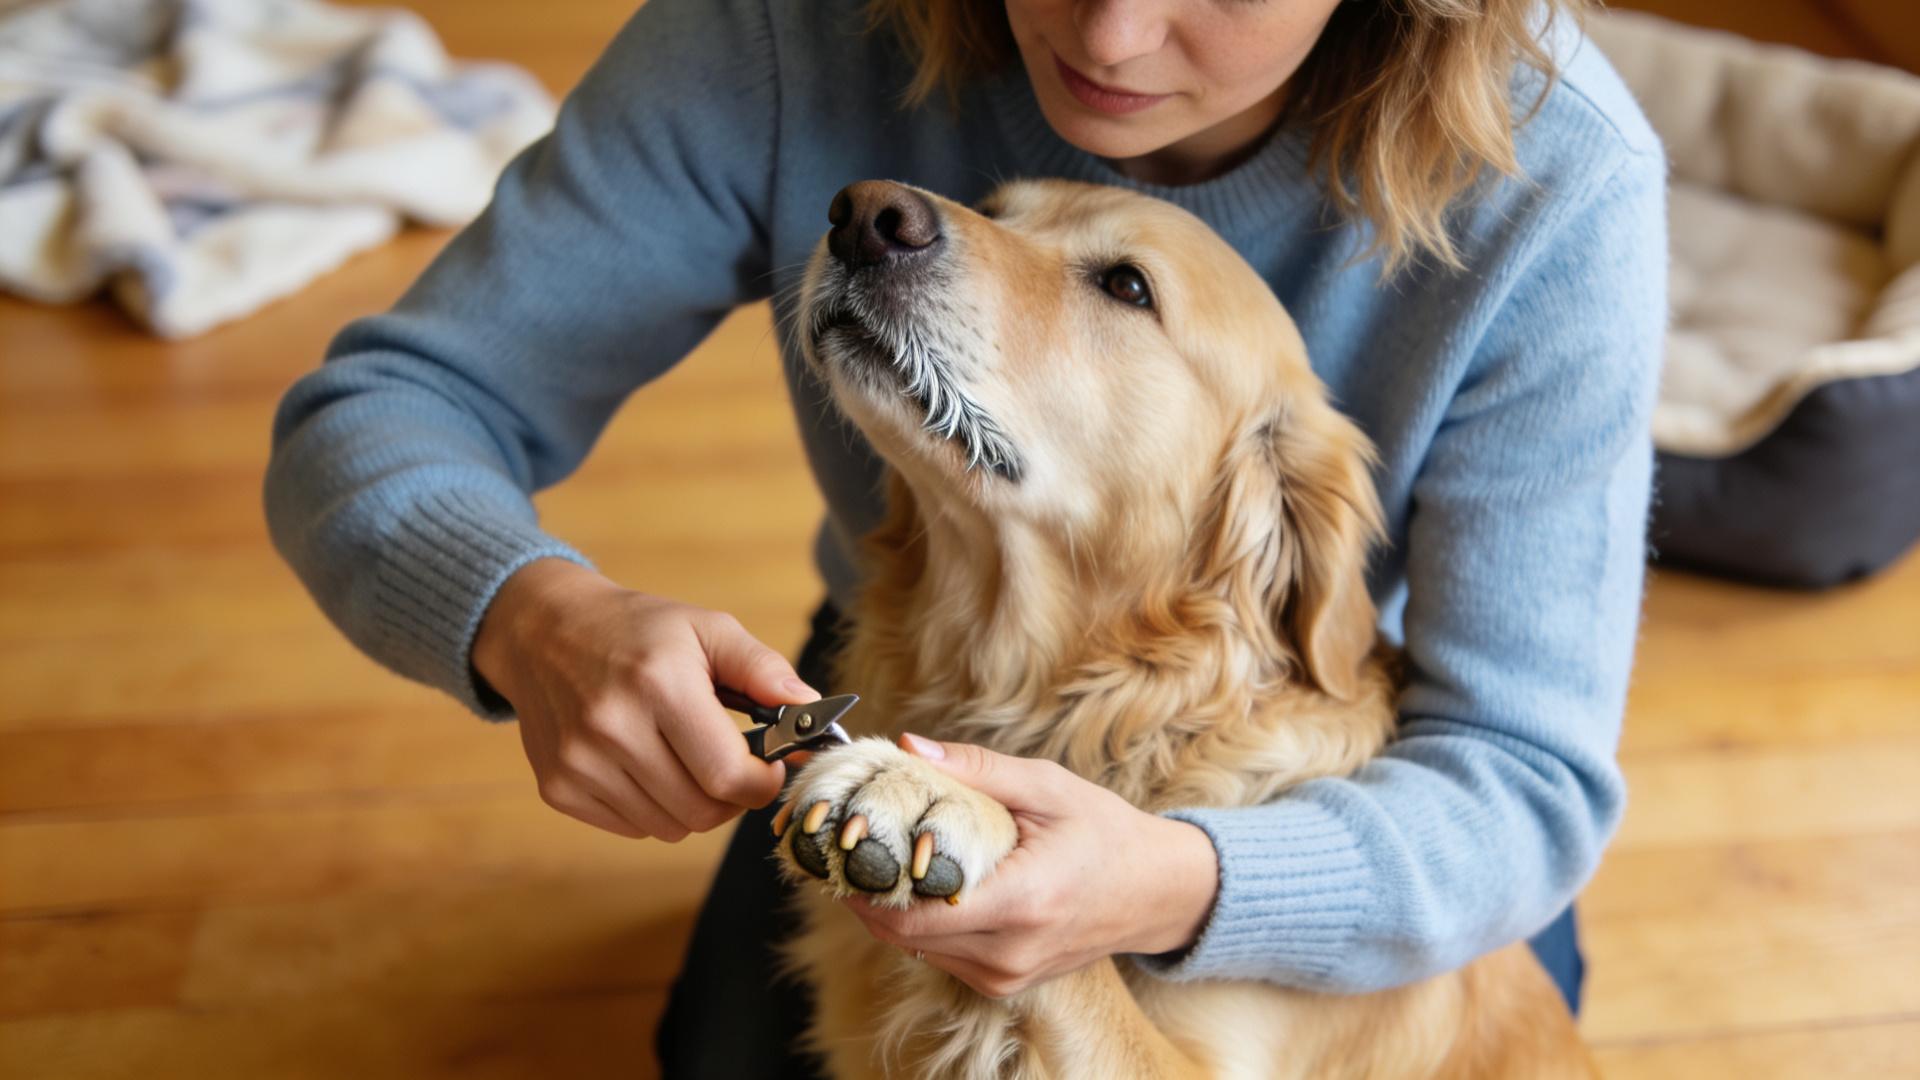
Success lies in preparation. Rushing in without a plan can stress both you and your dog, making future sessions harder. The goal is to be calm, quick, and effective.
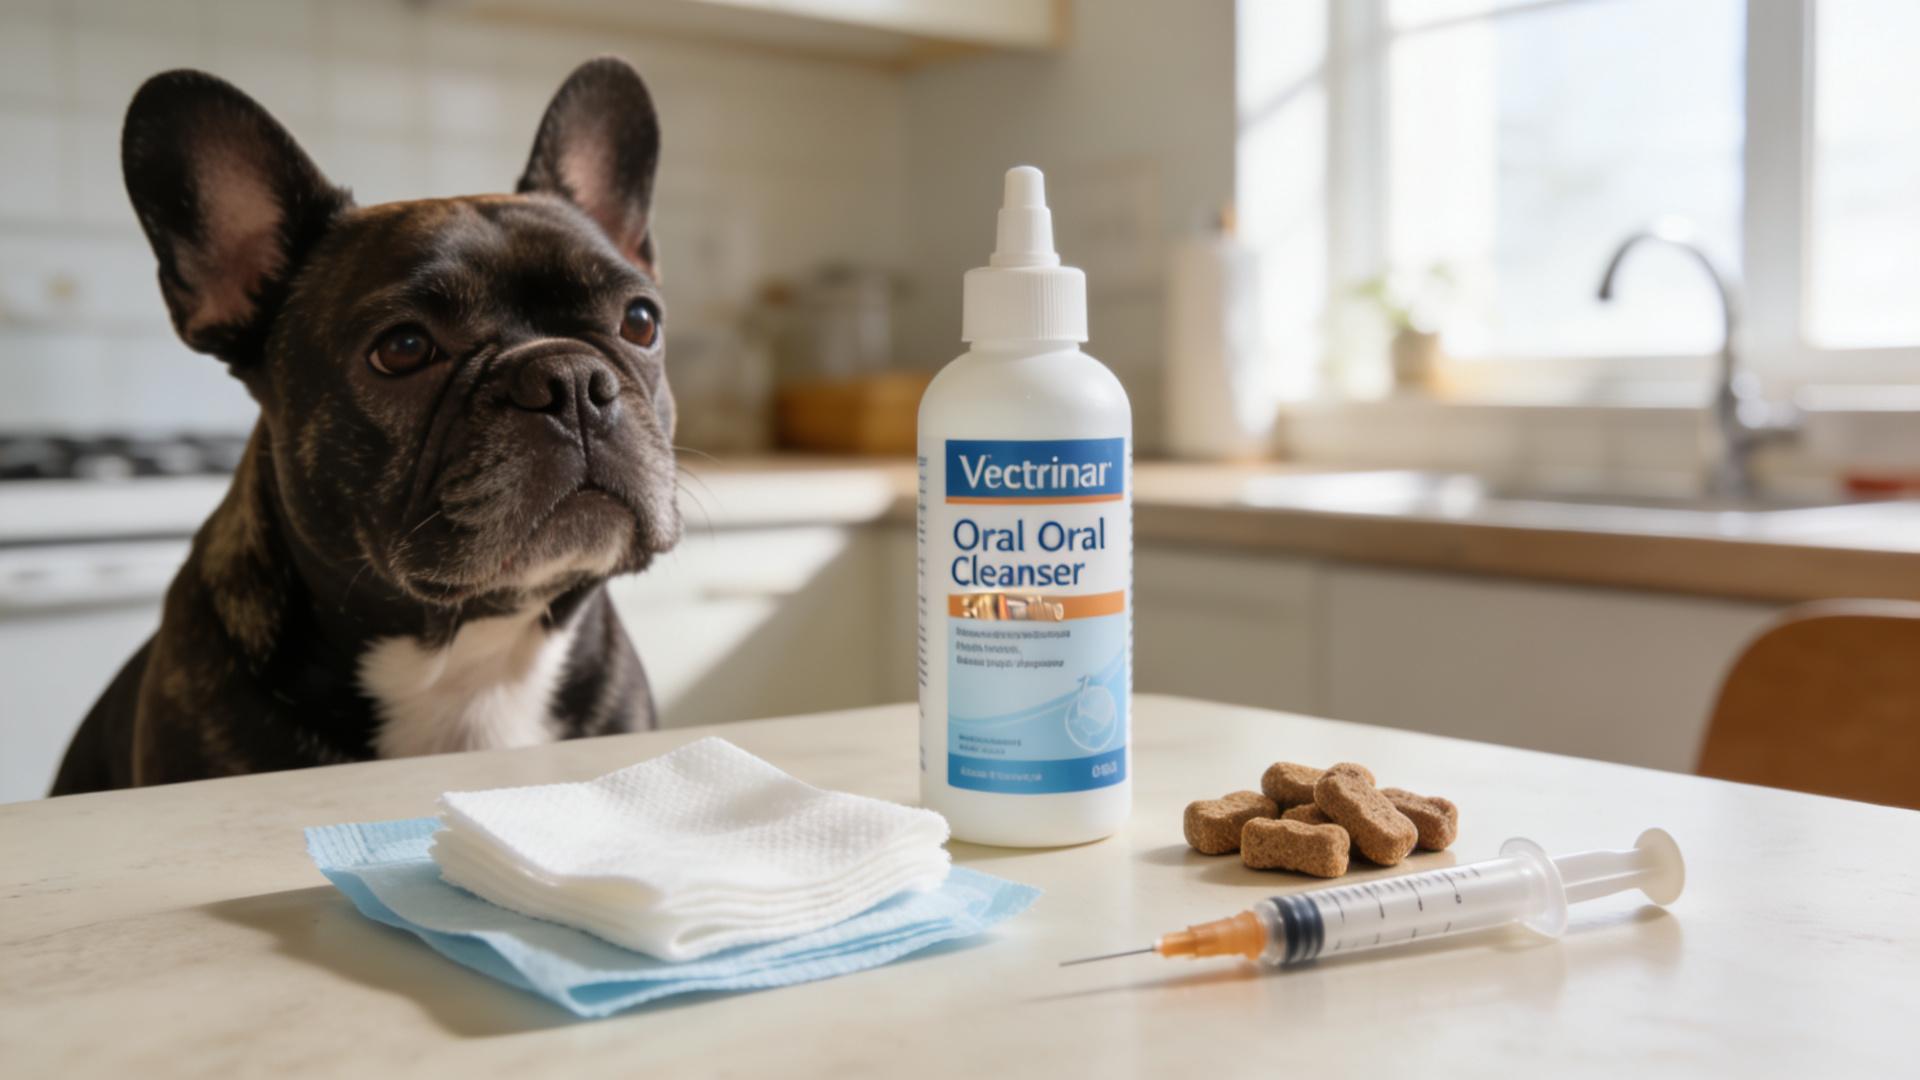
Gather Your Supplies First:
- Cleaning Solution: Use only a veterinary-approved oral cleanser (often chlorhexidine-based) or a simple saline solution (sterile salt water). Never use human toothpaste, alcohol-based mouthwashes, or hydrogen peroxide, as these can irritate and damage delicate tissue. - Cleaning Tool: Soft sterile gauze pads, a microfinger toothbrush, or a soft-bristled infant toothbrush. Gauze wrapped around a finger offers good control and a gentle texture. - Rewards: Your dog's favorite, easy-to-swallow treats (like soft training treats or a lick of pureed pumpkin). This is non-negotiable for positive association. - Optional: A blunt-tipped syringe (without a needle) for gentle rinsing, if your vet recommends it. - Good lighting and a towel for your lap.Creating the Right Mindset and Environment
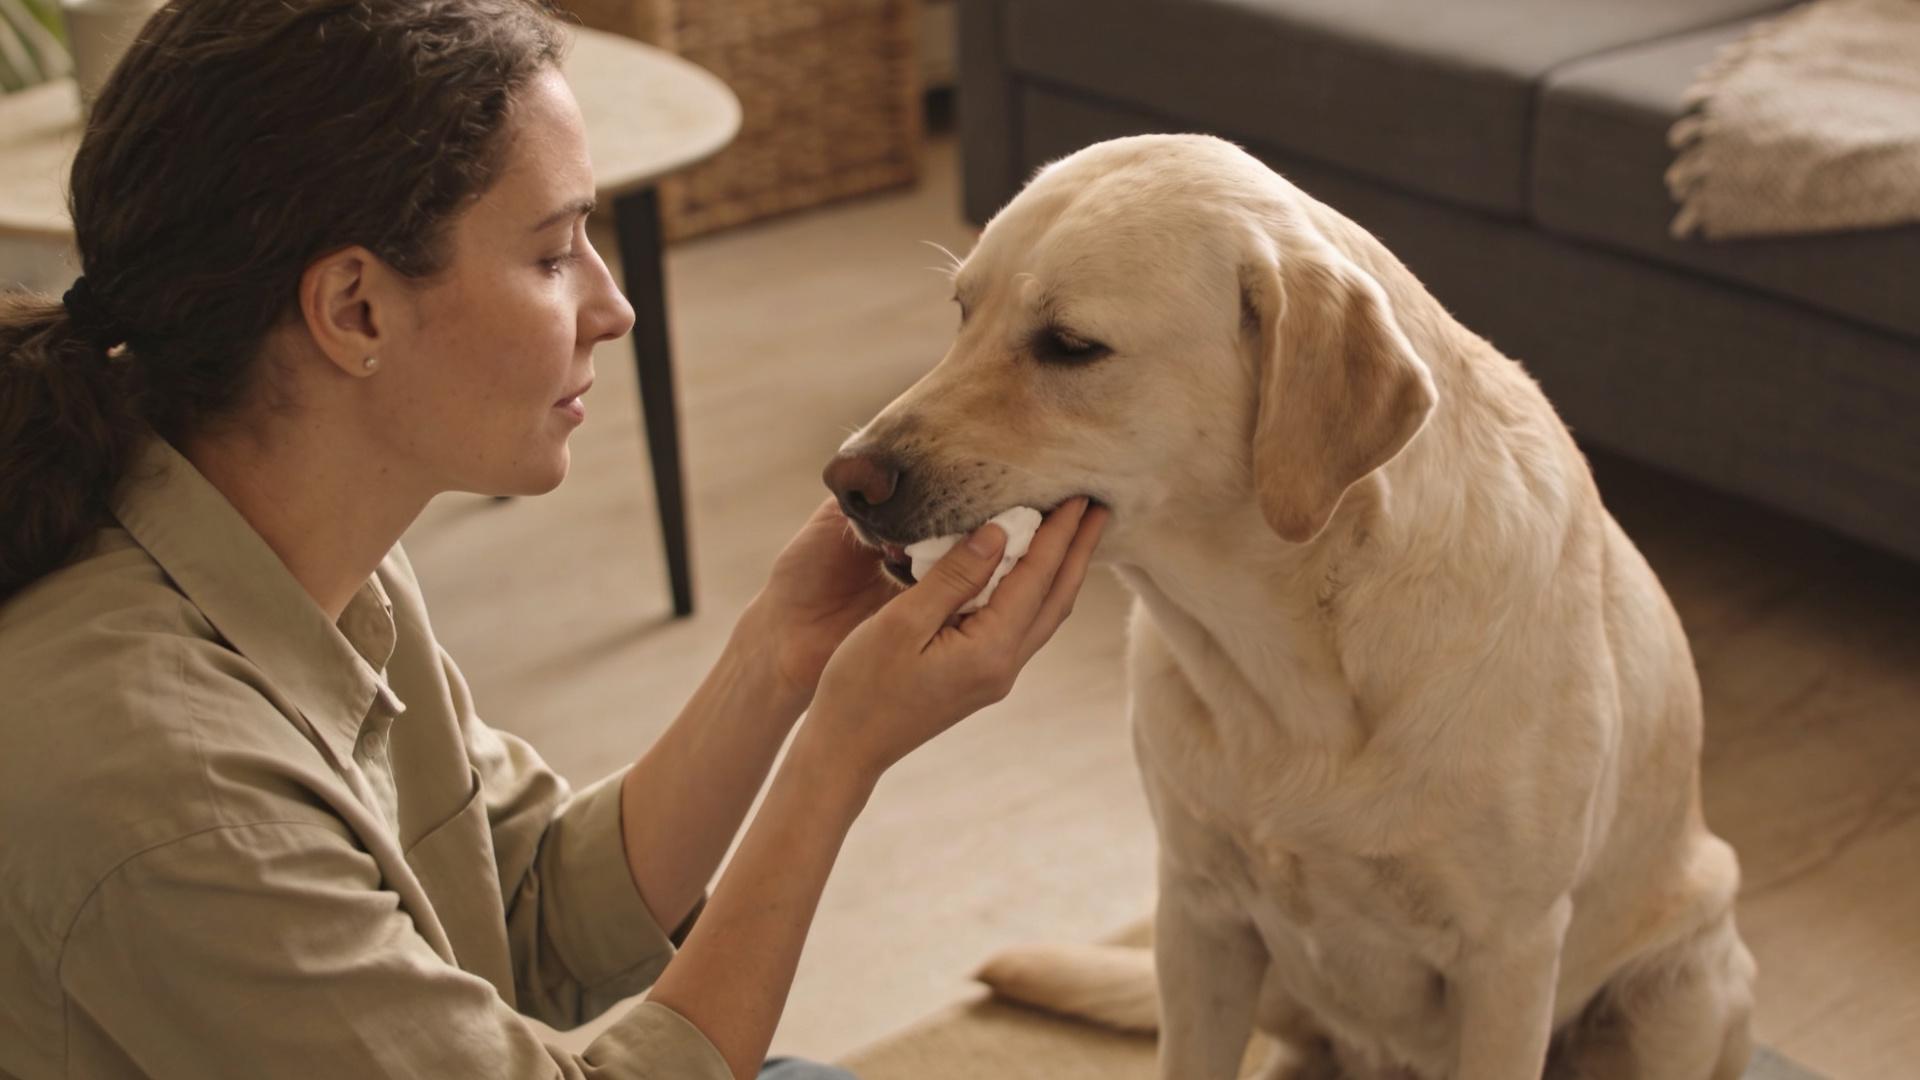
Choose a calm time when your dog is relaxed, perhaps after a walk. Sit on the floor with them or have them on a non-slip surface. Practice gentle restraint by hugging them close to your body, supporting their chin. If your dog is small, you can cradle them in your lap. The key is to be firm but gentle, avoiding any pressure on the sore mouth. Speak in a soothing, cheerful voice throughout. If your dog struggles excessively, stop and try again later or seek help—forcing the issue can create a long-term fear. This process is as much about trust as it is about treatment.
💫 The Step-by-Step Daily Cleaning Protocol
This is your core healing routine. Perform this once or twice daily, as directed by your veterinarian. Consistency is more important than duration.
Special Reminder: Always wash your hands before and after the procedure.
Step 1: The Calm Introduction. Approach your dog gently. Let them sniff the cleaning supplies. You can even offer a tiny taste of the veterinary rinse (if pet-safe) or a treat to build positive association.
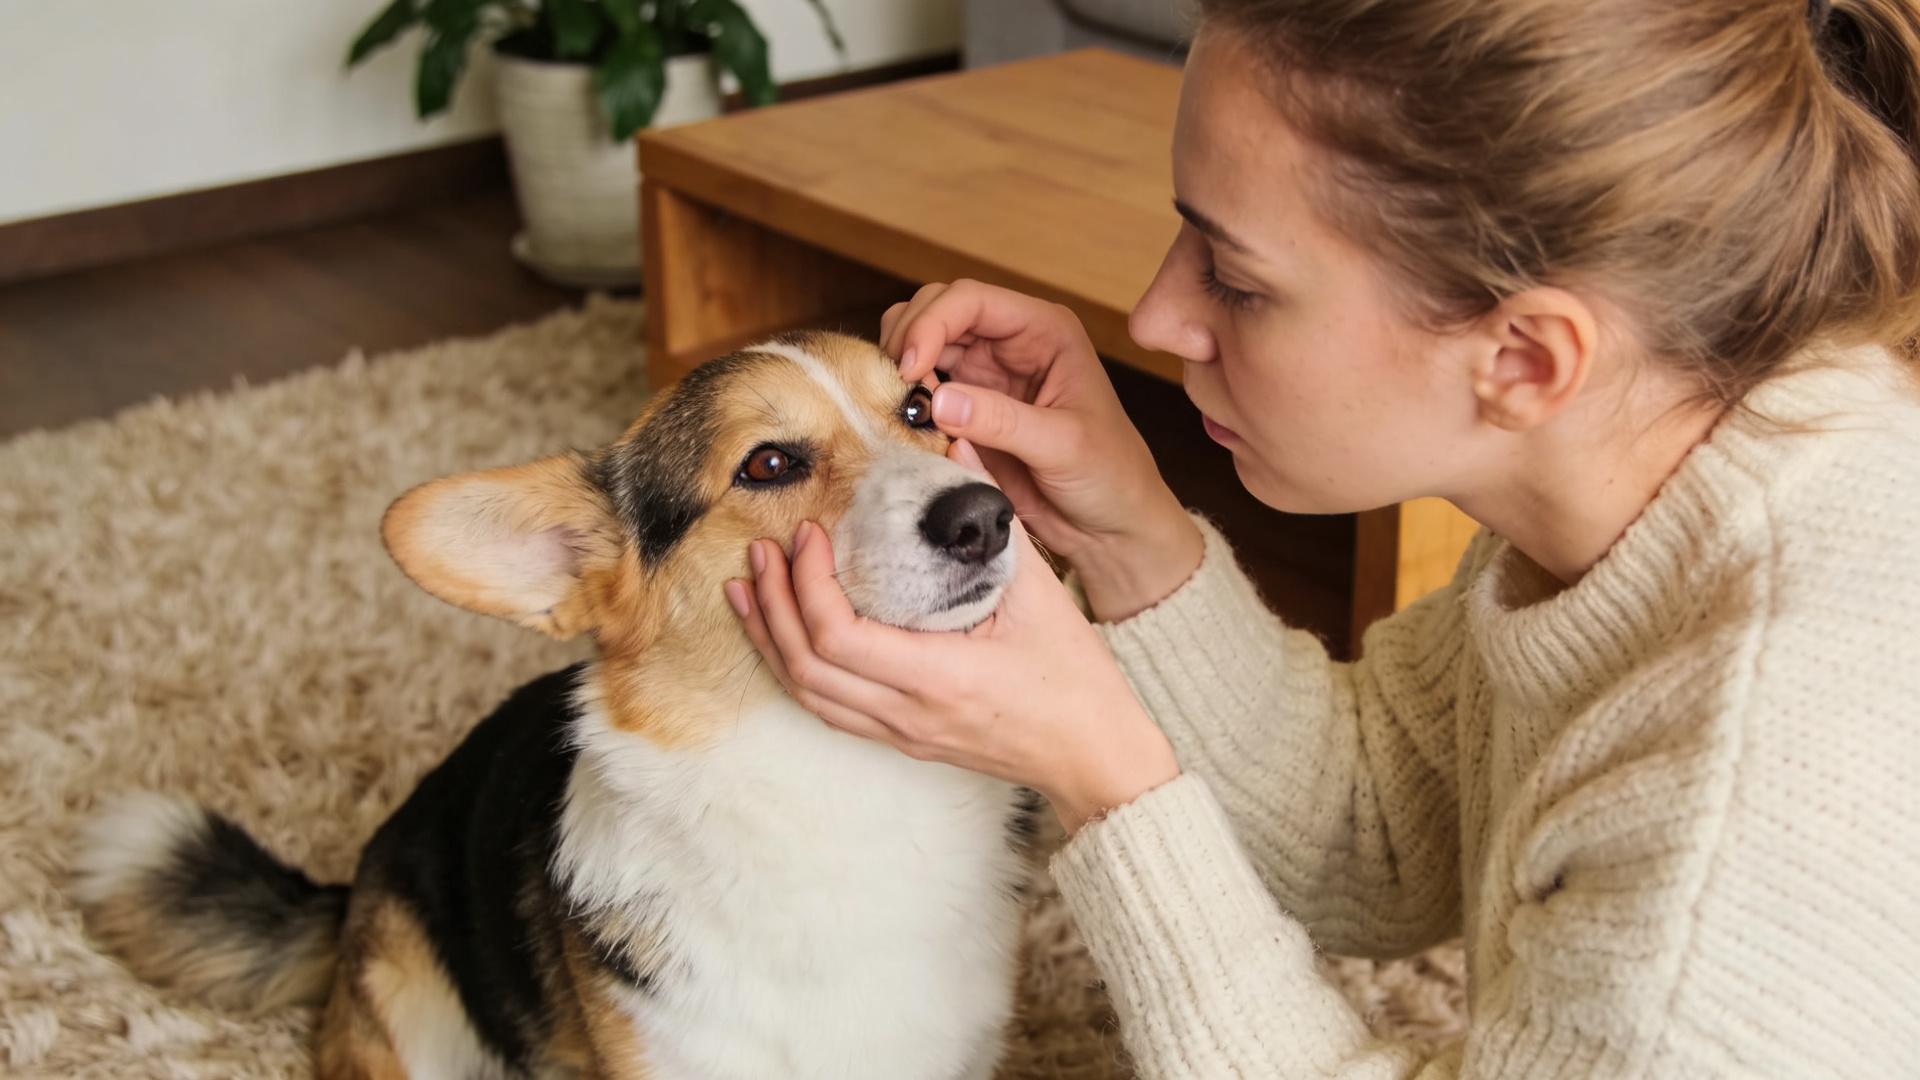
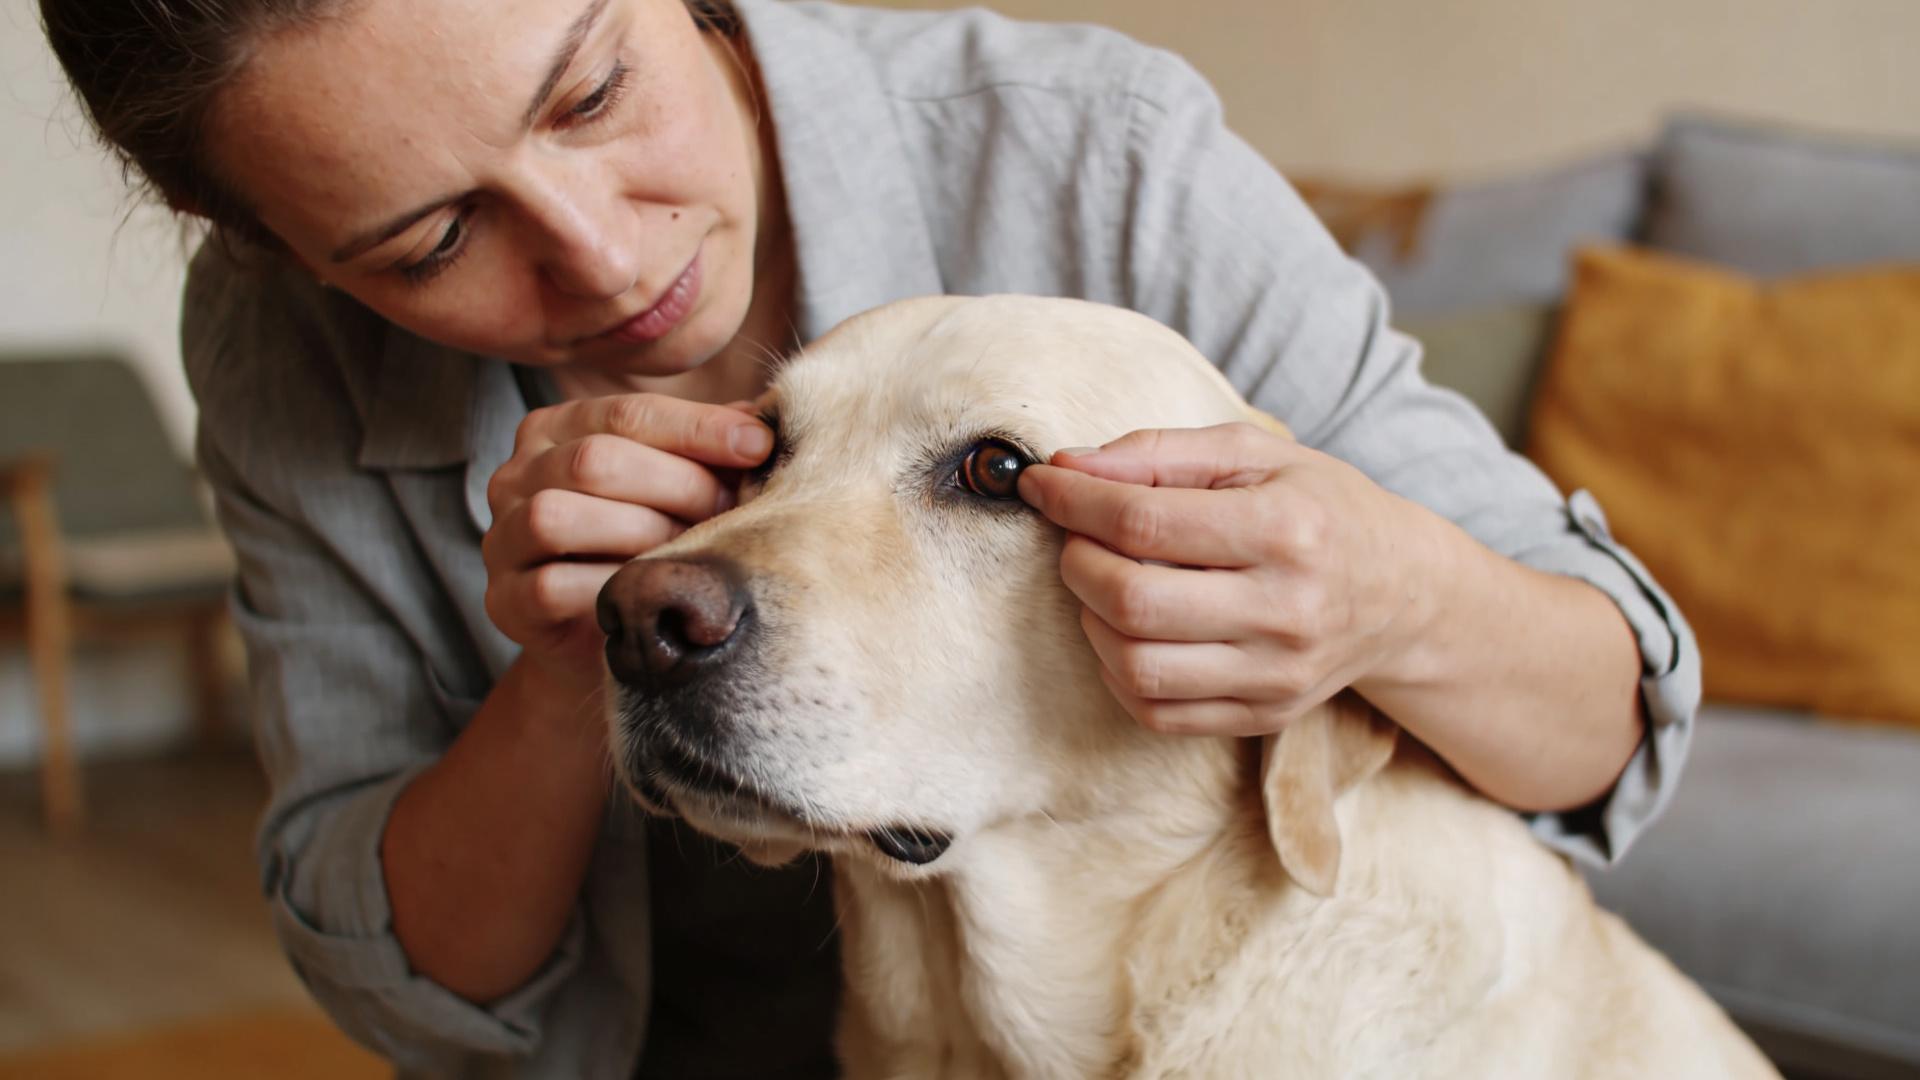
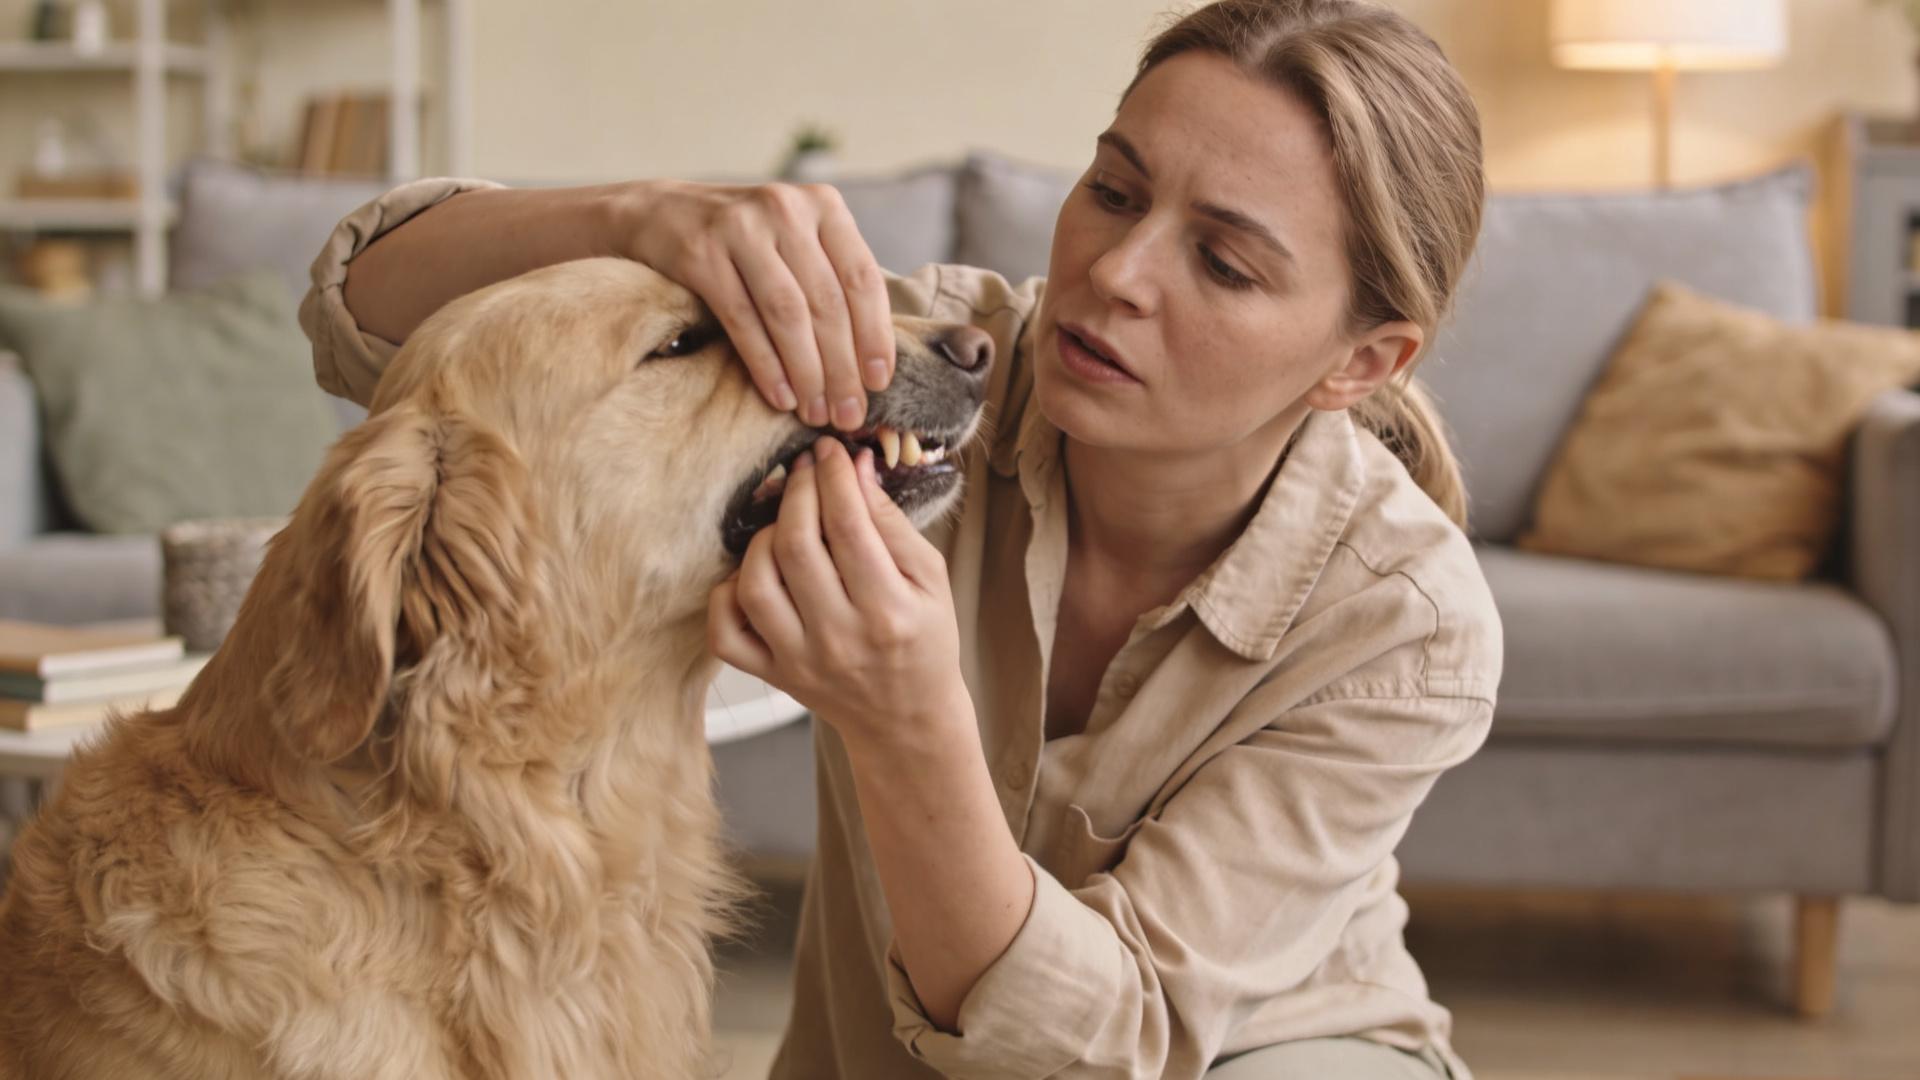
Step 2: Gentle Exposure. With one hand, gently lift your dog's upper lip to expose the gums and cheek. Use your thumb and forefinger. If the ulcer is on the tongue or lower jaw, gently lower the jaw. Do not pry the mouth open wide.
Step 3: The Cleaning Motion. Wrap a piece of gauze around your index finger and moisten it thoroughly with the cleaning solution. Softly wipe the areas around the ulcer. Your primary goal is to remove food debris and plaque from the surrounding teeth and gums. Avoid scrubbing the ulcer directly, as this is painful and can disrupt the fragile healing tissue. Think of it as creating a clean neighborhood for the ulcer to heal in.
Step 4: Rinsing (Optional). If advised, use a syringe to gently flush the area with a bit of clean water or the rinse solution, allowing your dog to drool it out. Never forcefully squirt liquid down the throat.
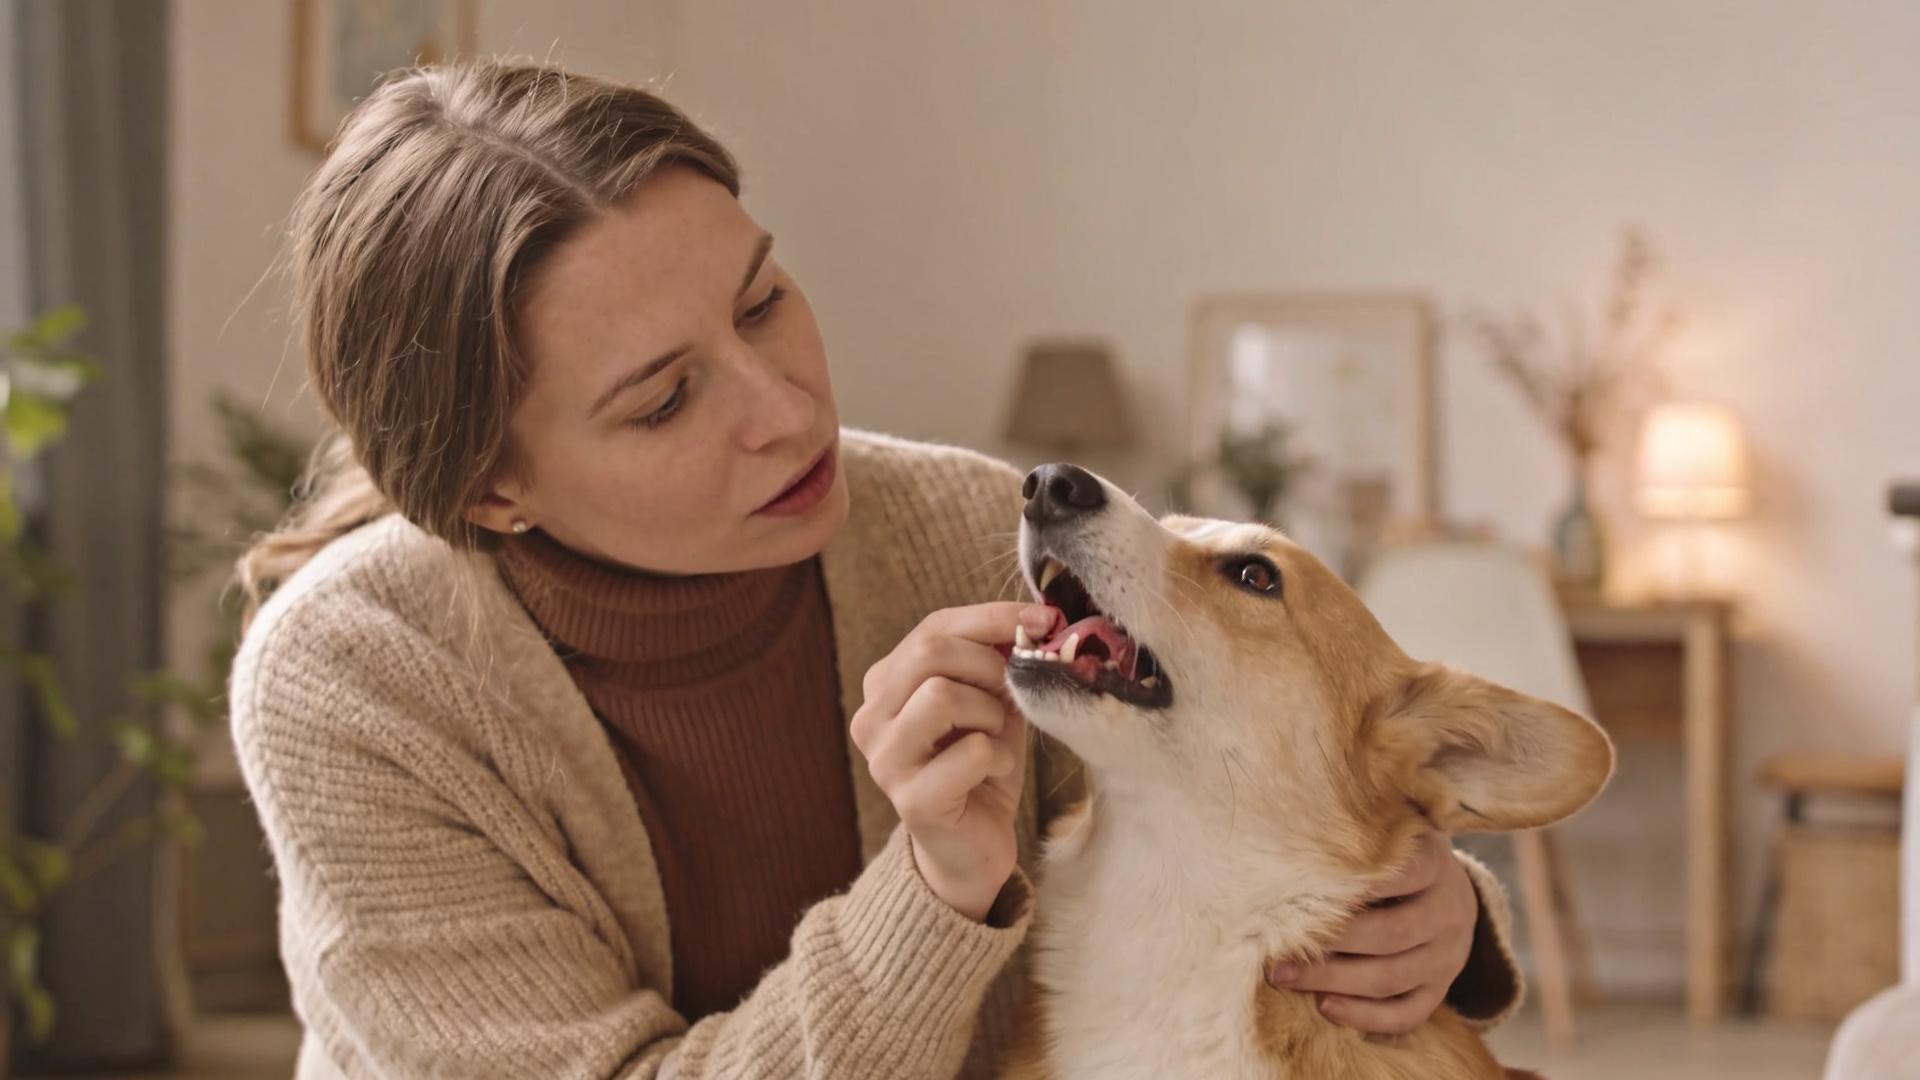
Step 5: The Reward Celebration. Immediately after releasing your dog, offer enthusiastic praise and a high-value treat. This positive reinforcement is critical for making future cleanings easier and is a vital part of promoting healing for canine oral ulcers by reducing overall stress.
🌱 Supporting Healing Beyond Cleaning
Daily cleaning is the flagship action, but holistic support accelerates recovery. Your dog's entire system needs to be in healing mode.
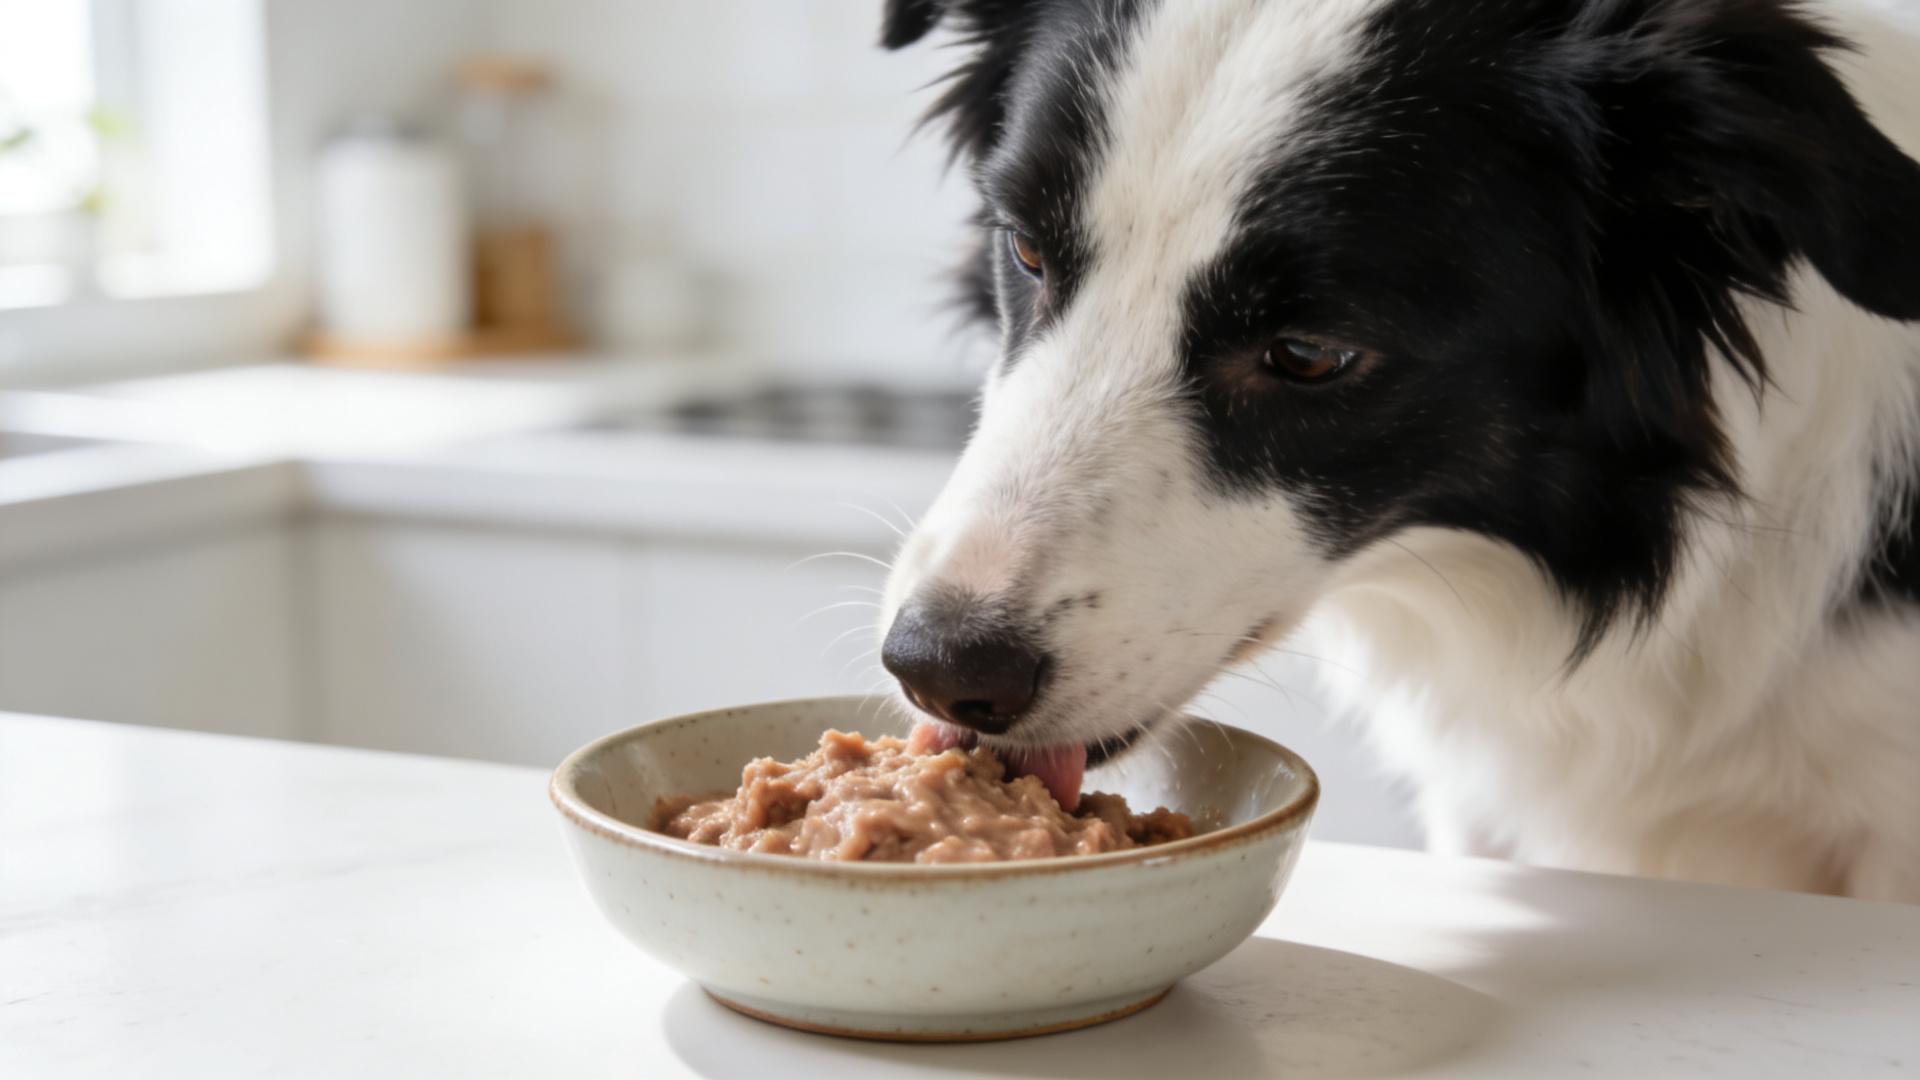
Dietary Adjustments: Switch to a soft, bland diet while ulcers are painful. Soak kibble in warm water or bone broth until mushy, offer wet food, cooked plain chicken with rice, or a veterinary-recommended prescription diet. Avoid hard kibble, crunchy treats, or chew toys that could cause re-injury.
Hydration is Key: Ensure fresh, clean water is always available. Some dogs with mouth pain drink less, so you can encourage hydration by offering ice cubes or adding water to their food.
Medication Adherence: If your vet prescribed antibiotics, anti-inflammatories, pain relievers, or topical analgesic gels, administer them exactly as directed. These medications work in tandem with your cleaning efforts.
Vigilant Monitoring: Be the detective of your dog's health. Watch closely for signs that indicate a problem is worsening, such as: - Increased swelling, redness, or foul odor from the mouth. - The ulcer appears larger or has pus. - Your dog stops eating or drinking entirely. - Lethargy, fever, or any new behavioral changes. These signs require an immediate vet revisit, as they may point to a developing infection or that the underlying condition needs different treatment. This monitoring is a crucial part of preventing oral ulcer infections in canines.
Final Words of Encouragement
Navigating your dog's oral ulcer treatment at home can feel daunting, but you are more capable than you know. By committing to a consistent, gentle daily cleaning routine, you are actively fighting infection and paving the way for swift healing. Your calm presence and caring touch are powerful medicine. Trust the process, celebrate small victories, and never underestimate the healing power of your dedication. You are your dog's most important healthcare advocate. For a protocol tailored to your dog's specific diagnosis, always consult your veterinarian. Here's to your dog's speedy recovery and a return to happy, pain-free tail wags and playtime! 🐕💕