A frantic head shake, a persistent paw scratching at the side, an unusual odor you can’t quite place—if you’re a dog owner, you may have witnessed these signs. What’s often dismissed as a quirky habit can be a cry for help from your dog’s delicate ears. Canine ear health is a pillar of overall wellness, yet it's frequently overlooked until a problem arises. This comprehensive guide is your definitive resource on dog ear cleaning, demystifying the process and empowering you to confidently use an ear cleaning solution for dogs to prevent earwax buildup and more serious issues. We'll walk you through anatomy, product selection, a fail-safe step-by-step tutorial, and critical safety tips to transform a potentially stressful task into a simple, routine act of care.
🐾 Why Canine Ear Care Is Non-Negotiable
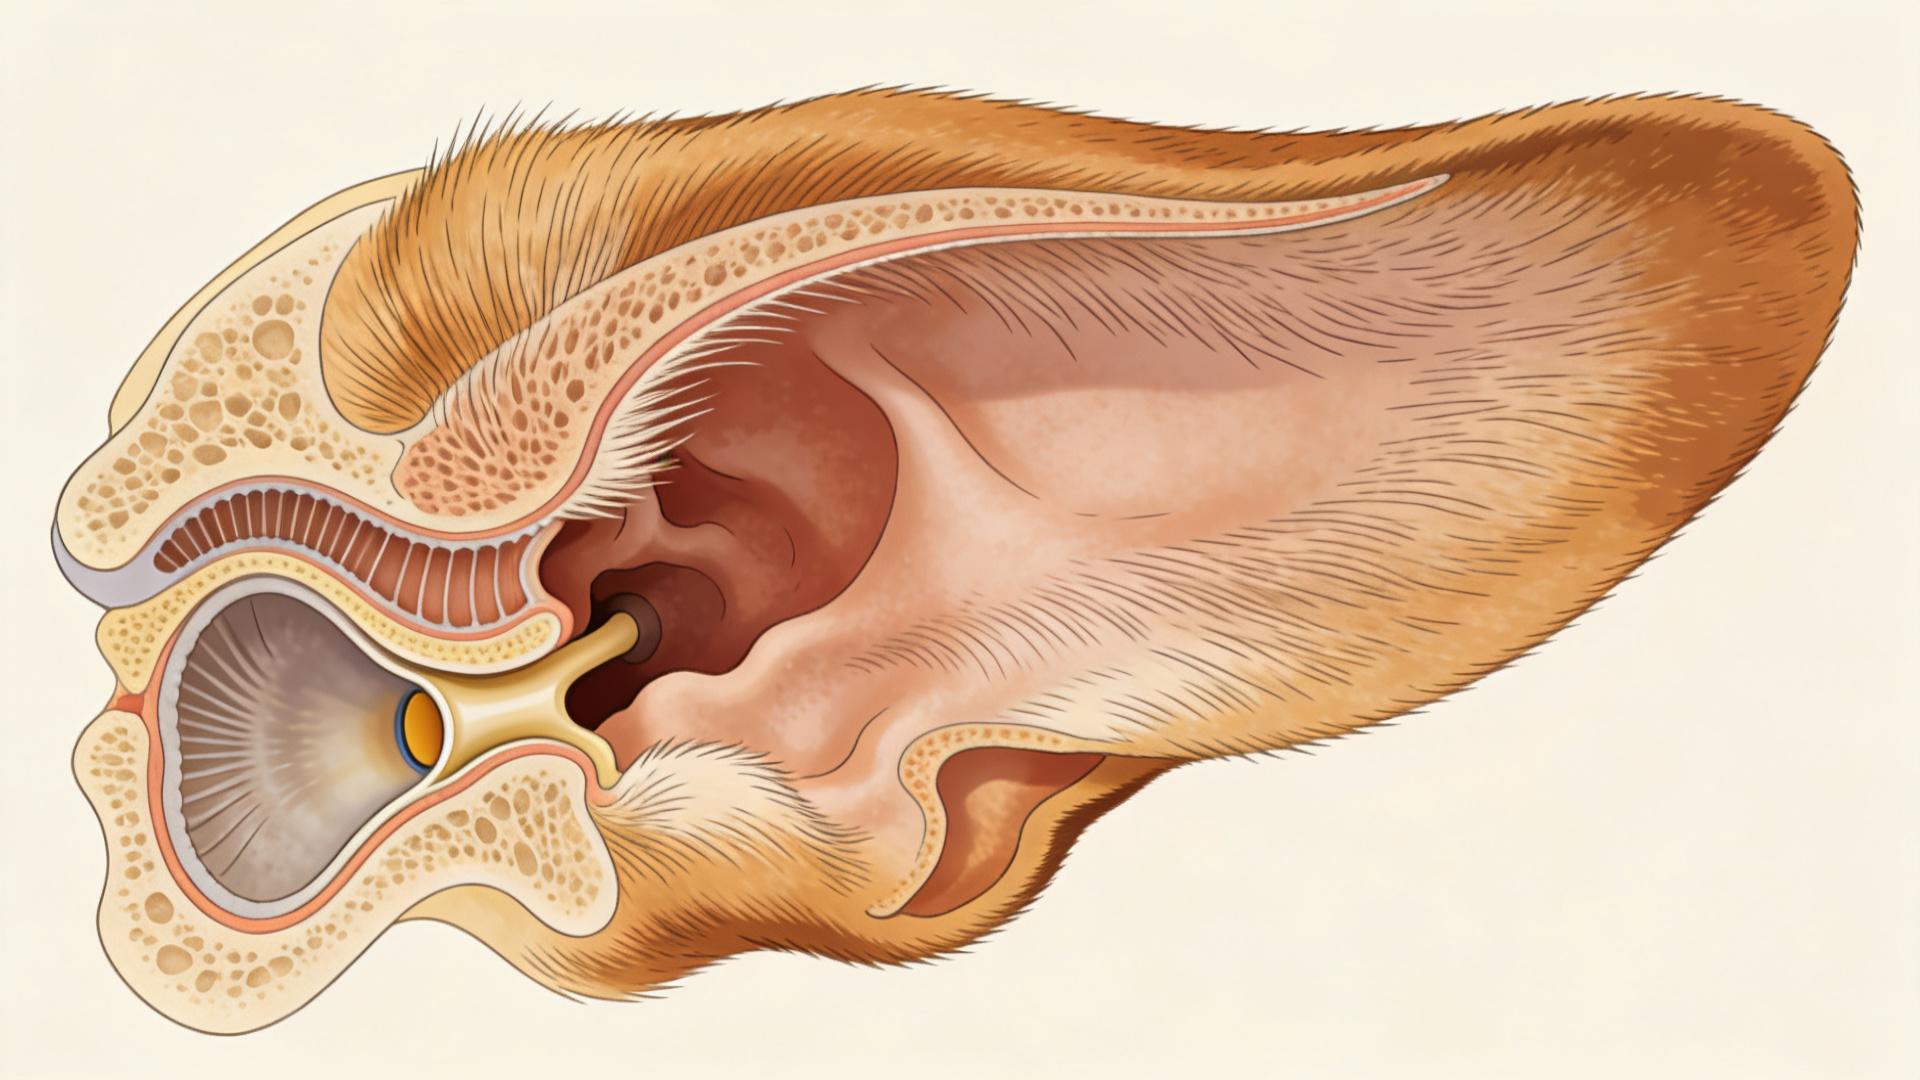
Unlike human ears, a dog's ear canal is primarily vertical and L-shaped. This ingenious design for superior hearing also creates a dark, warm, and moist environment—a perfect breeding ground for yeast, bacteria, and debris accumulation. Regular dog ear hygiene is not about achieving sterile perfection; it's about managing the ecosystem. By routinely removing excess wax, moisture, and environmental gunk, you disrupt the cycle that leads to infections, which are painful, costly to treat, and can cause lasting damage. This detailed dog ear cleaning guide is your first line of defense.
👂 Understanding Your Dog’s Ear Anatomy
To clean effectively and safely, knowing the lay of the land is crucial. The canine ear has three main parts:
- Pinna: The floppy or upright outer flap you can see and touch.
- Vertical Canal: The initial "L" shape going downward. This is where most debris collects and where your cleaning focuses.
- Horizontal Canal & Tympanic Membrane: The canal turns horizontally leading to the delicate eardrum. Special Reminder: You should never probe deeply enough to reach or risk damaging the eardrum.
Understanding this anatomy is the foundation of all safe dog ear cleaning techniques.
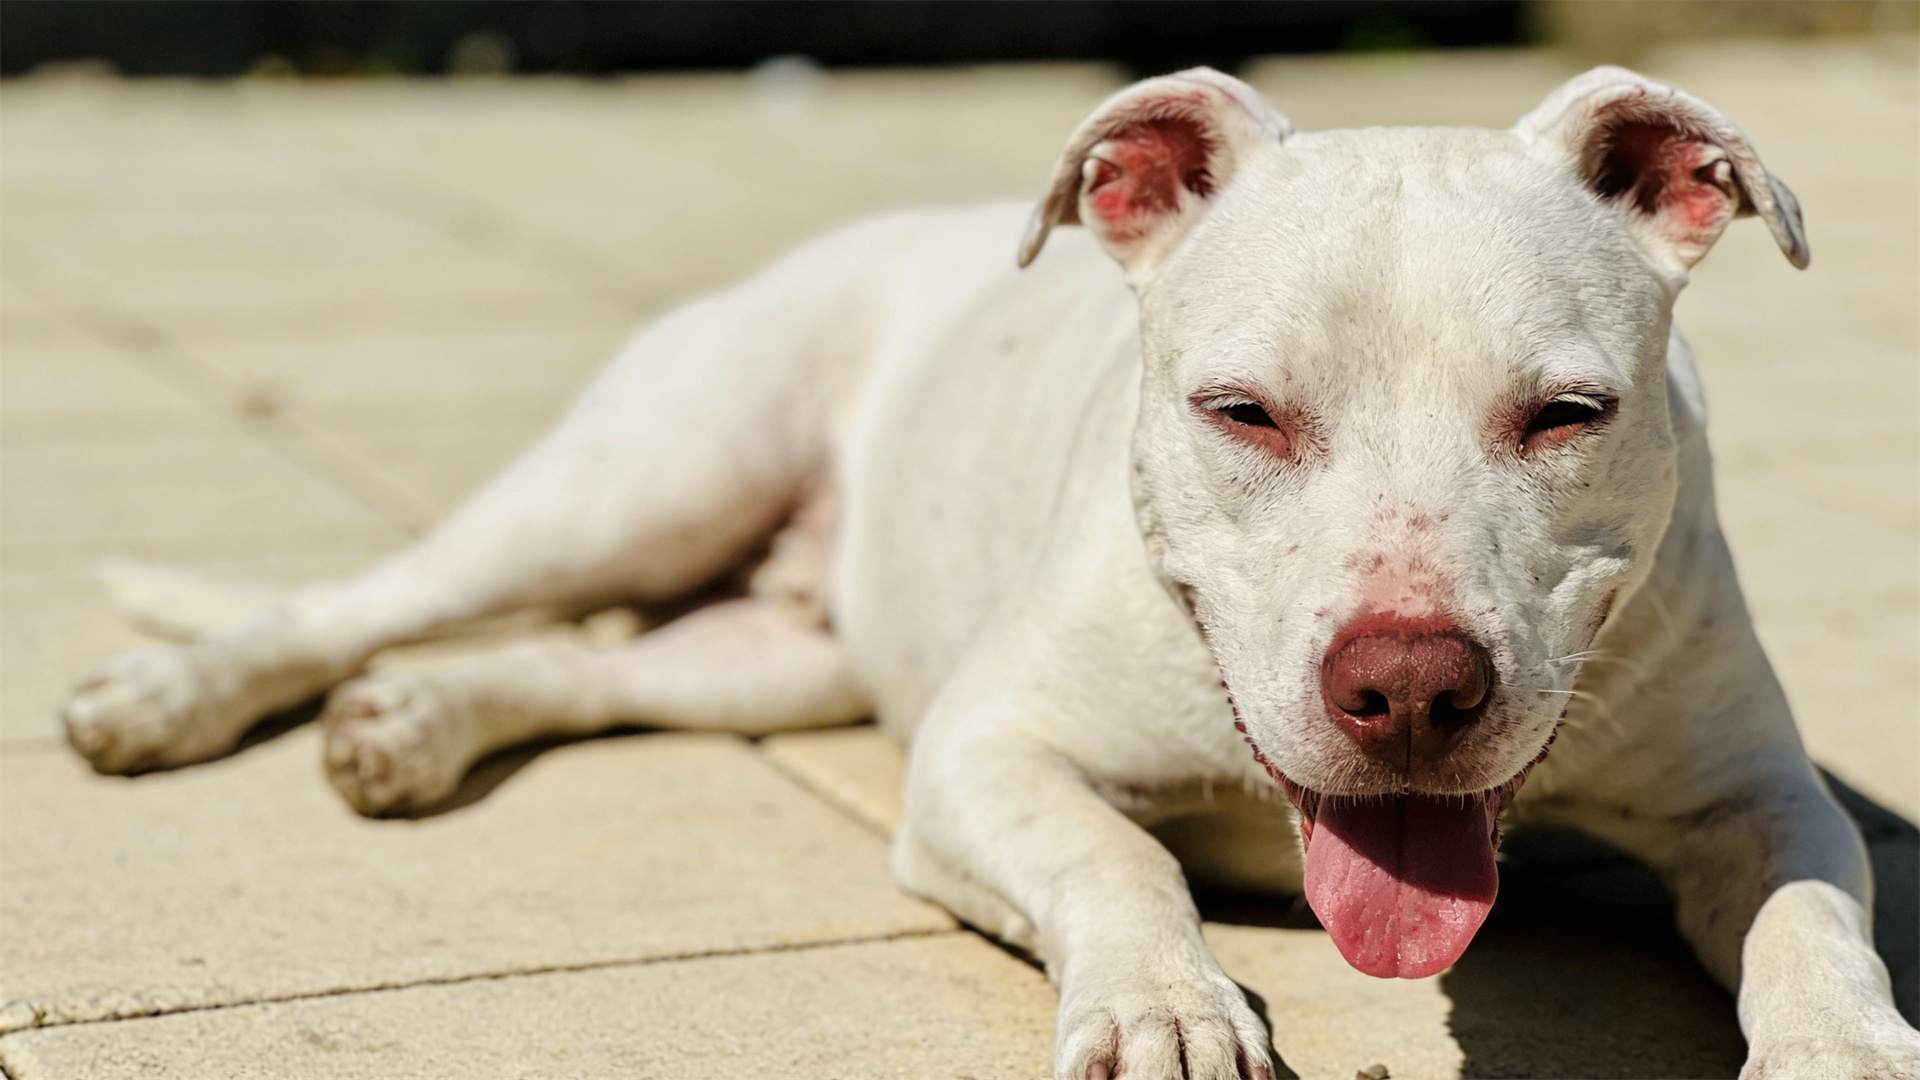
Recognizing the Red Flags: Signs of Ear Trouble
Before you begin a cleaning dog ears at home routine, it's vital to recognize when a simple cleaning won't suffice and a vet visit is needed. Watch for these symptoms:
- Odor: A strong, foul, or sweet smell is a top indicator of infection.
- Discharge: Black, brown, yellow, or bloody discharge.
- Redness & Swelling: Inflamed, hot-to-touch ear canal or pinna.
- Pain & Sensitivity: Whining, pulling away, or aggression when the ear is touched.
- Excessive Head Shaking or Scratching: This is your dog's primary way of expressing discomfort.
- Crusting or Scabbing: Often around the ear flap's edges.
If you observe these signs, stop and consult your veterinarian. Cleaning an infected ear with a standard solution can sometimes worsen the problem.
🛒 Selecting the Right Ear Cleaning Solution for Dogs
Not all ear cleaners are created equal. The market is flooded with options, but the best dog ear cleaning solutions share common traits. Avoid products with harsh alcohols, hydrogen peroxide, or strong antibiotics for routine use, as they can irritate the sensitive skin lining the ear canal.
- Look for These Key Ingredients: Drying agents like salicylic acid, gentle cleansers like aloe vera or coconut oil derivatives, and odor-neutralizing components.
- Consult Your Vet: For dogs with a history of specific infections (yeast vs. bacterial), your vet may recommend a targeted, prescription-grade ear cleaning solution.
- Solution Form: Liquid solutions are most effective for flushing and breaking up debris. Wipes are useful for quick pinna clean-ups but cannot replace a proper flush for the canal.
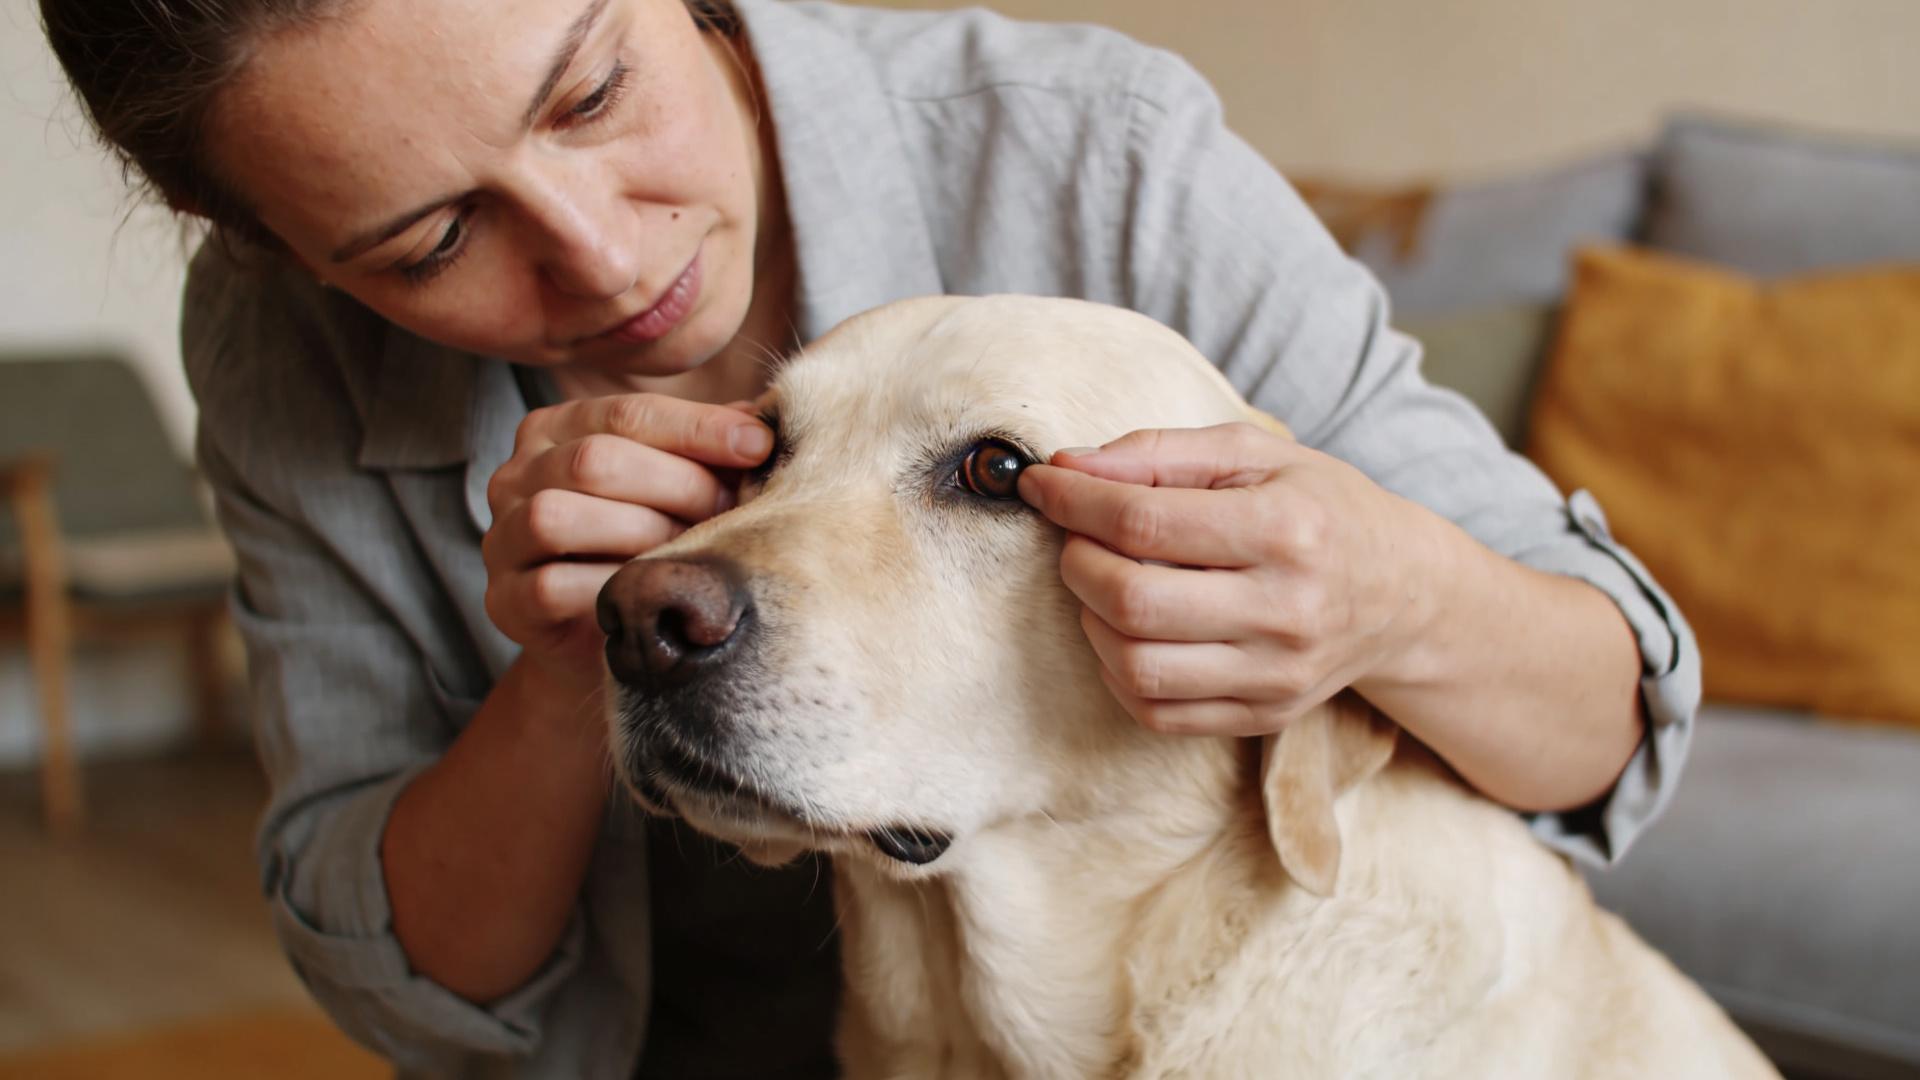
📖 The Step-by-Step Dog Ear Cleaning Tutorial
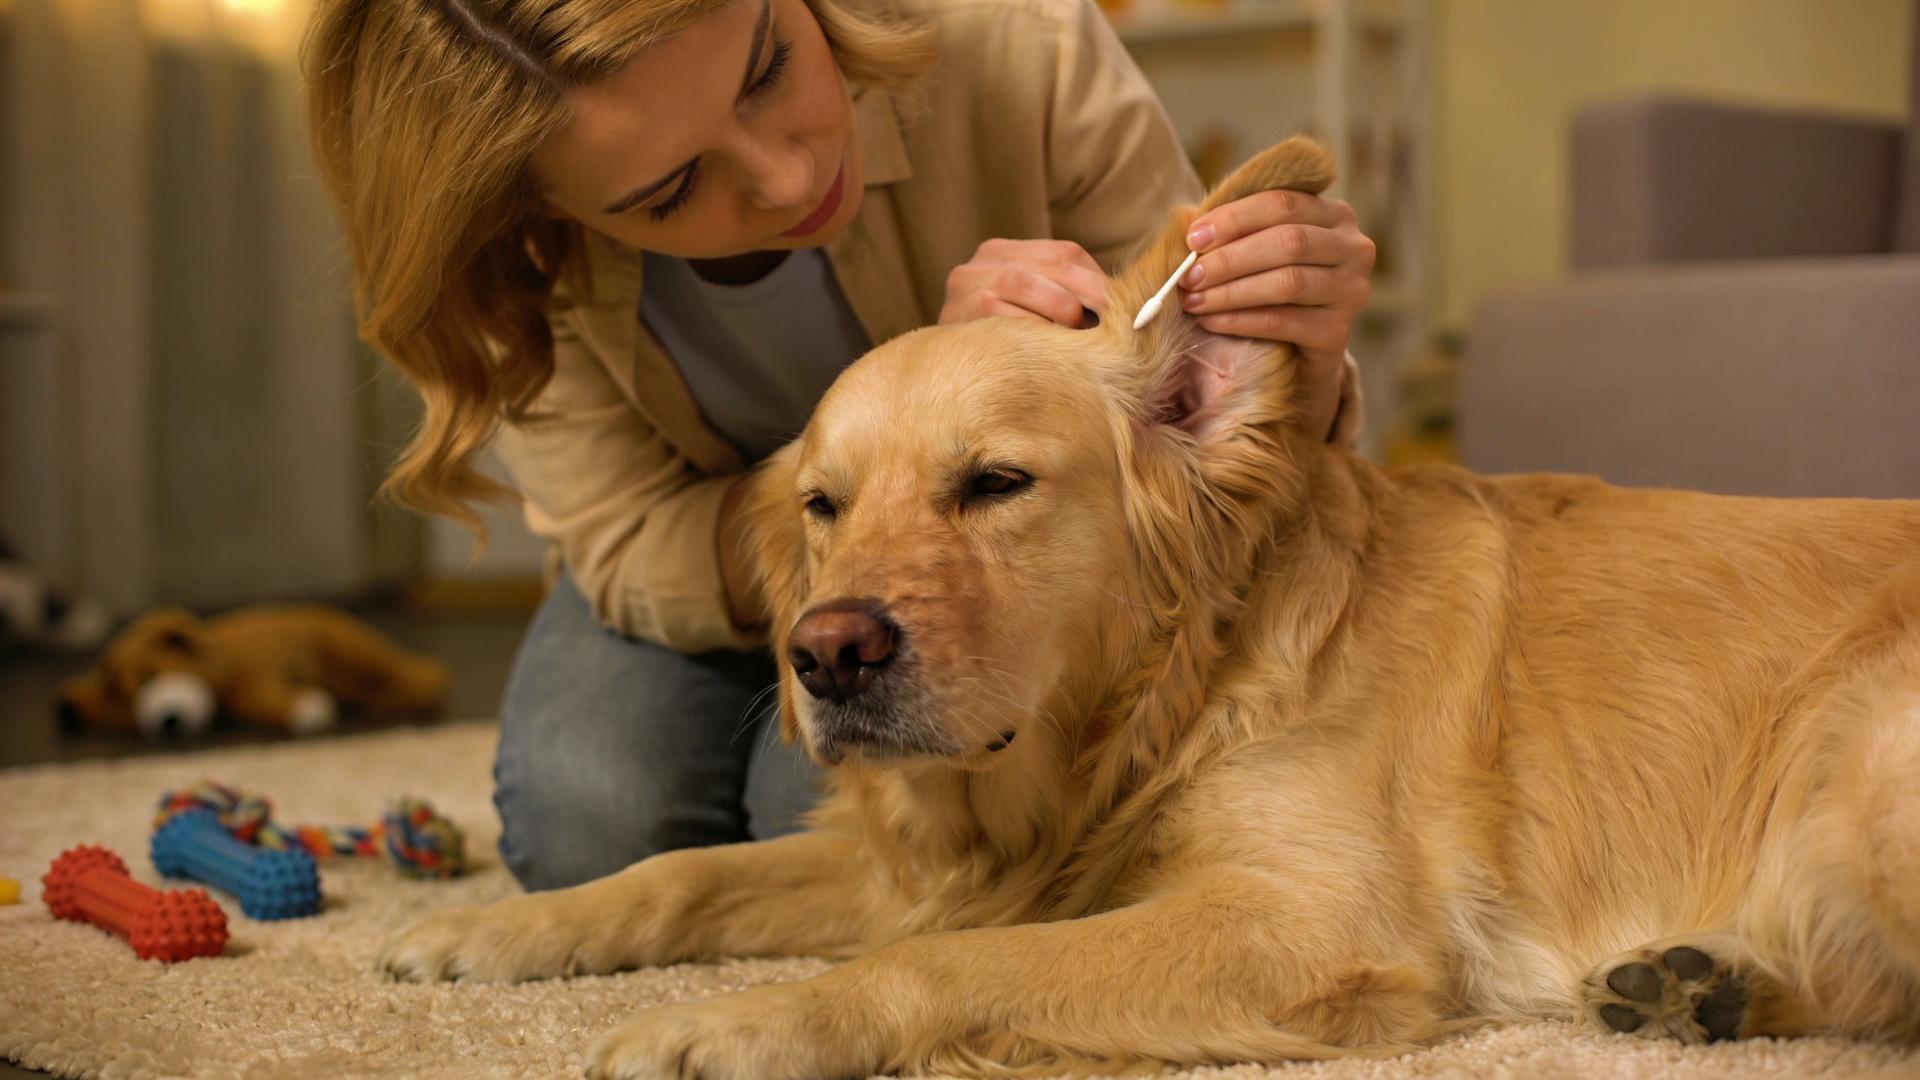
Now, for the core of our canine ear cleaning guide: the hands-on process. Gather your supplies: a quality veterinary-recommended ear cleaning solution, a generous supply of cotton balls or gauze squares (never cotton swabs/Q-tips!), and plenty of tasty treats.

Step 1: Create a Calm Environment
Choose a quiet, well-lit space. Have your dog sit or lie down comfortably. Positivity is key—use a cheerful tone and offer treats throughout to build a positive association.
Step 2: Inspect and Apply the Solution
Gently hold the ear flap (pinna) upright. This straightens the vertical canal. Carefully inspect for severe redness or discharge. Then, take the ear cleaning solution bottle and insert just the tip into the ear opening. Squeeze a generous amount—you should hear a squishing sound. You are not aiming for the eardrum; you are filling the visible vertical canal.
Step 3: The Essential Massage
This is the most important step for earwax removal for dogs. Keeping the ear flap upright, use your other hand to massage the base of the ear thoroughly, right where it meets the head, for a good 20-30 seconds. You will hear a squelching sound. This action breaks up wax and debris, allowing the solution to work.

Step 4: Wipe Away the Debris
Release your dog and step back quickly! They will instinctively shake their head vigorously, which helps bring loosened debris up and out. After the shake, take a cotton ball or gauze and gently wipe out the ear canal and the folds of the pinna. Wipe only as far as your finger can comfortably reach. Repeat with fresh cotton until it comes back clean.
Step 5: Reward and Repeat
Shower your pup with praise and a high-value treat! Repeat the entire process on the other ear, even if it seems clean, to maintain consistent dog ear health.
❌ Common Dog Ear Cleaning Mistakes to Avoid
Even with good intentions, errors can happen. Avoid these pitfalls to ensure safe dog ear cleaning techniques:
- Using Cotton Swabs/Q-tips: These can push debris deeper into the canal, creating an impacted plug against the eardrum.
- Over-Cleaning: Stripping the ear of all natural, protective wax can cause irritation. Stick to the recommended schedule.
- Using Inappropriate Liquids: Water, vinegar, or homemade mixes can alter the ear's pH and moisture balance, potentially making infection more likely.
- Ignoring the Dog's Discomfort: If your dog is in true pain, stop. Forcing the process can traumatize them and make future cleanings impossible.

⏰ Recommended Cleaning Frequency & Routine
How often should you perform this dog ear cleaning routine? There's no one-size-fits-all answer, as it depends on your dog's breed, activity level, and medical history.
- High-Risk Breeds (e.g., Cocker Spaniels, Basset Hounds, Poodles): Weekly cleaning is often recommended.
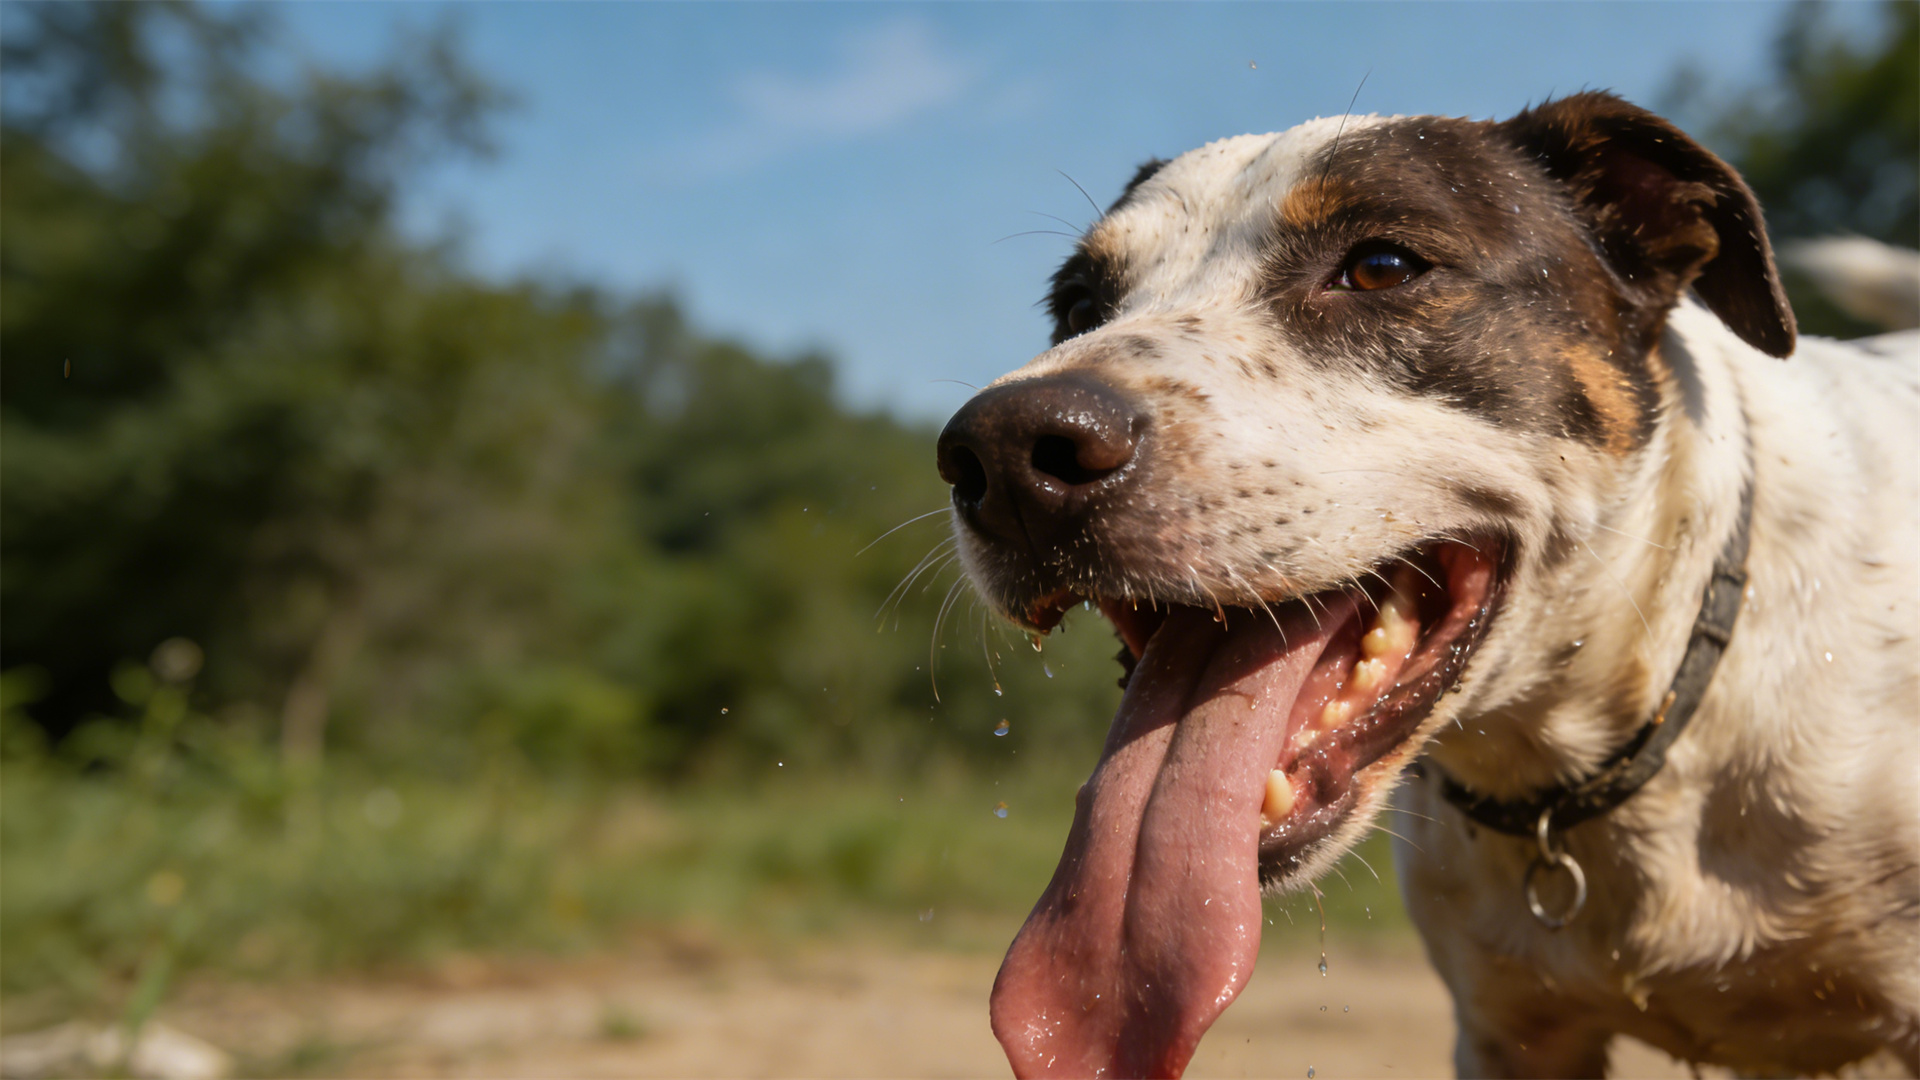
- Dogs Who Swim Frequently: Clean ears after every swimming session with a trusted drying solution to prevent earwax buildup and moisture-related infections.
- Average Dogs with Healthy Ears: A bi-weekly or monthly check and clean is typically sufficient.
Your veterinarian can give you the best personalized schedule as part of your overall dog ear care essentials.
👩⚕️ Knowing When to Consult Your Veterinarian
This guide equips you for maintenance, not treatment. You must consult your vet if:
- Signs of infection (odor, discharge, pain) are present.
- Your dog's ear seems extremely painful from the start.
- There is a suspected foreign object (like a grass seed) in the ear.
- Cleaning does not improve chronic, mild issues.
- You notice any hearing loss or balance problems.
Professional diagnosis is irreplaceable for treating infections, which may require prescription medication beyond a cleaning solution.
💎 Conclusion & Your Canine Ear Care Action Plan
Mastering the proper use of ear cleaner is one of the most impactful skills you can learn for your dog's lifelong comfort and health. By understanding the unique anatomy, selecting the right solution, following a gentle step-by-step process, and maintaining a consistent schedule, you are taking a powerful proactive step to prevent earwax buildup and the painful infections that can follow.
We hope this detailed dog ear cleaning guide has been enlightening. Your dog's comfort starts with you!